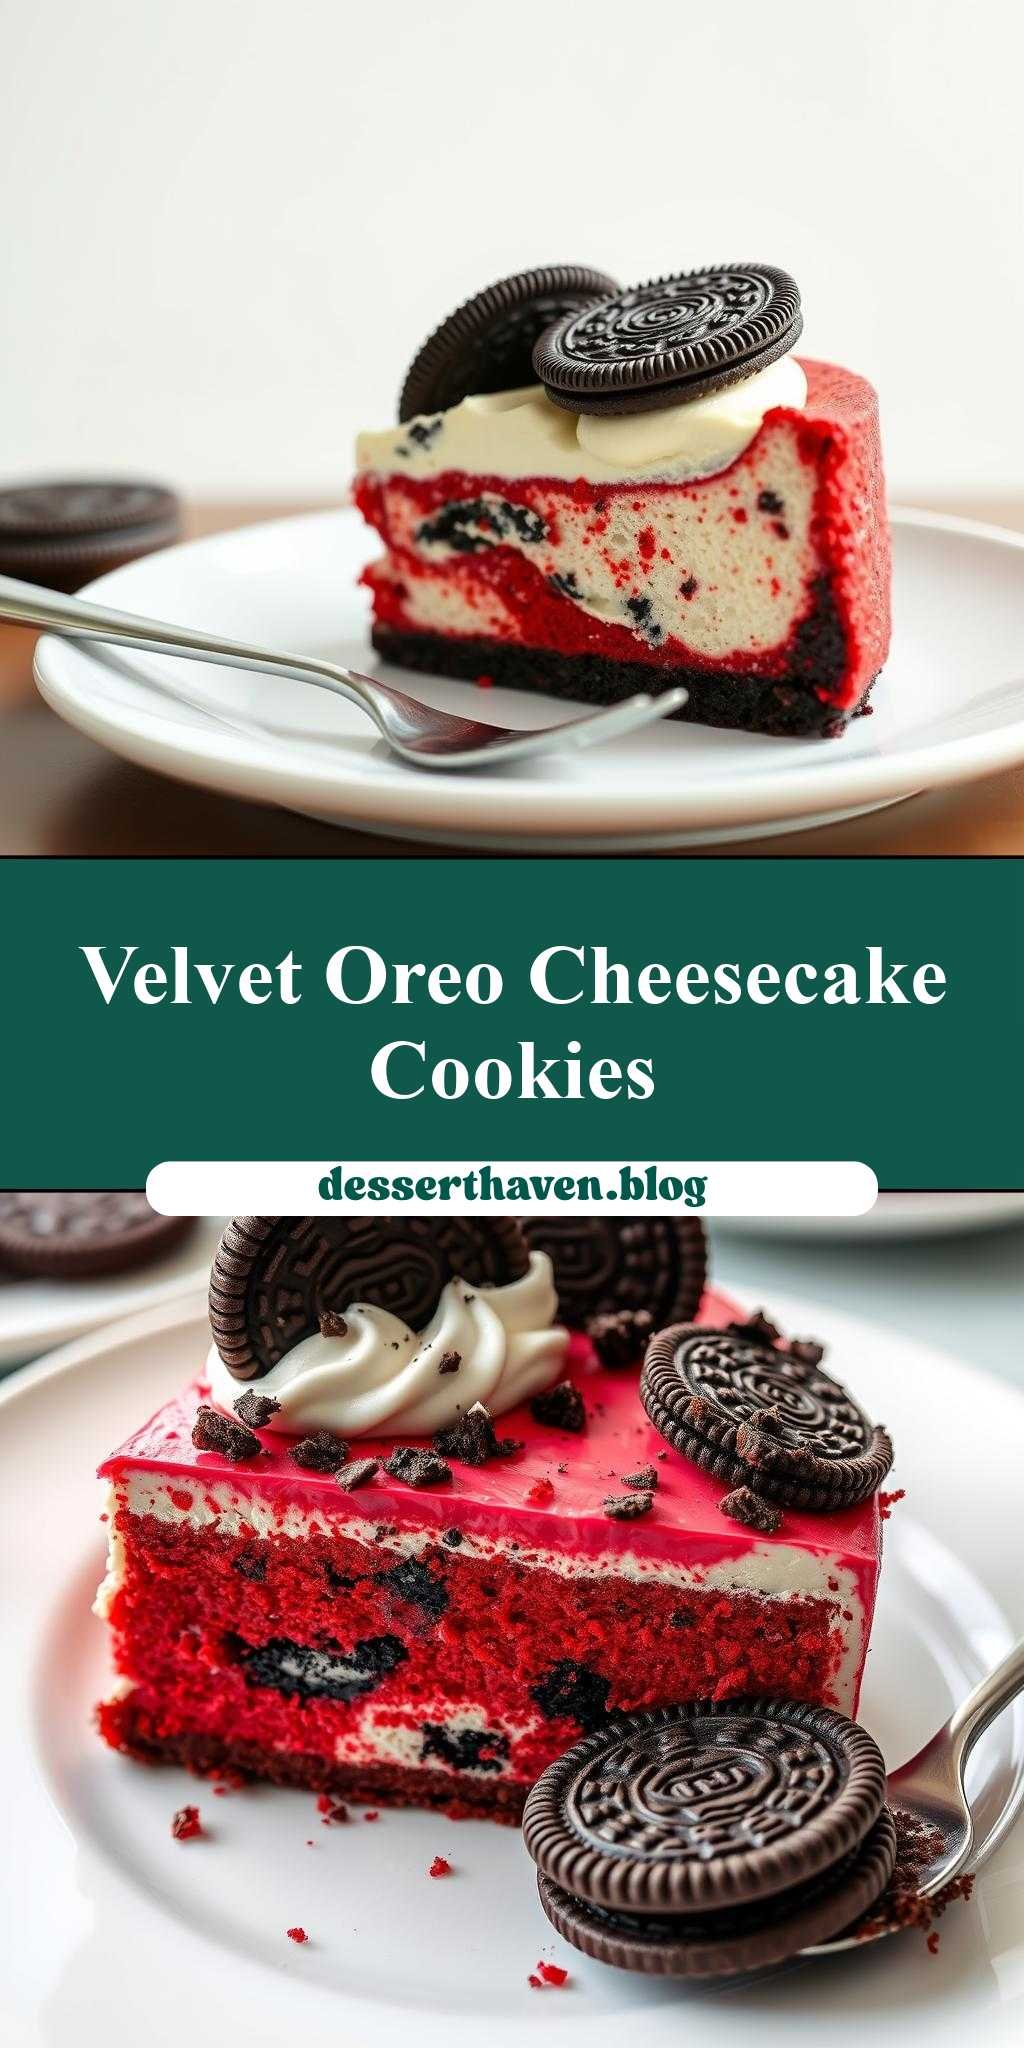
What makes a perfect dessert mashup? This red velvet oreo cheesecake with cookies on top combines creamy cheesecake and crunchy oreos for an easy homemade treat, featuring a velvety red velvet cake base and a simple cookie topping, save this idea for your next family favorite dessert night
red velvet oreo cheesecake with cookies on top
Introduction
Imagine a dessert that combines the decadence of cheesecake, the vibrancy of red velvet, and the crunch of Oreo cookies, all in one majestic treat. The red velvet Oreo cheesecake with cookies on top is not just a dessert; it’s an experience. This masterpiece is surprisingly easy to make, requiring minimal exotic ingredients and effort, making it perfect for both novice bakers and seasoned pastry chefs. The beauty of this recipe lies in its ability to balance flavors and textures, creating a truly unique and impressive dessert that is sure to wow any audience. Whether you’re celebrating a special occasion or just satisfying your sweet tooth, this cheesecake is sure to become a favorite.
Why This Works
- Flavor balance and ingredient accessibility: The combination of red velvet cake mix, Oreo cookies, and a classic cheesecake filling creates a harmony of flavors that is both familiar and exciting. Most ingredients are readily available in any supermarket, making this dessert accessible to everyone.
- Ease of preparation: Despite its impressive appearance, the red velvet Oreo cheesecake with cookies on top is relatively easy to prepare. The use of a cake mix simplifies the process, and the cheesecake filling requires minimal ingredients and effort.
- Impressive results with minimal effort: The layering of the red velvet cake, cheesecake, and Oreo cookies on top creates a visually stunning dessert that looks like it was made by a professional. The best part? It requires minimal decorating skills, as the cookies on top serve as the perfect finishing touch.
Key Ingredients
The main ingredients for this dessert include a red velvet cake mix, Oreo cookies, cream cheese, eggs, sour cream, and sugar. For the cheesecake filling, you’ll need a springform pan to ensure it cooks evenly and can be removed easily once set. Practical substitutions can be made for those with dietary restrictions, such as using gluten-free cake mix or substituting sour cream with a non-dairy alternative for those who are lactose intolerant.
Instructions
- Step 1: Begin by preheating your oven to 350°F (175°C). Prepare the red velvet cake according to the box instructions and bake it in a springform pan. Let it cool completely.
- Step 2: Prepare the cheesecake filling by mixing the cream cheese, eggs, sour cream, and sugar in a large bowl until smooth. Pour the cheesecake batter over the cooled red velvet cake.
- Step 3: Bake the cheesecake for about 50-60 minutes, or until the edges are set and the center is slightly jiggly. Let it cool in the pan for 1 hour before running a knife around the edges and releasing the springform.
- Step 4: Once the cheesecake is completely cooled, arrange Oreo cookies on top. You can use a pattern or simply scatter them for a more rustic look. Refrigerate the cheesecake for at least 4 hours before serving.
Handy Tips
- To ensure the cheesecake cooks evenly and doesn’t crack, make sure the oven is at the right temperature and avoid overmixing the batter. Letting it cool slowly and evenly is also crucial.
- For a gluten-free version, substitute the red velvet cake mix with a gluten-free alternative. Always check the ingredients of the Oreos or any other store-bought components to ensure they fit your dietary needs.
- Avoid overbaking, as this can cause the cheesecake to dry out. A slightly jiggly center will set as it cools.
Heat Control
Temperature control is crucial when baking the cheesecake. The ideal temperature is 350°F (175°C), and the cheesecake should bake for 50-60 minutes. It’s done when the edges are set, and the center is just slightly jiggly. This slight jiggle will set as the cheesecake cools, resulting in a smooth, creamy texture.
Crunch Factor
The crunch factor in this dessert comes from the Oreo cookies on top. To achieve the perfect crunch, use whole Oreos and arrange them on the cheesecake once it’s cooled. If you prefer a crunchier base, you can also crush some Oreos and mix them with melted butter to create a crust before adding the cheesecake batter.
Pro Kitchen Tricks
- To prevent the cheesecake from cracking, ensure it cools slowly and evenly. Running a knife around the edges of the pan after it has cooled for an hour can help it release smoothly from the pan.
- For an extra creamy cheesecake, make sure all the ingredients are at room temperature before mixing, and avoid overmixing the batter.
- Cleaning as you go can save a lot of time and effort. Wash utensils and bowls immediately after use, especially when dealing with sticky ingredients like cream cheese and sugar.
Storage Tips
- The cheesecake can be stored in the refrigerator for up to 5 days. It’s best to keep it in an airtight container to maintain freshness.
- For longer storage, the cheesecake can be frozen. Wrap it tightly in plastic wrap or aluminum foil and place it in a freezer-safe bag. Frozen cheesecakes can be thawed in the refrigerator overnight when you’re ready to serve.
- When reheating, let the cheesecake come to room temperature or warm it slightly in the oven at a low temperature. Avoid microwaving, as this can cause the texture to become uneven.
Gift Packaging Ideas
If you’re planning to give this cheesecake as a gift, consider packaging it in a decorative tin or a sturdy cardboard box lined with parchment paper. You can also add a personal touch by tying a ribbon around the box or including a handwritten note with serving suggestions. For a more rustic look, wrap the cheesecake in plastic wrap or aluminum foil and then in a piece of decorative paper or a tea towel, securing it with twine.
Flavor Variations
- Different spices: Adding a pinch of cinnamon or nutmeg to the cheesecake batter can give it a unique twist. For a more pronounced flavor, you can also use different extracts like almond or coconut.
- Creative toppings: While Oreo cookies are a classic choice, you can also experiment with other toppings like chopped nuts, chocolate shavings, or even candy pieces for a colorful and fun look.
- Ingredient swaps: For a lighter version, you can substitute some of the sugar with honey or maple syrup. Using different types of cream cheese or adding a dollop of sour cream on top can also change the flavor profile.
Troubleshooting
- Texture problems: If your cheesecake turns out too dense, it might be due to overmixing the batter. If it’s too soft, it might not have baked long enough or cooled properly.
- Ingredient replacements: Always check the ingredient labels if you’re substituting to ensure the replacement fits your dietary needs. Some substitutions can affect the texture or flavor significantly.
- Over/undercooking signs: An overcooked cheesecake will be dry and cracked, while an undercooked one will be too jiggly in the center. Adjust your baking time as needed, and always check for doneness by gently shaking the pan.
FAQs
- Can I freeze it? Yes, the cheesecake can be frozen for up to 2 months. Wrap it tightly and store it in a freezer-safe bag.
- Is it gluten-free? The original recipe uses a standard red velvet cake mix, which contains gluten. However, you can easily make it gluten-free by substituting the cake mix with a gluten-free alternative.
- Can I double the recipe? Yes, you can double the recipe, but you’ll need to adjust the baking time accordingly. A larger cheesecake will take longer to cook through, so keep an eye on it and adjust the baking time as needed.
Conclusion
Making a red velvet Oreo cheesecake with cookies on top is a fun and rewarding experience that combines the best of both worlds: the richness of cheesecake and the playful crunch of Oreos. With its accessible ingredients and straightforward instructions, this dessert is perfect for anyone looking to impress without the fuss. Feel free to experiment with different flavors and toppings to make it your own, and don’t hesitate to reach out if you have any questions or need further substitutions or variations. Happy baking, and enjoy the ooohs and ahhhs when you present this stunning dessert!