What’s the ultimate cookie hack – turning a classic Twix bar into a stackable treat. Rich chocolate and caramel come together in these easy homemade cookie cups, perfect for a weeknight dessert. Save this idea for your next family favorite dessert night.
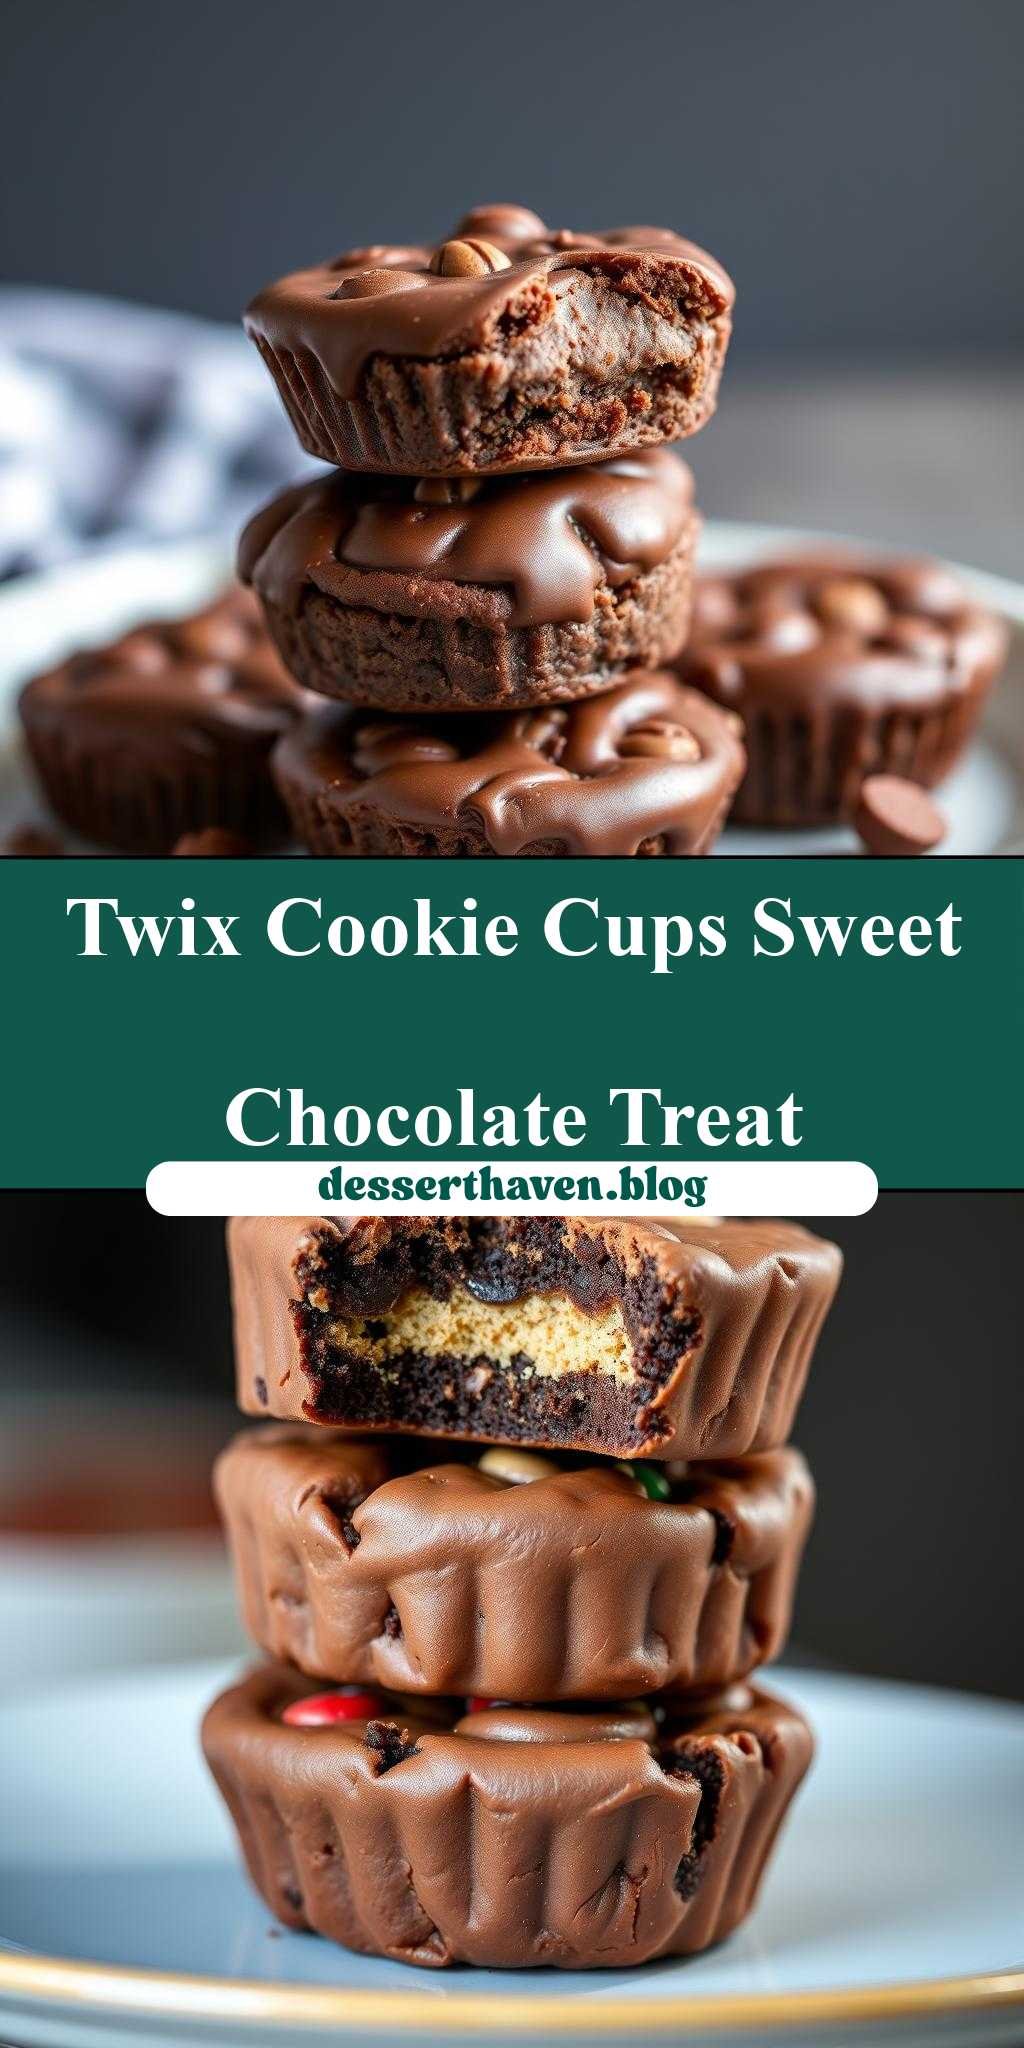
chocolate covered cookies are stacked on top of each other with the words twix cookie cups
Introduction
Imagine the delight of biting into a crunchy, chocolate-covered cookie, only to discover a layer of caramel and a cookie base that tastes uncannily like a Twix bar. This treat, aptly named Twix Cookie Cups, combines the best of cookie and candy worlds into one irresistible package. The beauty of this recipe lies in its simplicity, requiring everyday ingredients and minimal effort, yet yielding results that are sure to impress both kids and adults alike. Whether you’re a fan of cookies, chocolate, or just looking for a creative dessert to serve at your next gathering, Twix Cookie Cups are sure to hit the spot.
Why This Works
- Flavor balance and ingredient accessibility: The combination of a shortbread-like cookie, gooey caramel, and rich chocolate provides a perfect balance of flavors and textures, all made possible with commonly found ingredients.
- Ease of preparation: Despite its impressive appearance, this dessert is surprisingly easy to make, with each component requiring minimal preparation time.
- Impressive results with minimal effort: The layering of cookie, caramel, and chocolate creates a visually stunning dessert that looks like it came from a professional bakery, all without needing advanced baking skills.
Key Ingredients
The Twix Cookie Cups recipe hinges on a few key ingredients: butter and sugar for the cookie base, caramel candies or caramel sauce for the middle layer, and chocolate chips or chocolate bars for the topping. For the cookie base, using high-quality butter will enhance the flavor, while for the caramel, either store-bought caramel candies that you melt or a homemade caramel sauce work well. Finally, the type of chocolate you use can vary from milk to dark, depending on your preference. Practical substitutions can include using margarine instead of butter for a dairy-free option or experimenting with different types of chocolate for varying flavor profiles.
Instructions
- Step 1: Begin by preheating your oven to 350°F (175°C). Prepare your mini muffin tin by lining it with paper liners. In a medium bowl, whisk together 1 1/2 cups of all-purpose flour, 1/4 cup of confectioners’ sugar, and 1/4 teaspoon of salt. Add in 1/2 cup of unsalted butter, softened, and mix until the dough comes together in a ball.
- Step 2: Press about 1 tablespoon of the dough into each muffin cup, making sure to cover the bottom. Bake for 12-15 minutes, or until the edges are lightly golden. Allow the cookie bases to cool completely in the pan.
- Step 3: Melt 1 cup of caramel candies with 1 tablespoon of heavy cream in a microwave-safe bowl in 30-second increments, stirring between each interval, until smooth. Pour about 1 teaspoon of the caramel mixture over each cooled cookie base.
- Step 4: Melt 1 cup of chocolate chips in a microwave-safe bowl in 30-second increments, stirring between each interval, until smooth. Pour the melted chocolate over the caramel layer in each cup. Refrigerate until the chocolate is set, then serve.
Handy Tips
- To prevent the caramel from becoming too hard, work quickly when pouring it into the cups, and consider warming the caramel slightly if it starts to set before you’re done.
- For an extra crunchy top, sprinkle a pinch of sea salt over the melted chocolate before it sets.
- Avoid overbaking the cookie bases, as this can make them too hard and crumbly.
Heat Control
When melting the caramel and chocolate, it’s crucial to control the heat to prevent burning or seizing. Using the microwave in short intervals and stirring well between each heating ensures that the melting process is even and safe. For the cookie bases, baking at the right temperature and removing them from the oven when lightly golden helps in achieving the perfect crunch without overcooking.
Crunch Factor
The crunch factor in Twix Cookie Cups comes from the cookie base and the layer of chocolate on top. To achieve the perfect crunch, ensure that the cookies are baked until they are lightly golden and firm to the touch. The chocolate layer should be melted smoothly and allowed to set properly, creating a satisfying crunch when bitten into. The caramel layer in the middle adds a nice contrast in texture, providing a chewy element to the dessert.
Pro Kitchen Tricks
- Use a high-quality chocolate for the best flavor. Dark, milk, or white chocolate can be used depending on your preference.
- For easier removal of the cookie cups from the muffin tin, make sure the paper liners are securely in place and that the cookie cups have cooled and set completely.
- To make the dessert more festive, top with sprinkles or chopped nuts before the chocolate sets.
Storage Tips
- Store the Twix Cookie Cups in an airtight container in the refrigerator for up to 5 days. Allow them to come to room temperature before serving for the best flavor and texture.
- These cookie cups can be frozen for up to 2 months. Simply place them in a single layer in a freezer-safe bag or container and thaw at room temperature when ready to serve.
- For the best results, keep the cookie cups away from direct sunlight and heat sources.
Gift Packaging Ideas
Twix Cookie Cups make wonderful gifts due to their individual servings and visually appealing presentation. Consider packaging them in decorative tins, gift boxes, or even mason jars filled with a layer of decorative paper or candy pieces. Wrapping each cookie cup in colored foil or placing them in cellophane bags tied with ribbon can add a personal touch. For a more rustic look, use burlap or paper bags with a gift tag that includes the ingredients used, making it a thoughtful gesture for those with dietary restrictions.
Flavor Variations
- Different spices: Add a pinch of sea salt or a teaspoon of vanilla extract to the cookie dough for added depth of flavor.
- Creative toppings: Experiment with different types of chocolate, nuts, or even dried fruits on top of the cookie cups before the chocolate sets.
- Ingredient swaps: Use gluten-free flour for the cookie base to make the dessert gluten-free, or substitute the caramel with a homemade dulce de leche for a different flavor profile.
Troubleshooting
- Texture problems: If the cookie bases become too hard, they might have been overbaked. If the caramel is too runny, it might not have been heated to the right consistency.
- Ingredient replacements: Always consider the flavor and texture profile when substituting ingredients. For example, using margarine instead of butter might affect the flavor slightly.
- Over/undercooking signs: Keep an eye on the cookie bases while they’re baking, and check the caramel’s consistency frequently while melting to avoid burning or seizing.
FAQs
- Can I freeze it? Yes, Twix Cookie Cups can be frozen for up to 2 months. Simply thaw at room temperature when ready to serve.
- Is it gluten-free? The recipe can be made gluten-free by substituting the all-purpose flour with gluten-free flour.
- Can I double the recipe? Yes, the recipe can be doubled or tripled as needed. Just ensure you have enough muffin tin space and adjust the baking time slightly if the cookie bases are thicker.
Conclusion
Twix Cookie Cups offer a delightful combination of flavors and textures that are sure to please any dessert lover. With their ease of preparation, impressive presentation, and versatility in customization, they’re perfect for any occasion, from casual gatherings to special events. Feel free to experiment with different ingredients and toppings to make the recipe your own, and don’t hesitate to share your creations with friends and family. Whether you’re a seasoned baker or just starting out, this recipe is sure to become a favorite, and with the tips and Variations provided, you’ll be well on your way to creating your own signature desserts.