What makes Christmas cookies truly special is the love that goes into decorating them, especially when they’re made with classic ingredients like butter and sugar – try making a batch of these easy homemade treats using simple weeknight dinner leftover time and save this idea for your next family favorite baking session, Pin for later
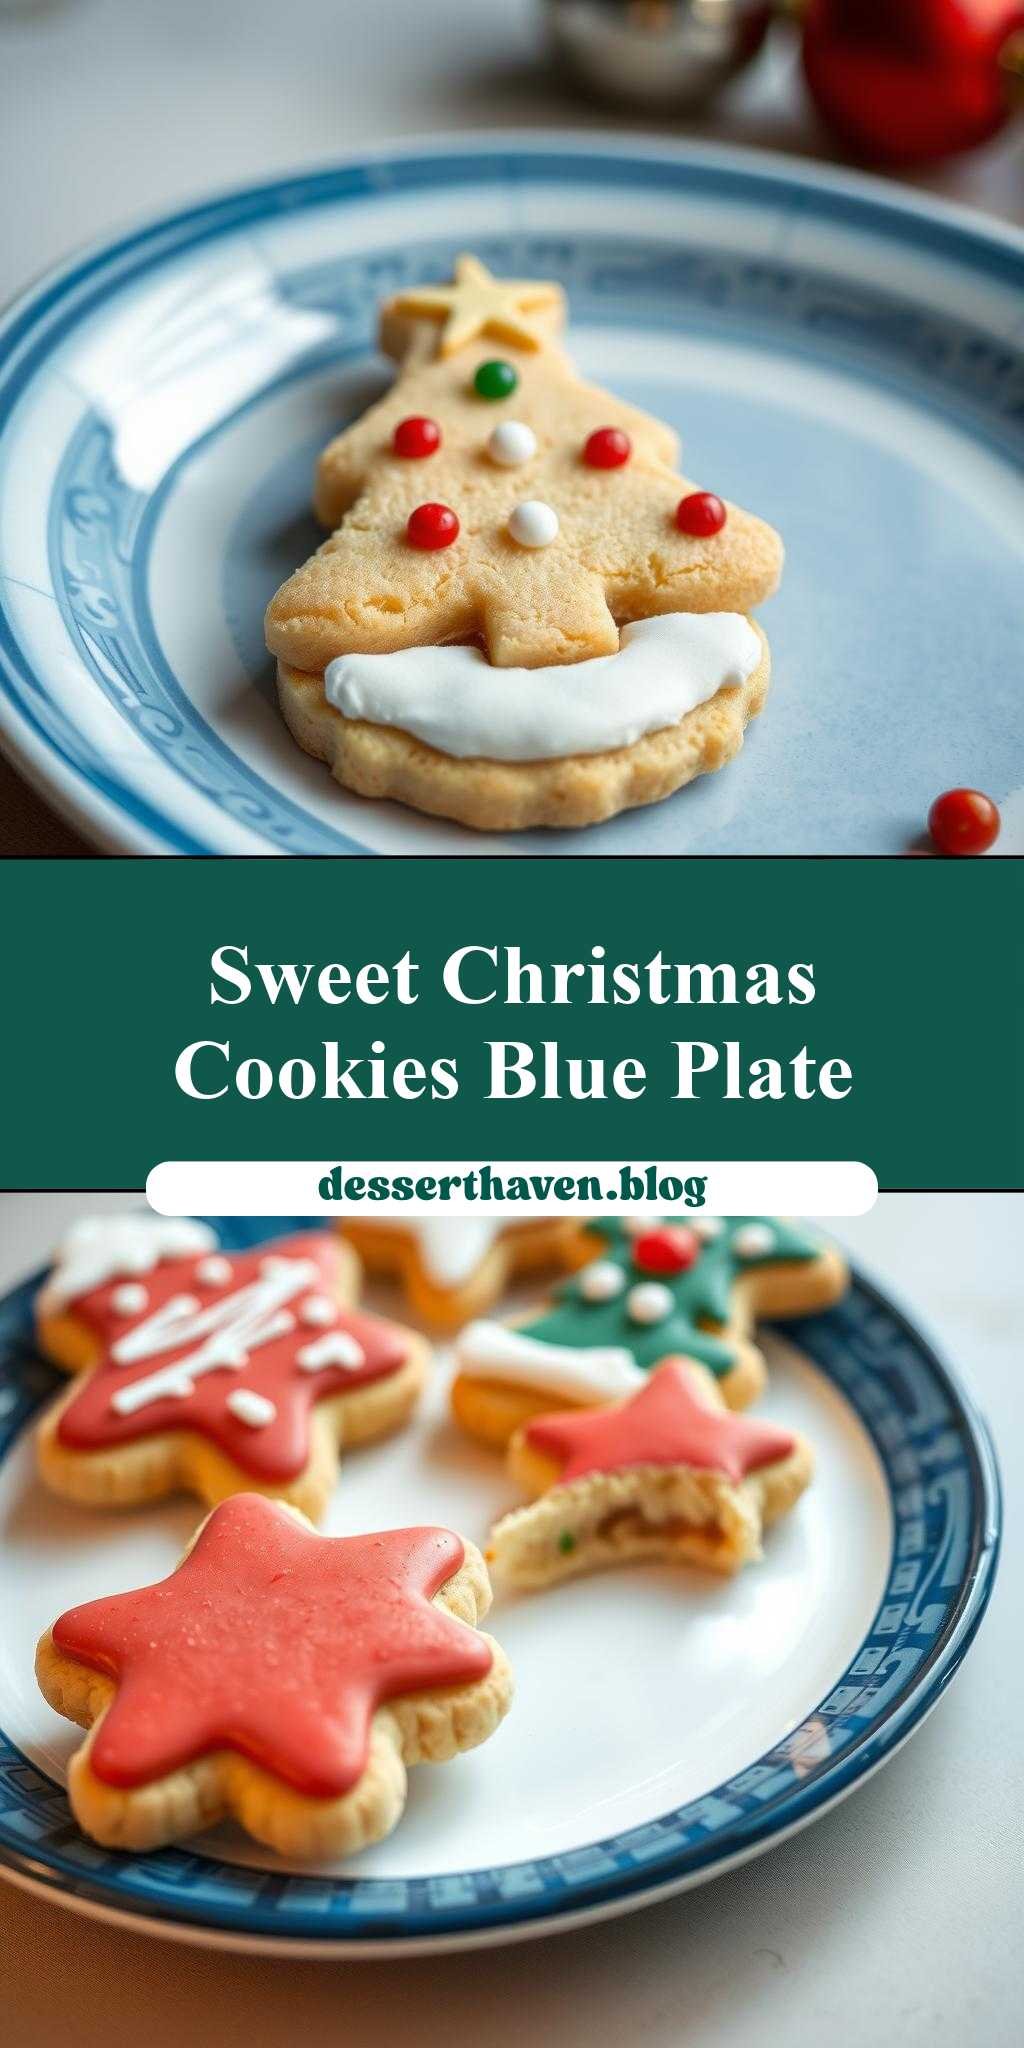
Decorated Christmas Cookies on a Blue and White Plate
Introduction
As the holiday season approaches, there’s no better way to get into the spirit than by baking and decorating Christmas cookies. This classic activity is not only a fun and creative outlet, but it also results in delicious treats that can be shared with family and friends. The best part? You don’t need to be a professional baker to make beautiful and tasty cookies. With everyday ingredients and some simple techniques, you can create stunning decorated Christmas cookies that will be the centerpiece of any holiday gathering. In this article, we’ll guide you through the process of making and decorating these festive cookies, from preparation to presentation.
Why This Works
- Flavor balance and ingredient accessibility: Our recipe uses common ingredients that are easily found in most supermarkets, ensuring that you can make these cookies without having to search for specialty items. The combination of sugar, butter, and vanilla provides a classic cookie flavor that is balanced and delicious.
- Ease of preparation: The dough for these cookies is simple to make and requires minimal effort. The decorating process can be as intricate or as simple as you like, making it accessible to bakers of all skill levels.
- Impressive results with minimal effort: Despite the ease of preparation, the end result is a batch of beautifully decorated cookies that look like they were made by a professional. The blue and white plate adds a touch of elegance, making these cookies perfect for holiday parties or as a gift for friends and family.
Key Ingredients
The main ingredients for these decorated Christmas cookies include all-purpose flour, granulated sugar, unsalted butter, eggs, vanilla extract, baking powder, and salt. For decorating, you’ll need powdered sugar, milk or water, and food coloring. If you want to add extra flavor or texture, you can also use nuts, sprinkles, or other mix-ins. Practical substitutions include using almond extract instead of vanilla or adding a pinch of salt to balance the sweetness. When it comes to the type of flour, all-purpose flour is recommended, but you can also use bread flour or cake flour if you prefer a slightly different texture.
Instructions
- Step 1: Begin by preheating your oven to 375°F (190°C). Line a baking sheet with parchment paper or a silicone mat. In a medium-sized bowl, whisk together the flour, baking powder, and salt. Set aside.
- Step 2: In a large bowl, use an electric mixer to cream together the butter and sugar until light and fluffy. Beat in the eggs one at a time, followed by the vanilla extract. Gradually mix in the dry ingredients until a dough forms.
- Step 3: Divide the dough into two portions and roll out each portion on a lightly floured surface to about 1/4 inch thickness. Cut into desired shapes using cookie cutters. Place the cookies on the prepared baking sheet, leaving about 1 inch of space between each cookie.
- Step 4: Bake the cookies for 10-12 minutes, or until they are lightly golden around the edges. Allow the cookies to cool on the baking sheet for 5 minutes before transferring them to a wire rack to cool completely. Once the cookies are cool, you can begin the decorating process. To make the icing, whisk together the powdered sugar, milk or water, and food coloring until smooth. Use this icing to decorate the cookies as desired, adding sprinkles or other toppings before the icing sets.
Handy Tips
- Use room temperature ingredients for the best results. This ensures that the butter and eggs mix smoothly and evenly, resulting in a tender and consistent dough.
- Don’t overmix the dough, as this can lead to tough cookies. Mix the ingredients just until they come together in a ball, then stop mixing.
- For the best flavor, use high-quality vanilla extract. You can also add a pinch of salt to balance the sweetness and enhance the flavors of the other ingredients.
- Experiment with different decorating techniques and toppings to make your cookies unique. You can use piping bags and tips to create intricate designs, or keep it simple with a drizzle of icing and a sprinkle of sprinkles.
Heat Control
When baking the cookies, it’s essential to keep an eye on the temperature and timing to ensure that they are cooked to perfection. The ideal temperature is 375°F (190°C), and the cookies should be baked for 10-12 minutes, or until they are lightly golden around the edges. To check for doneness, look for a firm edge and a set center. If you prefer a chewier cookie, bake for 8-10 minutes. If you prefer a crisper cookie, bake for 12-14 minutes.
Crunch Factor
The texture of your cookies will depend on the baking time and temperature. For a tender cookie with a slight crunch around the edges, bake for 10-12 minutes. For a crisper cookie, bake for 12-14 minutes. To achieve the perfect crunch factor, make sure to not overbake the cookies. Take them out of the oven when they are lightly golden and still slightly soft to the touch. As they cool, they will set and become crisper.
Pro Kitchen Tricks
- Use a combination of granulated sugar and brown sugar for a deeper flavor. The molasses in the brown sugar adds a rich, caramel-like flavor that complements the sweetness of the granulated sugar.
- Chill the dough for at least 30 minutes to allow the flavors to meld and the dough to firm up. This will make the dough easier to roll out and cut into shapes.
- Invest in a good quality cookie cutter to ensure clean, sharp edges. A sharp cookie cutter will help you achieve professional-looking cookies with minimal waste.
- For a professional-looking finish, use a turntable to display your cookies. This will allow you to easily access and decorate each cookie, and will make it easier to showcase your finished cookies.
Storage Tips
- Store the cookies in an airtight container at room temperature for up to 5 days. This will keep the cookies fresh and prevent them from becoming stale or soft.
- Freeze the cookies for up to 2 months. Place the cookies in a single layer in a freezer-safe bag or container, and thaw at room temperature when you’re ready to serve.
- Reheat the cookies in the microwave for 10-15 seconds to soften. This is perfect for cookies that have become stale or hard. Simply place the cookie in the microwave and heat for 10-15 seconds, or until the cookie is soft and fragrant.
Gift Packaging Ideas
If you’re planning to give these decorated Christmas cookies as a gift, consider packaging them in a decorative tin or jar. You can also use cellophane bags or wrap the cookies individually in plastic wrap or wax paper. Add a ribbon or gift tag to make the gift even more special. For a more elegant presentation, consider using a blue and white plate or platter to showcase the cookies. This will add a touch of sophistication and make the gift even more impressive.
Flavor Variations
- Different spices: Try adding a pinch of nutmeg or cinnamon to the dough for a unique flavor. You can also use other spices like ginger or cardamom to create a different flavor profile.
- Creative toppings: Use different types of sprinkles, nonpareils, or sanding sugar to add color and texture to your cookies. You can also use chopped nuts or shredded coconut to add extra flavor and texture.
- Ingredient swaps: Substitute the vanilla extract with almond extract or use lemon zest instead of vanilla. You can also use different types of sugar, like brown sugar or turbinado sugar, to create a different flavor profile.
Troubleshooting
- Texture problems: If your cookies are too hard or too soft, adjust the baking time and temperature. If your cookies are too dense, try adding more leavening agents or using a combination of all-purpose and cake flour.
- Ingredient replacements: If you don’t have a certain ingredient, try substituting it with something similar. For example, you can use almond milk instead of regular milk or use coconut oil instead of butter.
- Over/undercooking signs: Keep an eye on the cookies while they’re baking and check for doneness by looking for a firm edge and a set center. If the cookies are overcooked, they will be dark brown and hard. If they’re undercooked, they will be pale and soft.
FAQs
- Can I freeze it? Yes, you can freeze the cookies for up to 2 months. Simply place the cookies in a single layer in a freezer-safe bag or container, and thaw at room temperature when you’re ready to serve.
- Is it gluten-free? No, this recipe uses all-purpose flour, which contains gluten. However, you can try substituting the flour with a gluten-free flour blend to make the cookies gluten-free.
- Can I double the recipe? Yes, you can double the recipe to make more cookies. Simply multiply all the ingredients by two and proceed with the recipe as instructed.
Conclusion
Making decorated Christmas cookies is a fun and rewarding activity that can be enjoyed by people of all ages. With these simple tips and tricks, you can create beautiful and delicious cookies that will be the centerpiece of any holiday gathering. Whether you’re a seasoned baker or a beginner, this recipe is sure to become a new favorite. So go ahead, get creative, and make this holiday season one to remember with these stunning decorated Christmas cookies on a blue and white plate. Don’t be afraid to experiment and try new things – and most importantly, have fun and enjoy the process of creating something beautiful and delicious.