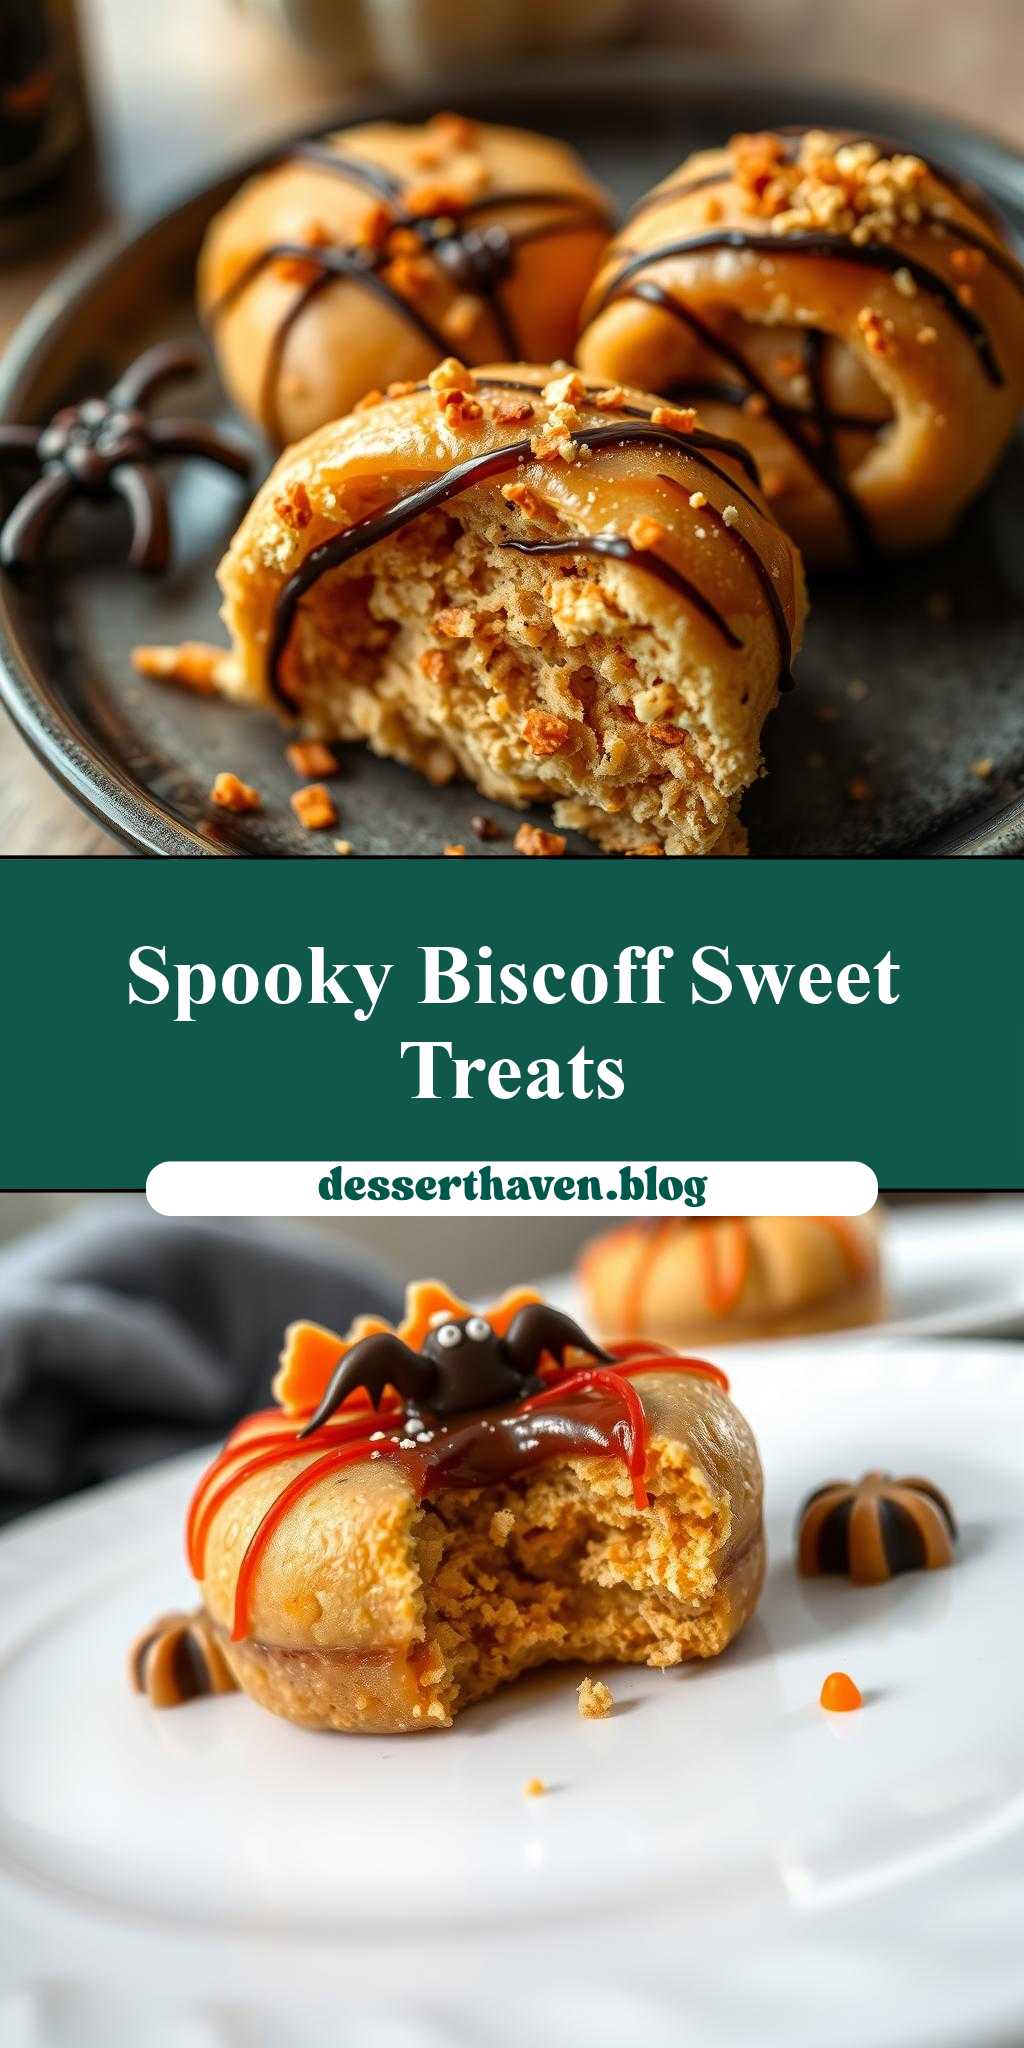
What treats will you conjure up this Halloween? Bake a batch of spooky sweet Halloween Biscoff Pastries, featuring layered puff pastry and gooey Biscoff spread, for an easy and quick homemade dessert perfect for weeknight festivities, save this idea for a howling good time
Halloween Biscoff Pastries
Introduction
As the spooky season approaches, why not conjure up a treat that’s as delightful as it is eerie? These Halloween Biscoff Pastries are a masterclass in blending everyday ingredients with a dash of creativity, resulting in a dessert that’s both flavorful and visually appealing. With the ease of preparation and the impressive results, these pastries are perfect for Halloween parties, gatherings, or even as a surprise treat for the little monsters in your life. The combination of Biscoff’s distinctive caramel flavor with the flaky pastry and the creative Halloween-themed toppings will make these pastries a howling success.
Why This Works
- Flavor balance and ingredient accessibility: The use of Biscoff spread, which is widely available, combined with simple pastry dough, makes this recipe accessible to everyone. The balance of sweet and spicy flavors, along with the crunch of Biscoff cookies, creates a delightful harmony of tastes and textures.
- Ease of preparation: Despite looking intricate, these pastries are surprisingly easy to make. The pastry dough can be store-bought, and the filling requires minimal preparation, making this recipe a breeze for both beginners and experienced bakers.
- Impressive results with minimal effort: The Halloween-themed decorations, such as orange and black frosting, edible eyes, or spider web designs, can elevate these pastries from simple treats to centerpiece-worthy desserts, all with minimal additional effort.
Key Ingredients
The main ingredients for these Halloween Biscoff Pastries include a package of puff pastry, Biscoff spread, powdered sugar, and a variety of Halloween-themed toppings such as orange and black frosting, edible eyes, or candy pieces. For the pastry, you can use either homemade or store-bought puff pastry, whichever is more convenient. Biscoff spread is the star of the show, providing a rich, caramel-like flavor. If you can’t find Biscoff spread, you could substitute it with a similar cookie butter or even peanut butter as a last resort, though the flavor will be slightly different. Powdered sugar is used to balance the flavors and to make the frosting for decorating. Feel free to get creative with the toppings to make your pastries as spooky or fun as you like.
Instructions
- Step 1: Begin by preheating your oven to 400°F (200°C). Roll out the puff pastry on a lightly floured surface to about 1/4 inch thickness. Cut out rectangles of pastry, about 4 inches by 6 inches. You should be able to get 8-10 rectangles, depending on how you cut them.
- Step 2: Place a tablespoon or two of Biscoff spread in the center of each pastry rectangle, leaving a 1/2 inch border around the edges. Fold the pastry over the filling to form a triangle, pressing the edges to seal. Use a fork to crimp the edges and create a decorative border.
- Step 3: Place the pastries on a baking sheet lined with parchment paper, leaving about 1 inch of space between each pastry. Brush the tops with a little bit of milk or beaten egg for a golden glaze. Bake for 20-25 minutes, or until the pastry is golden brown.
- Step 4: Allow the pastries to cool on a wire rack. Once cooled, you can decorate them with Halloween-themed toppings. Mix powdered sugar with a small amount of milk or water to create a frosting, and use this to attach edible eyes or draw spider webs on the pastries. Get creative and have fun with it!
Handy Tips
- Make sure to keep your puff pastry cold, as this will help it to hold its shape and bake up flaky. If you find your pastry getting too warm and soft, pop it in the fridge for a few minutes to firm up before continuing.
- Don’t overfill your pastries, as the Biscoff spread can melt and ooze out during baking. Just the right amount will ensure your pastries are flavorful without making a mess.
- Experiment with different toppings and decorations to make your pastries unique. This could include using different colors of frosting, adding candy pieces, or even creating designs with melted chocolate.
Heat Control
For baking the pastries, it’s crucial to maintain the right temperature. Preheat your oven to 400°F (200°C) and ensure it’s at a stable temperature before putting the pastries in. The pastries are done when they’re golden brown, which should take about 20-25 minutes. Keep an eye on them after 15 minutes, as oven times can vary. If you’re unsure, you can check for doneness by looking for a golden brown color and a firm, puffed texture.
Crunch Factor
The crunch factor in these pastries comes from the Biscoff cookies, which you can crush and sprinkle on top of the pastries before baking for an extra crunchy texture. Alternatively, you can use chopped nuts or even candy pieces for a different kind of crunch. The key is to not overdo it, as you want to maintain the flaky texture of the pastry as the base. A light sprinkle of crunchy toppings will add depth and interest to your pastries.
Pro Kitchen Tricks
- For a more golden pastry, brush the tops with an egg wash (beaten egg mixed with a little water) before baking. This will give your pastries a professional, glossy finish.
- To make your pastries more uniform, use a pastry cutter or a knife to trim the edges of the pastry rectangles before filling and baking.
- Consider making the pastry dough from scratch for an even flakier, more tender crust. This requires a bit more time and effort but can make a significant difference in the final product.
Storage Tips
- These pastries are best served fresh, but they can be stored in an airtight container at room temperature for up to 2 days. If you don’t plan to decorate them immediately, it’s best to bake and cool them, then store them in an airtight container before decorating and serving.
- For longer storage, you can freeze the baked pastries for up to 2 months. Simply thaw at room temperature or reheat in the oven at a low temperature (about 300°F or 150°C) for a few minutes to refresh them.
- When reheating, be careful not to overheat the pastries, as this can cause the Biscoff filling to melt and become too soft. A quick refresh in the oven or microwave should be enough to warm them through without compromising their texture.
Gift Packaging Ideas
If you’re planning to give these pastries as a gift, consider packaging them in a decorative tin or a Halloween-themed box. You can wrap each pastry individually in cellophane bags and tie them with orange and black ribbons for a festive touch. Adding a card with a spooky message or a Halloween-themed gift tag can make the gift even more special. For a more rustic look, you can place the pastries in a wicker basket lined with a Halloween-themed towel or napkin.
Flavor Variations
- Different spices: Consider adding a pinch of cinnamon, nutmeg, or cardamom to the Biscoff spread for a unique twist on the flavor.
- Creative toppings: Instead of using traditional Halloween colors, you could decorate your pastries with fall-themed toppings like leaves made from fondant or acorns crafted from chocolate.
- Ingredient swaps: If you can’t find Biscoff spread, you could experiment with other cookie butters or even nut butters like peanut butter or almond butter, though the flavor will be distinctly different.
Troubleshooting
- Texture problems: If your pastry doesn’t puff as expected, it might be due to the temperature of your oven being off or the pastry not being cold enough. Ensure your oven is at the right temperature and keep your pastry chilled until baking.
- Ingredient replacements: If you’re looking to replace any ingredients, make sure you’re using something with a similar consistency and flavor profile. For example, replacing Biscoff spread with peanut butter will change the flavor significantly.
- Over/undercooking signs: Keep an eye on your pastries while they’re baking. If they’re getting too brown, cover them with foil to prevent overbrowning. Undercooked pastries will be pale and soft; give them a few more minutes in the oven until they’re golden and firm.
FAQs
- Can I freeze it? Yes, you can freeze these pastries for up to 2 months. It’s best to freeze them after baking and before decorating.
- Is it gluten-free? Unfortunately, traditional puff pastry contains gluten. However, you can look for gluten-free puff pastry alternatives or make your own gluten-free pastry dough from scratch.
- Can I double the recipe? Absolutely! Simply double all the ingredients and follow the same instructions. Keep in mind that baking time might be slightly longer for larger batches, so keep an eye on them.
Conclusion
With these Halloween Biscoff Pastries, you’re not just making a dessert; you’re creating an experience. The combination of flaky pastry, rich Biscoff filling, and creative Halloween decorations will make these pastries a hit at any Halloween gathering. Don’t be afraid to experiment and make the recipe your own, whether that’s through different toppings, flavor variations, or presentation ideas. Happy baking, and Happy Halloween!