What’s the secret to Olive Garden’s famous breadsticks at home? It’s all about the perfect blend of garlic, parmesan, and a quick rising time. This easy homemade recipe is a weeknight dinner game changer, especially when served with a side of marinara sauce made from fresh tomatoes. Save this idea for a family favorite night in.
Olive Garden Breadsticks
Introduction
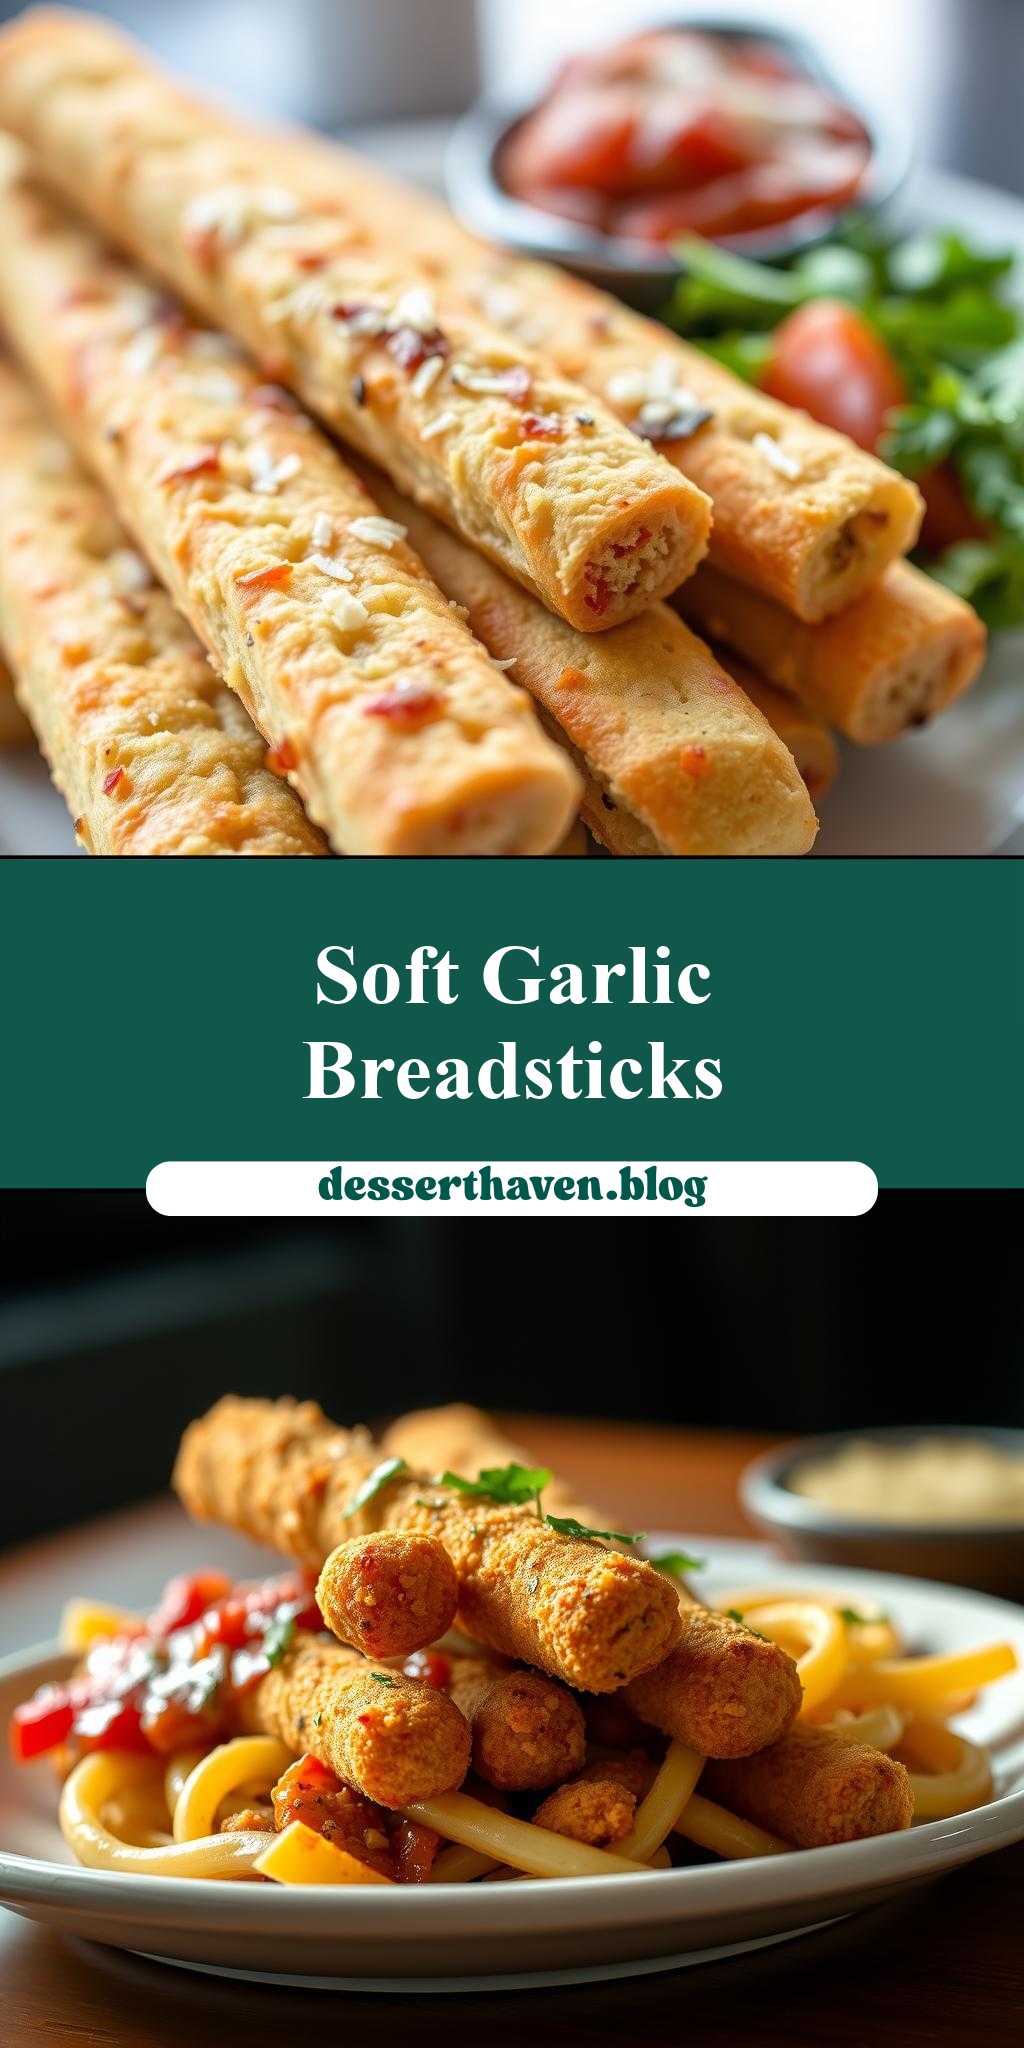
Imagine sinking your teeth into a warm, crispy, and flavorful breadstick, reminiscent of a visit to Olive Garden. With this simple recipe, you can bring the magic of their signature breadsticks right into your own kitchen. Using everyday ingredients and requiring minimal effort, this recipe is perfect for a quick snack, a side dish, or even as a gift for friends and family. The best part? It’s incredibly easy to make and can be customized with your favorite herbs and spices, making it a versatile addition to any meal.
Why This Works
- Flavor balance and ingredient accessibility: This recipe strikes a perfect balance between savory, slightly sweet, and herby flavors, all achievable with ingredients you might already have in your pantry.
- Ease of preparation: With straightforward steps and minimal preparation time, you can have freshly baked breadsticks in no time, perfect for spontaneous gatherings or weeknight dinners.
- Impressive results with minimal effort: Despite the simplicity of the recipe, the end result is impressive and sure to please both kids and adults, making it a great option for family meals or entertaining guests.
Key Ingredients
The main ingredients for these Olive Garden-inspired breadsticks include warm water, active dry yeast, salt, sugar, all-purpose flour, olive oil, and your choice of herbs and spices for added flavor. Practical substitutions can be made for certain ingredients, such as using whole wheat flour for a nuttier flavor or adding dried herbs like oregano or basil for an Italian twist. The beauty of this recipe lies in its flexibility, allowing you to experiment with different flavors to find your perfect combination.
Instructions
- Step 1: Begin by activating the yeast in warm water mixed with a pinch of sugar. Let it sit for a few minutes until it becomes frothy, indicating the yeast is active and ready to use.
- Step 2: In a large mixing bowl, combine flour, salt, and any desired herbs or spices. Gradually add the yeast mixture and olive oil, mixing until a dough forms. Knead the dough for about 10 minutes until it becomes smooth and elastic.
- Step 3: Place the dough in a greased bowl, cover it, and let it rise in a warm place for about an hour, or until it has doubled in size. Preheat your oven to 400°F (200°C). Once the dough has risen, punch it down and divide it into 8-10 equal pieces. Roll each piece into a long, thin breadstick shape.
- Step 4: Place the breadsticks on a baking sheet lined with parchment paper, leaving about an inch of space between each breadstick. Brush them with olive oil and sprinkle with salt and any additional seasonings you like. Bake for 12-15 minutes, or until golden brown. Remove from the oven and let cool for a few minutes before serving.
Handy Tips
- Ensure your yeast is fresh, as this will significantly affect the rise of your dough. If you find your dough isn’t rising well, it might be worth trying a new packet of yeast.
- Don’t overwork the dough, as this can lead to tough breadsticks. Mix the ingredients just until they come together in a shaggy mass, then let the kneading process develop the gluten.
- For an extra crispy crust, try baking the breadsticks for an additional 2-3 minutes. Keep an eye on them to prevent burning.
Heat Control
Heat control is crucial when baking breadsticks. The ideal temperature is 400°F (200°C), and the baking time should be around 12-15 minutes, depending on your oven and the size of your breadsticks. Look for golden brown color as a sign of doneness. If you prefer a softer breadstick, bake for 10-12 minutes. For a crisper breadstick, bake for 15 minutes or slightly longer, watching carefully to avoid overcooking.
Crunch Factor
Achieving the perfect crunch on your breadsticks can elevate them from good to great. To enhance the crunch factor, ensure you’re not overcrowding the baking sheet, as this can cause the breadsticks to steam instead of bake. Brushing the tops with olive oil before baking also helps to create a crispy exterior. For an extra crunchy outside, you can try baking the breadsticks at a higher temperature for a shorter amount of time, though this requires careful monitoring to prevent burning.
Pro Kitchen Tricks
- For easier cleanup, lightly flour your work surface before kneading the dough. This prevents the dough from sticking and makes the cleaning process much simpler.
- Consider using a stand mixer with a dough hook attachment for kneading. This can significantly reduce the time and effort required to develop the gluten in the dough.
- To add an extra layer of flavor, try brushing the breadsticks with garlic butter immediately after they come out of the oven. Simply mix softened butter with minced garlic and brush it generously over the warm breadsticks.
Storage Tips
- For storing leftover breadsticks, cool them completely on a wire rack before placing them in an airtight container. They can be stored at room temperature for up to 2 days or frozen for up to 2 months. To freeze, place the cooled breadsticks in a single layer in a freezer-safe bag or container.
- To reheat, simply place the breadsticks in the oven at 350°F (180°C) for a few minutes until warmed through. You can also reheat them in the microwave, but be cautious not to overheat, as this can make them tough.
- The shelf life of breadsticks depends on how they are stored. Generally, they are best consumed fresh but can be stored as mentioned above for later use.
Gift Packaging Ideas
If you’re considering gifting your homemade breadsticks, there are several creative ways to package them. You can place them in decorative jars or bags, tied with a ribbon and accompanied by a jar of homemade marinara sauce or a block of parmesan cheese for a complete Italian-inspired gift. Another idea is to wrap them individually in parchment paper and place them in a gift basket filled with other Italian treats like olives, cured meats, or chocolates.
Flavor Variations
- Different spices: Try adding a pinch of red pepper flakes for a spicy kick, or some dried oregano for an herby flavor. You can also experiment with various Italian seasoning blends for a unique taste.
- Creative toppings: Before baking, sprinkle the breadsticks with grated parmesan cheese, sesame seeds, or poppy seeds for added texture and flavor.
- Ingredient swaps: For a gluten-free version, you can substitute the all-purpose flour with a gluten-free flour blend. Keep in mind that gluten-free dough can be more delicate and may require adjustments in liquid content and kneading time.
Troubleshooting
- Texture problems: If your breadsticks turn out too dense, it might be because the dough was overworked. Try to mix and knead the dough just until it comes together, then let it rest.
- Ingredient replacements: If you’re out of a particular ingredient, consider what you can substitute it with. For example, if you don’t have olive oil, you can use another neutral-tasting oil like canola or grapeseed oil.
- Over/undercooking signs: Keep an eye on your breadsticks while they’re baking. If they’re not browning evenly, you might need to rotate the baking sheet. Undercooked breadsticks will be pale and soft, while overcooked ones will be dark brown and hard.
FAQs
- Can I freeze it? Yes, you can freeze the breadsticks after they’ve cooled. Place them in a freezer-safe bag or container and store for up to 2 months. To serve, thaw at room temperature or reheat in the oven.
- Is it gluten-free? The original recipe is not gluten-free because it uses all-purpose flour. However, you can make a gluten-free version by substituting the flour with a gluten-free blend. Note that gluten-free baking can be more challenging, and you may need to adjust the liquid content and kneading time.
- Can I double the recipe? Yes, you can easily double or even triple the recipe if you’re serving a larger crowd. Just keep in mind that you’ll need to adjust the baking time slightly if you’re baking more breadsticks at once.
Conclusion
Making Olive Garden-style breadsticks at home is not only achievable but also highly rewarding. With these simple steps and flexible ingredients, you can create delicious, crispy breadsticks that are sure to become a favorite. Don’t be afraid to experiment with different flavors and toppings to make the recipe your own. Whether you’re a seasoned baker or a beginner in the kitchen, this recipe is perfect for anyone looking to add a little Italian flair to their meals. So go ahead, give it a try, and enjoy the warm, comforting taste of freshly baked breadsticks, straight from your oven to your table.