What makes the perfect dessert combination – is it the sweetness of chocolate and the richness of caramel? Rich, velvety chocolate and salted caramel fill these easy homemade tarts, made with simple pastry dough and a gooey caramel center. Save this idea for your next family favorite dessert night.
Chocolate Salted Caramel Tarts
Introduction
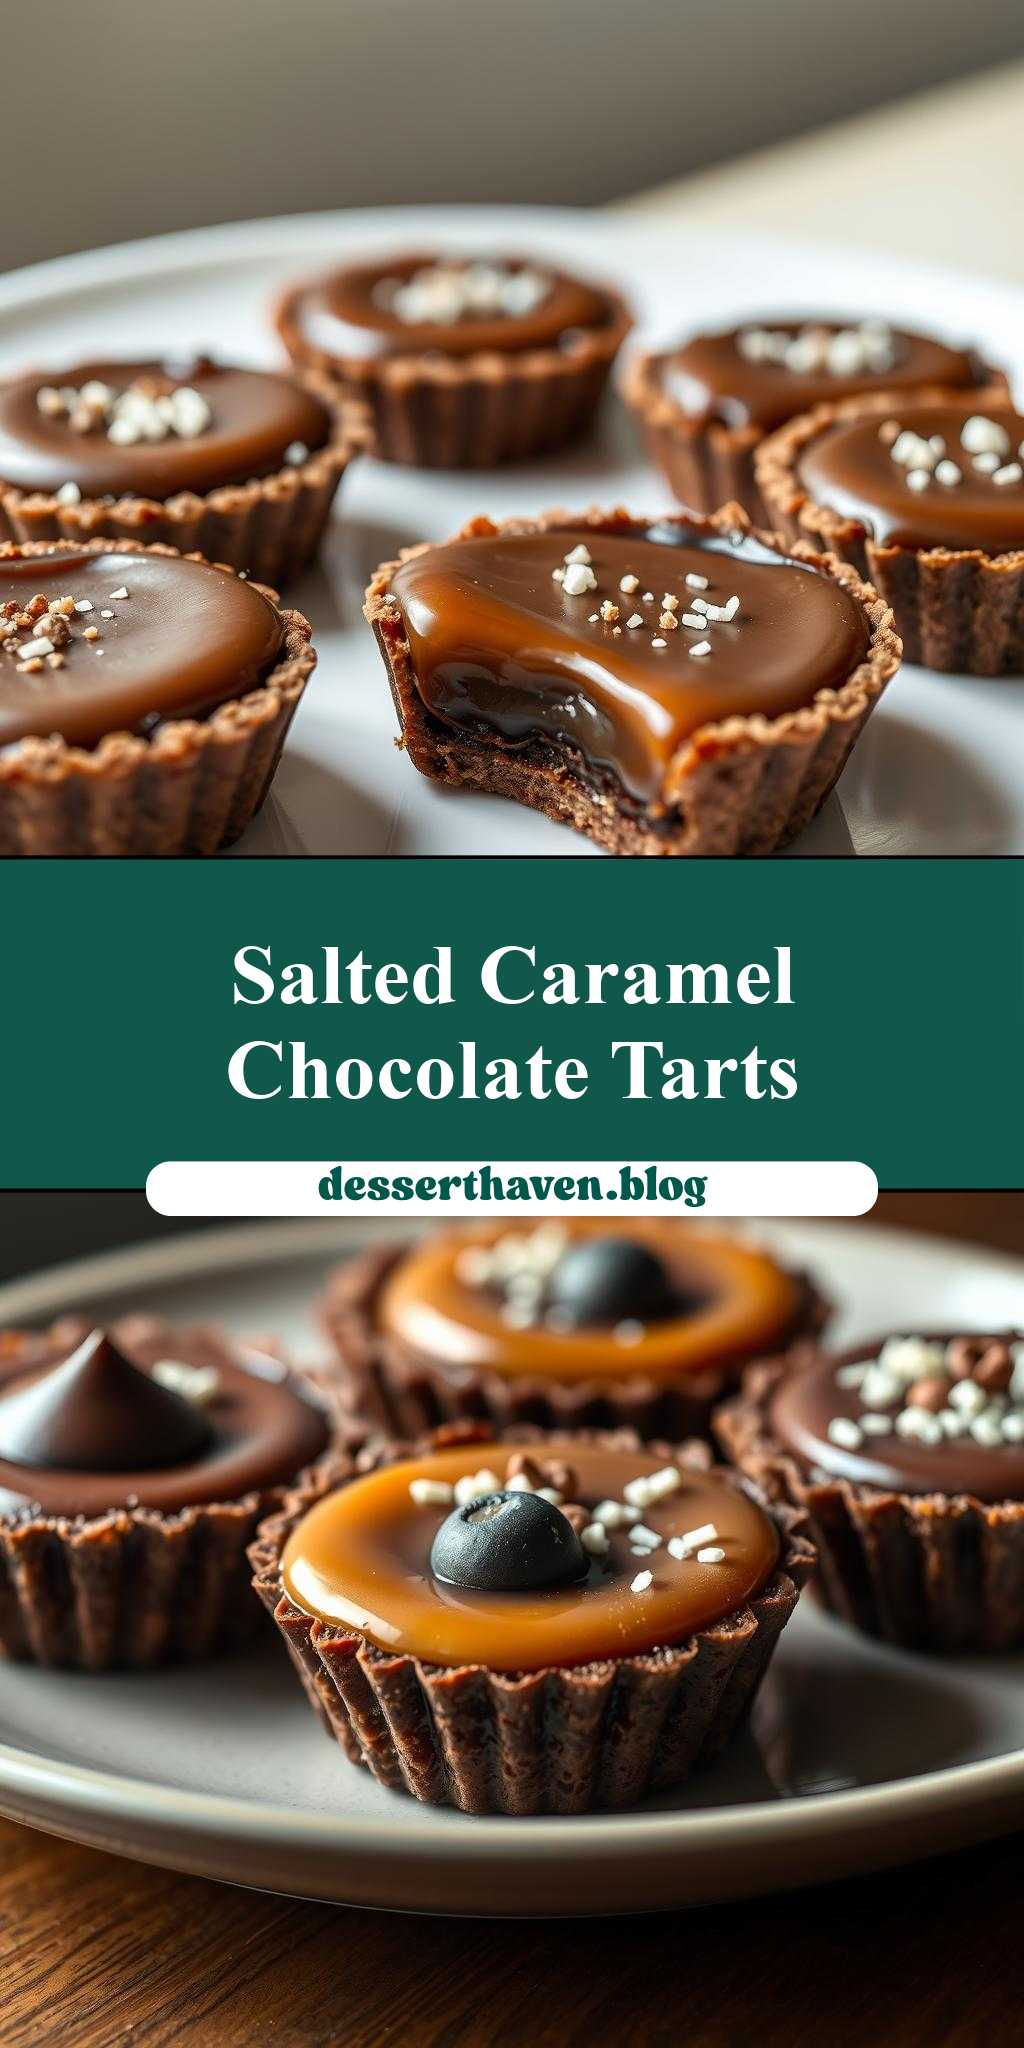
Indulge in the rich flavors of chocolate and caramel with these decadent Chocolate Salted Caramel Tarts. Perfect for any occasion, from dinner parties to special treats, these tarts are surprisingly easy to make and require only a few everyday ingredients. The combination of a buttery pastry crust, gooey caramel filling, and a layer of velvety chocolate is sure to impress your friends and family. With a little creativity and some simple substitutions, you can customize these tarts to suit any taste or dietary requirement.
Why This Works
- The balance of sweet and salty flavors creates a delightful harmony that will leave you wanting more.
- The use of accessible ingredients, such as store-bought pastry dough and caramel sauce, makes preparation a breeze.
- The impressive presentation and delicious taste of these tarts belie the minimal effort required to make them, making them perfect for busy home cooks.
Key Ingredients
The main ingredients for these Chocolate Salted Caramel Tarts include frozen puff pastry, caramel sauce, heavy cream, sea salt, and dark chocolate. For the pastry, you can use either homemade or store-bought puff pastry, whichever is more convenient. The caramel sauce can be made from scratch or store-bought, depending on your preference. If you want to substitute the heavy cream, you can use half-and-half or a non-dairy alternative. For the chocolate, choose a high-quality dark chocolate with at least 70% cocoa solids for the best flavor.
Instructions
- Step 1: Begin by preheating your oven to 400°F (200°C). Roll out the puff pastry on a lightly floured surface to a thickness of about 1/8 inch. Cut out circles of pastry using a cookie cutter or the rim of a glass, about 3-4 inches in diameter. You should be able to get about 12 circles.
- Step 2: Spoon a small amount of caramel sauce onto one half of each pastry circle, leaving a 1/2 inch border around the edges. Fold the other half of the pastry circle over the caramel to form a triangle or a square shape, pressing the edges to seal. Use a fork to crimp the edges and create a decorative border.
- Step 3: Place the tarts on a baking sheet lined with parchment paper and brush the tops with a little bit of heavy cream. Sprinkle a pinch of sea salt over the top of each tart. Bake the tarts in the preheated oven for 20-25 minutes, or until golden brown.
- Step 4: While the tarts are baking, melt the dark chocolate in a double boiler or in the microwave in 30-second increments, stirring between each interval until smooth. Once the tarts are done, allow them to cool for a few minutes before drizzling with the melted chocolate. Serve warm and enjoy!
Handy Tips
- Make sure to chill the puff pastry in the fridge for at least 30 minutes before rolling it out to prevent it from shrinking during baking.
- If you find that your caramel sauce is too runny, you can thickening it by cooking it for a few minutes over low heat or by adding a little bit of cornstarch.
- To avoid the chocolate from pooling at the bottom of the tarts, make sure to drizzle it over the top while the tarts are still warm.
Heat Control
When baking the tarts, it’s essential to keep an eye on the temperature and timing to ensure that they are cooked to perfection. The ideal temperature is 400°F (200°C), and the tarts should be baked for 20-25 minutes, or until golden brown. You can check for doneness by looking for a golden brown color and a firm texture. If you prefer a crisper pastry, you can bake the tarts for an additional 2-3 minutes, but keep an eye on them to prevent burning.
Crunch Factor
The combination of the crunchy pastry crust, gooey caramel filling, and smooth chocolate topping creates a delightful texture contrast that adds to the overall appeal of these tarts. To achieve the perfect crunch, make sure to bake the pastry until it’s golden brown and firm to the touch. If you prefer a chewier pastry, you can bake the tarts for a minute or two less.
Pro Kitchen Tricks
- To prevent the pastry from shrinking during baking, make sure to chill it in the fridge for at least 30 minutes before rolling it out.
- Use a pastry brush to apply a little bit of water to the edges of the pastry before folding it over the caramel filling to help create a tight seal.
- To clean up any spills or splatters, use a damp cloth to wipe down the baking sheet and utensils as soon as possible to prevent the caramel and chocolate from hardening.
Storage Tips
- These tarts are best served fresh, but they can be stored in an airtight container in the fridge for up to 3 days.
- To freeze the tarts, place them on a baking sheet lined with parchment paper and put it in the freezer until frozen solid, then transfer them to a freezer-safe bag or container for up to 2 months.
- To reheat the tarts, simply place them on a baking sheet lined with parchment paper and bake in a preheated oven at 350°F (180°C) for 5-7 minutes, or until warm and crispy.
Gift Packaging Ideas
These Chocolate Salted Caramel Tarts make perfect gifts for friends and family, especially during the holiday season. To package them, simply place the tarts in a decorative tin or box, or wrap them individually in cellophane bags and tie with a ribbon. You can also add a personalized touch by including a gift tag or a handwritten note with the recipe and baking instructions.
Flavor Variations
- Try adding a pinch of sea salt or a sprinkle of flaky salt to the caramel filling for an added depth of flavor.
- Use different types of chocolate, such as milk chocolate or white chocolate, to create a unique flavor profile.
- Add a teaspoon of vanilla extract or a pinch of cinnamon to the caramel filling for an extra boost of flavor.
Troubleshooting
- If the pastry is too sticky, try chilling it in the fridge for a few minutes to firm it up before rolling it out.
- If the caramel filling is too runny, try cooking it for a few minutes over low heat or adding a little bit of cornstarch to thicken it.
- If the chocolate topping is too thick, try heating it up in the microwave for a few seconds to thin it out.
FAQs
- Can I freeze the tarts? Yes, you can freeze the tarts for up to 2 months. Simply place them on a baking sheet lined with parchment paper and put it in the freezer until frozen solid, then transfer them to a freezer-safe bag or container.
- Is this recipe gluten-free? No, this recipe is not gluten-free, as it contains wheat flour in the puff pastry. However, you can substitute the puff pastry with a gluten-free alternative to make the recipe gluten-free.
- Can I double the recipe? Yes, you can double the recipe to make more tarts. Simply multiply all the ingredients by two and follow the same instructions.
Conclusion
These Chocolate Salted Caramel Tarts are a delicious and impressive dessert that is sure to wow your friends and family. With their rich, velvety chocolate and gooey caramel filling, they are the perfect treat for any occasion. Whether you’re a seasoned baker or a beginner, this recipe is easy to follow and requires only a few simple ingredients. So go ahead, give it a try, and enjoy the delightful combination of flavors and textures that these tarts have to offer.