What makes a perfect gift for any chocolate lover? Rich, velvety truffles made with dark chocolate and heavy cream, of course. This easy homemade recipe is a family favorite, perfect for a quick weeknight treat. Save this idea for a special occasion or a cozy night in.
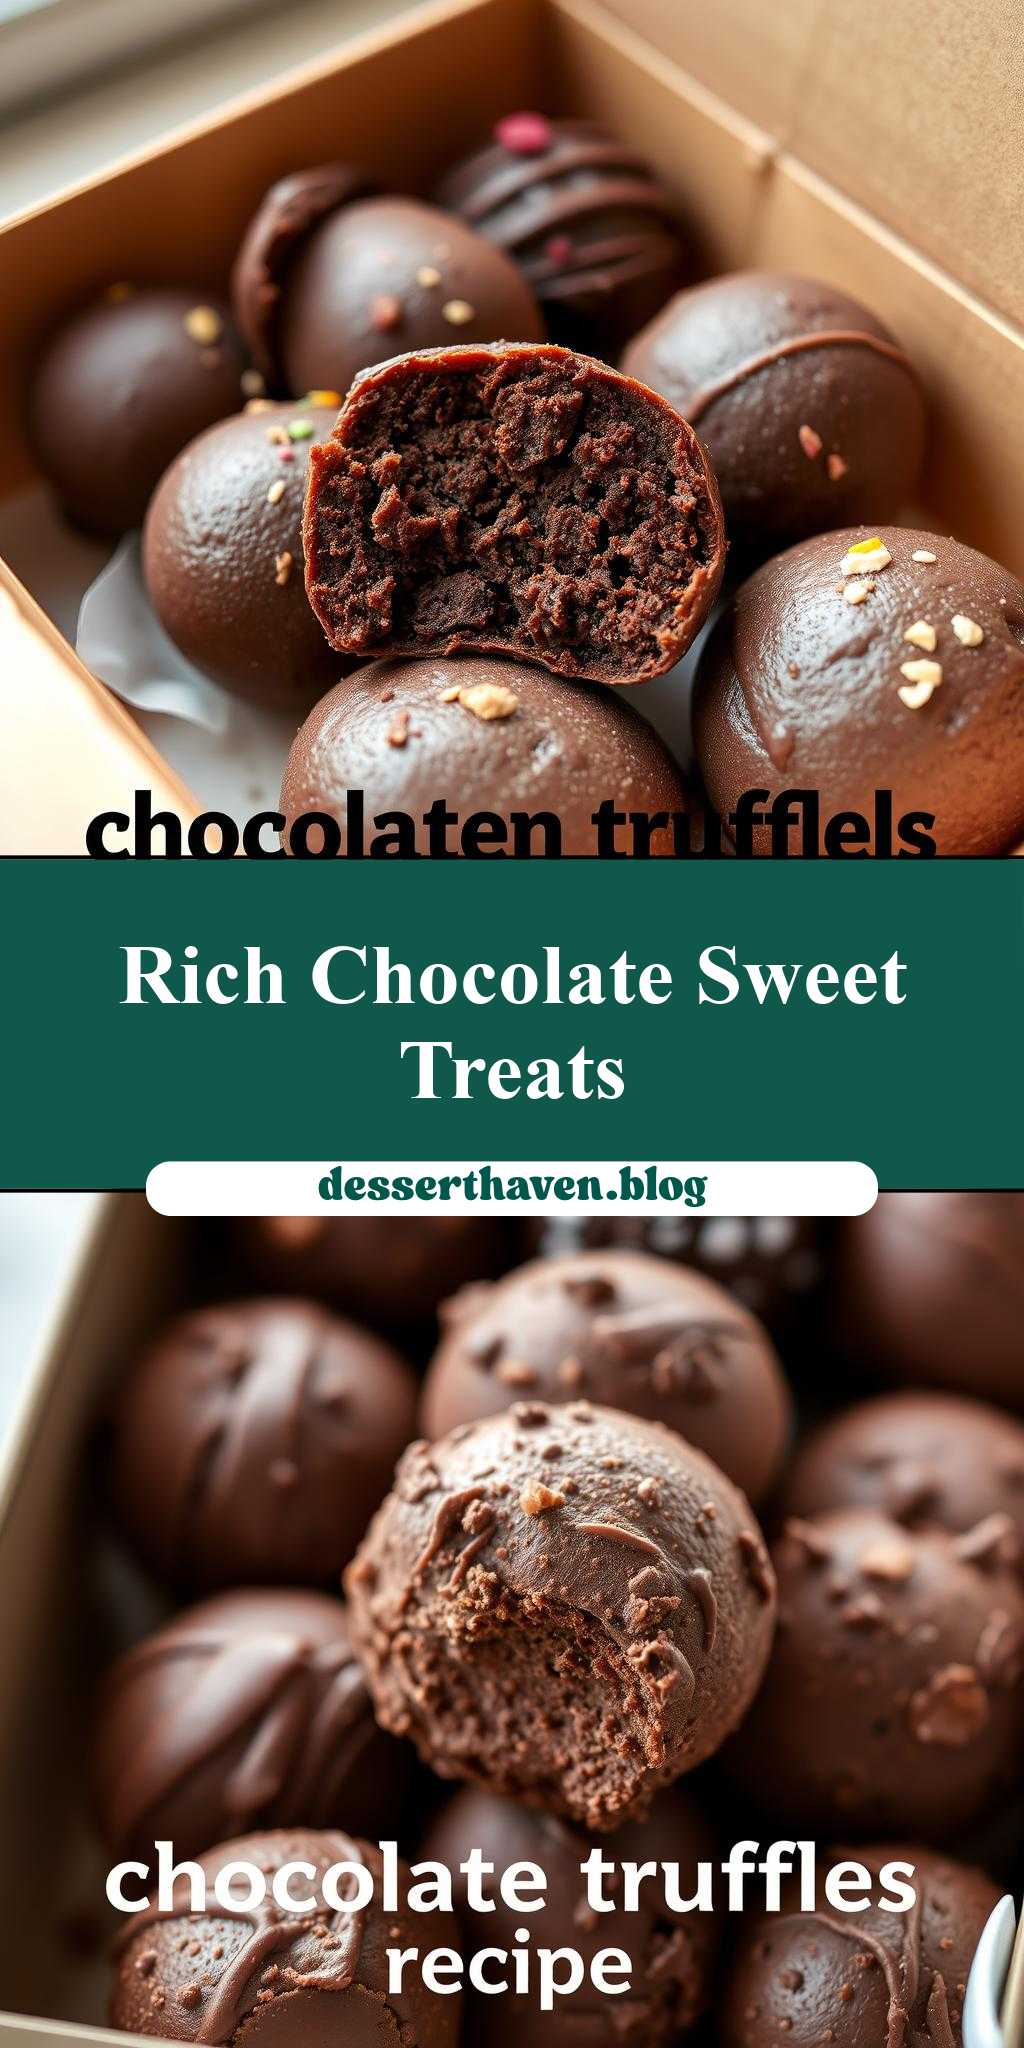
chocolate truffles in a box with text overlay that reads chocolate truffles recipe
Introduction
Indulge in the richness of chocolate with our exquisite chocolate truffles recipe, perfect for any occasion. This delightful treat is not only a pleasure to the palate but also remarkably easy to prepare, using everyday ingredients that can be found in most kitchens. The beauty of this recipe lies in its simplicity and the endless possibilities for creativity, allowing you to personalize your truffles with various flavors and coatings. Whether you’re a chocolate aficionado or a novice in the kitchen, this recipe is sure to impress with its deep, velvety chocolate flavor and the joy of making something truly special with your own hands.
Why This Works
- Flavor balance and ingredient accessibility: The combination of dark chocolate, heavy cream, and butter creates a perfectly balanced flavor profile that is both decadent and approachable. The ingredients are easily accessible, making this a convenient treat to whip up.
- Ease of preparation: Despite their luxurious appearance and taste, these truffles are surprisingly simple to make. The process involves melting chocolate, mixing it with cream and butter, chilling, and then shaping into balls, which can be coated in various toppings.
- Impressive results with minimal effort: The end result is a batch of truffles that look and taste like they came from a high-end chocolatier, all achieved with minimal fuss and effort. This makes them perfect for gift-giving, special occasions, or simply as a sweet treat to enjoy at home.
Key Ingredients
The foundation of our chocolate truffles includes high-quality dark chocolate, heavy cream, and unsalted butter. The dark chocolate provides a deep, rich flavor, while the heavy cream and butter add a luxurious smoothness. For coatings, you can use anything from cocoa powder and powdered sugar to chopped nuts or sprinkles, depending on your desired texture and appearance. Practical substitutions can be made with milk chocolate for a sweeter truffle or using different types of cream for a lighter or dairy-free version. The versatility of these ingredients allows for countless variations to suit any taste.
Instructions
- Step 1: Begin by preparing your ingredients. Chop the dark chocolate into small pieces to ensure it melts evenly. Measure out the heavy cream and have the unsalted butter at room temperature.
- Step 2: In a double boiler or a heatproof bowl set over a pot of simmering water, melt the chocolate, stirring occasionally. Once the chocolate is melted, remove it from the heat and stir in the heavy cream and butter until fully incorporated and smooth.
- Step 3: Allow the chocolate mixture to cool to room temperature, then cover and refrigerate for at least 2 hours or until firm. This step is crucial as it will make the mixture easier to handle when shaping the truffles.
- Step 4: Use a melon baller or a small spoon to scoop out small balls of the chocolate mixture. Roll each ball between your hands to shape into smooth truffles. Then, roll the truffles in your chosen coating, whether it’s cocoa powder, chopped nuts, or something else, to give them a decorative finish.
Handy Tips
- For a lighter truffle, you can use less heavy cream or substitute it with a lighter version. Conversely, for a richer truffle, you can add more chocolate or use a higher percentage of cocoa solids.
- Avoid overheating the chocolate, as this can cause it to seize up and become grainy. If using a microwave to melt the chocolate, do so in short intervals, stirring between each heating.
- Experiment with different flavorings like vanilla, orange zest, or a pinch of salt to add unique twists to your truffles.
Heat Control
When melting the chocolate, it’s essential to maintain a low and gentle heat. If using a double boiler, ensure the water does not touch the bottom of the bowl, and if using a microwave, heat in short intervals (about 30 seconds) and stir well between each interval. The chocolate should be melted and smooth but not hot. This careful heat control prevents the chocolate from seizing or becoming too thin.
Crunch Factor
The texture of your truffles can vary greatly depending on the coating you choose. For a crunchy exterior, chopped nuts, cookie crumbs, or even toasted coconut flakes can be used. For a smoother truffle, cocoa powder or powdered sugar might be preferable. Achieving the desired crunch factor is all about selecting the right coating and applying it evenly to each truffle.
Pro Kitchen Tricks
- To make the truffles more uniform in size, use a small cookie scoop or a melon baller. This not only ensures they are all roughly the same size but also makes the shaping process much quicker.
- For an extra glossy finish on your truffles, melt a small amount of shortening (like coconut oil or vegetable shortening) and brush it over the truffles after they have been coated. This adds a professional touch and helps the coatings adhere better.
- Consider using different molds to shape your truffles into various shapes, such as hearts for Valentine’s Day or eggs for Easter. This can add a fun and seasonal touch to your treats.
Storage Tips
- Truffles are best stored in an airtight container in the refrigerator. They can be kept for up to a week when stored properly.
- If you plan to store them for a longer period, consider freezing them. Place the truffles in a single layer in an airtight container or freezer bag and freeze. Frozen truffles can be thawed at room temperature when you’re ready to serve them.
- When storing, it’s a good idea to place parchment paper or wax paper between layers of truffles to prevent them from sticking together.
Gift Packaging Ideas
These truffles make excellent gifts due to their elegant appearance and delicious taste. Consider packaging them in decorative boxes or jars, layered with tissue paper or nestled in small paper cups. A ribbon around the box or a gift tag with a personal message adds a thoughtful touch. For a more rustic look, you could use brown paper bags or cones and tie them with twine. Whatever packaging you choose, the truffles are sure to be a hit.
Flavor Variations
- Different spices: A pinch of cayenne pepper can add a surprising kick, while cinnamon or nutmeg can provide a warm, comforting flavor.
- Creative toppings: Besides the classic cocoa powder, consider using shredded coconut, chopped candy pieces, or even edible gold dust for a luxurious touch.
- Ingredient swaps: Substitute the heavy cream with a non-dairy milk for a vegan version, or use white chocolate for a sweeter, creamier truffle.
Troubleshooting
- Texture problems: If your truffles are too soft, they may not have been chilled long enough. If they’re too hard, the chocolate might have been overheated. Adjusting the chilling time or the melting process can help achieve the perfect texture.
- Ingredient replacements: If you’re missing an ingredient, consider what can be substituted without altering the flavor profile too much. For example, milk can be used instead of heavy cream in a pinch, though the truffles might not be as rich.
- Over/undercooking signs: The chocolate should be smooth and melted but not hot. If it’s overheated, it will be grainy or separated. Underheated chocolate won’t mix properly with the cream and butter, resulting in a truffle that’s too soft or separate.
FAQs
- Can I freeze it? Yes, truffles can be frozen for up to 2 months. Simply place them in an airtight container or freezer bag and thaw at room temperature when ready to serve.
- Is it gluten-free? Yes, this recipe is naturally gluten-free, making it suitable for those with gluten intolerance or sensitivity.
- Can I double the recipe? Absolutely, you can double or even triple the recipe if you’re making truffles for a large group. Just ensure you have enough space in your refrigerator for the mixture to chill properly.
Conclusion
Making chocolate truffles is a fun and rewarding process that allows for creativity and personalization. With these simple steps and tips, you can create beautiful and delicious truffles perfect for any occasion. Whether you’re a seasoned baker or a beginner in the kitchen, this recipe is sure to delight. So go ahead, experiment with different flavors and coatings, and enjoy the process of creating something truly special. Happy baking, and don’t forget to share your creations with friends and family!