What makes the perfect chocolate cake? Rich, velvety chocolate and a moist homemade texture, of course. This easy dessert recipe is a family favorite, featuring decadent dark chocolate and simple mixing methods. Save this idea and indulge in a slice soon.
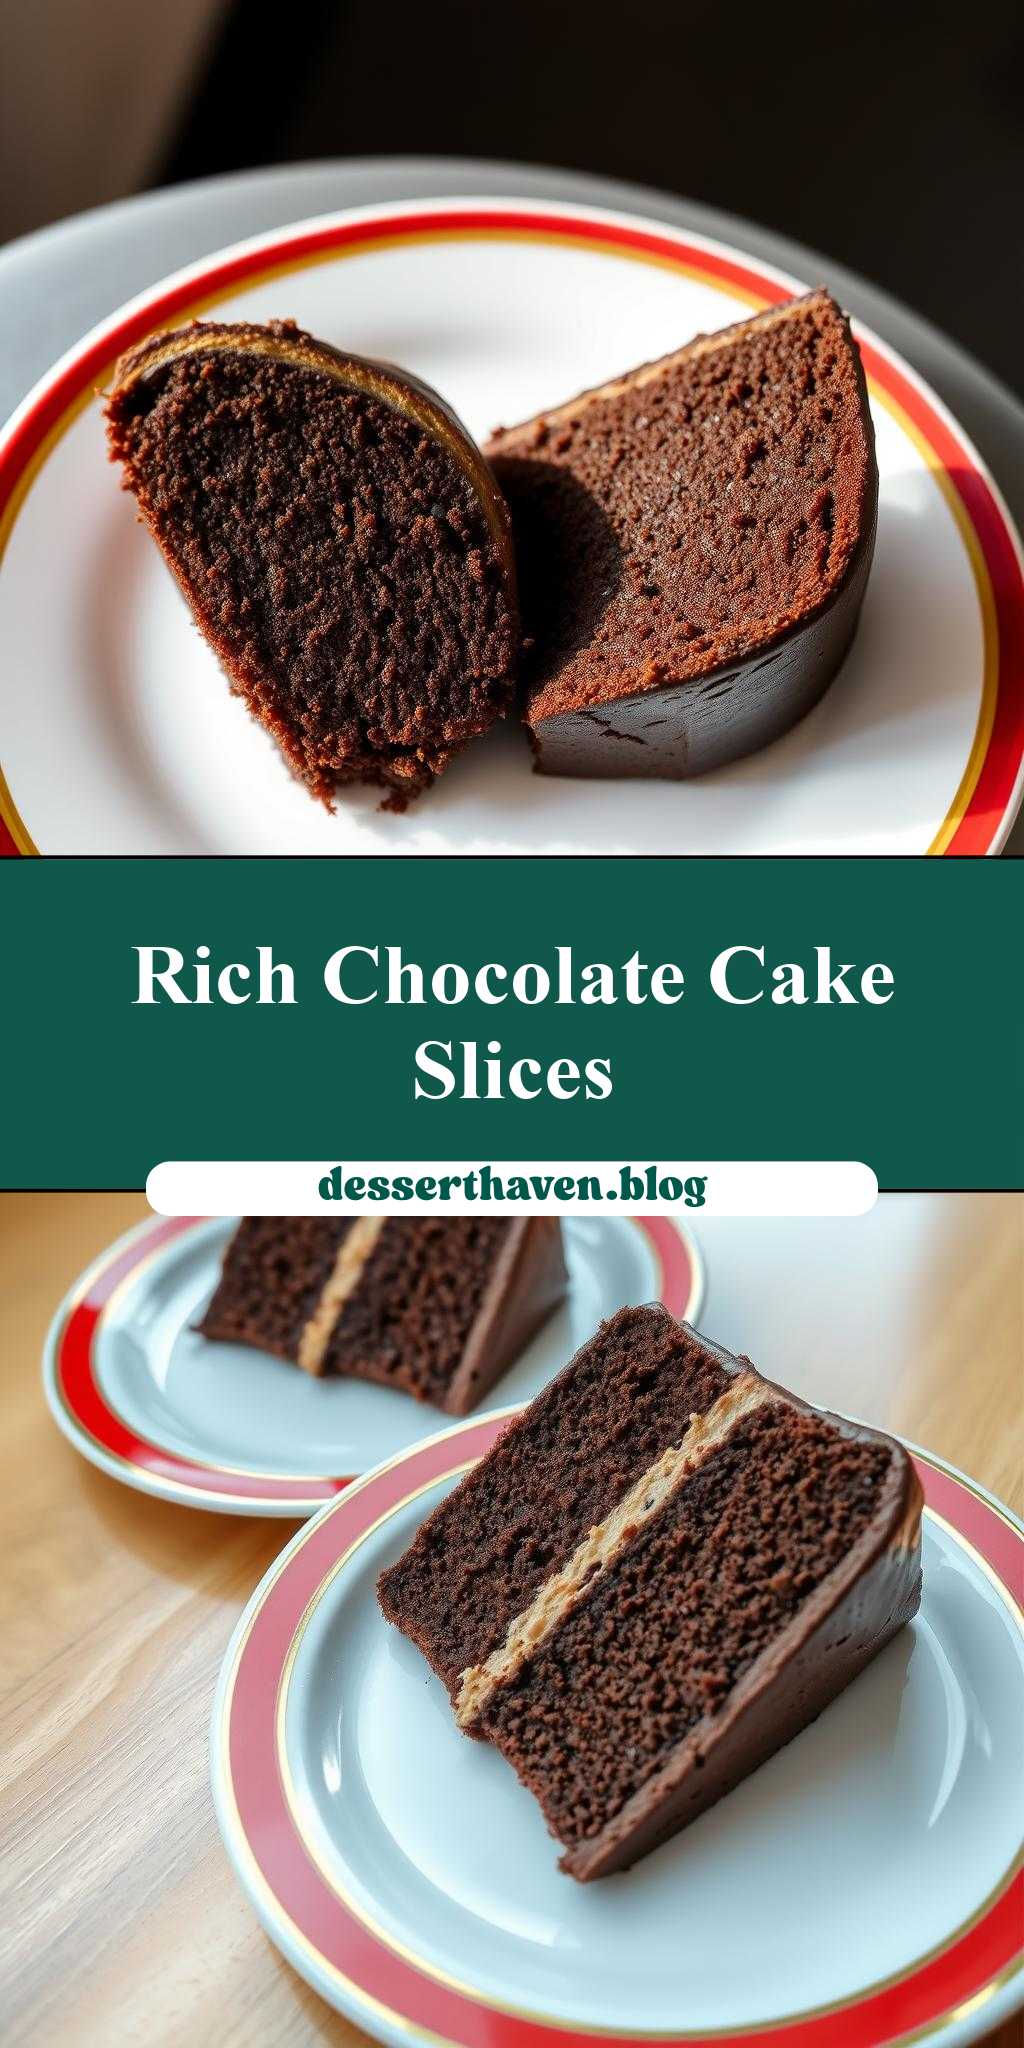
two slices of chocolate cake on white plates with red and gold border around the edges
Introduction
Indulge in the rich, velvety smoothness of decadent chocolate cake, perfectly balanced on elegant white plates adorned with a sophisticated red and gold border. This recipe is a masterclass in simplicity and creativity, utilizing everyday ingredients to craft a dessert that is as visually stunning as it is deliciously satisfying. With its ease of preparation and impressive results, this chocolate cake is perfect for special occasions or as a treat to brighten up any day. The combination of moist cake, deep chocolate flavor, and the luxurious presentation makes it a standout dish that will impress your family and friends.
Why This Works
- Flavor balance and ingredient accessibility: The recipe strikes a perfect balance between the deepness of chocolate and the lightness of the cake, making it accessible to a wide range of palates. The ingredients are readily available, ensuring that you can whip up this masterpiece at a moment’s notice.
- Ease of preparation: Despite its sophisticated appearance, this chocolate cake is surprisingly easy to prepare. The steps are straightforward, and the ingredients are simple to work with, making it a great option for both beginners and experienced bakers.
- Impressive results with minimal effort: The presentation of the cake on white plates with a red and gold border elevates it to a whole new level, making it perfect for special occasions without requiring an excessive amount of effort or specialized equipment.
Key Ingredients
The foundation of this exquisite dessert lies in its carefully selected ingredients. You will need high-quality dark chocolate for the intense flavor, all-purpose flour as the base of the cake, granulated sugar to balance the bitterness of the chocolate, unsalted butter for moisture and richness, large eggs to bind the ingredients together, and pure vanilla extract to add a hint of complexity. For the border, you can use edible gold dust and red food coloring to achieve the luxurious red and gold effect. Practical substitutions can be made, such as using semi-sweet chocolate chips if dark chocolate is not available, or substituting the eggs with flax eggs for a vegan version.
Instructions
- Step 1: Begin by preheating your oven to 350°F (180°C). Prepare your ingredients by measuring out the flour, sugar, and chocolate. Chop the chocolate into small pieces to ensure it melts evenly.
- Step 2: Mix the dry ingredients (flour, sugar) in a bowl. In a separate bowl, whisk together the wet ingredients (eggs, butter, vanilla extract). Melt the chocolate and allow it to cool slightly before incorporating it into the wet ingredients. Combine the wet and dry ingredients, mixing until just combined to avoid overmixing.
- Step 3: Pour the batter into greased and floured cake pans. Bake for approximately 25-30 minutes or until a toothpick inserted into the center comes out clean. Allow the cakes to cool completely before assembling.
- Step 4: For the final touches, place each slice of cake on a white plate. To create the red and gold border, mix a small amount of powdered sugar with a few drops of red food coloring until you achieve the desired shade. Use a piping bag or a spoon to create a border around the edge of the plate. Dust the edge of the plate with edible gold dust for the luxurious gold effect.
Handy Tips
- Ensure your ingredients are at room temperature for a lighter cake. Don’t overmix the batter, as this can result in a dense cake. If you find that your cake is too crumbly, you can try adding a little more egg or butter to bind it together better.
Heat Control
For baking the cake, maintaining the correct oven temperature is crucial. Preheat your oven to 350°F (180°C) and use an oven thermometer to ensure accuracy. The cakes are done when they are firm to the touch and a toothpick inserted into the center comes out clean. Avoid overbaking, as this can dry out the cake.
Crunch Factor
The desired texture of this chocolate cake is moist and tender, not crunchy. To achieve this, ensure you don’t overbake the cake, and consider brushing the tops with a simple syrup after baking to retain moisture.
Pro Kitchen Tricks
- For a more intense chocolate flavor, use a higher quality dark chocolate with a higher cocoa content. To prevent the cake from sticking to the pan, grease the pans thoroughly and dust them with flour or cocoa powder.
Storage Tips
- Store the cake in an airtight container at room temperature for up to 3 days. For longer storage, consider freezing the cake. When you’re ready to serve, thaw the cake at room temperature or reheat it gently in the oven.
Gift Packaging Ideas
This elegantly presented chocolate cake makes a wonderful gift. Consider placing the cake in a decorative box or wrapping it in luxurious paper and tying it with a ribbon. For a more personalized touch, you can include a handwritten note or a small bag of gourmet coffee or chocolates.
Flavor Variations
- Different spices: Add a pinch of cinnamon, nutmeg, or cayenne pepper to the batter for a unique twist.
- Creative toppings: Top the cake with fresh fruits, nuts, or a drizzle of caramel sauce for added texture and flavor.
- Ingredient swaps: Substitute the all-purpose flour with almond flour for a gluten-free version, or use different types of milk for a non-dairy cake.
Troubleshooting
- Texture problems: If the cake turns out too dense, check that you didn’t overmix the batter. If it’s too dry, consider adding more liquid or brushing it with syrup after baking.
- Ingredient replacements: If you’re missing an ingredient, look for substitutions in the recipe or online. Common replacements include using applesauce instead of oil or substituting sugar with honey.
- Over/undercooking signs: Keep an eye on the cake while it’s baking. If the edges start to brown too quickly, cover the pan with foil. If the cake is undercooked, it will be soft and squishy to the touch.
FAQs
- Can I freeze it? Yes, you can freeze the cake for up to 2 months. Wrap it tightly in plastic wrap or aluminum foil and place it in a freezer-safe bag.
- Is it gluten-free? The original recipe contains gluten due to the all-purpose flour. However, you can make a gluten-free version by substituting the flour with a gluten-free alternative.
- Can I double the recipe? Yes, you can double the recipe to make a larger cake. Just ensure you have enough pans and adjust the baking time accordingly.
Conclusion
With its decadent chocolate flavor and elegant presentation, this recipe for two slices of chocolate cake on white plates with a red and gold border around the edges is sure to impress. Whether you’re a seasoned baker or just starting out, this recipe offers a perfect blend of ease, creativity, and indulgence. Feel free to experiment with the recipe, sharing your adaptations and tips with friends and family. As you take your first bite, remember that the joy of baking lies not just in the end result, but in the journey of creation and the love that goes into every detail.