What makes the perfect dessert combination – is it the classic pairing of Oreos and strawberries or the bold contrast of red and white cake. This homemade treat is incredibly easy to make, featuring a quick assembly of moist cake, crushed Oreo cookies and fresh strawberries on top. Save this idea for your next family favorite dessert.
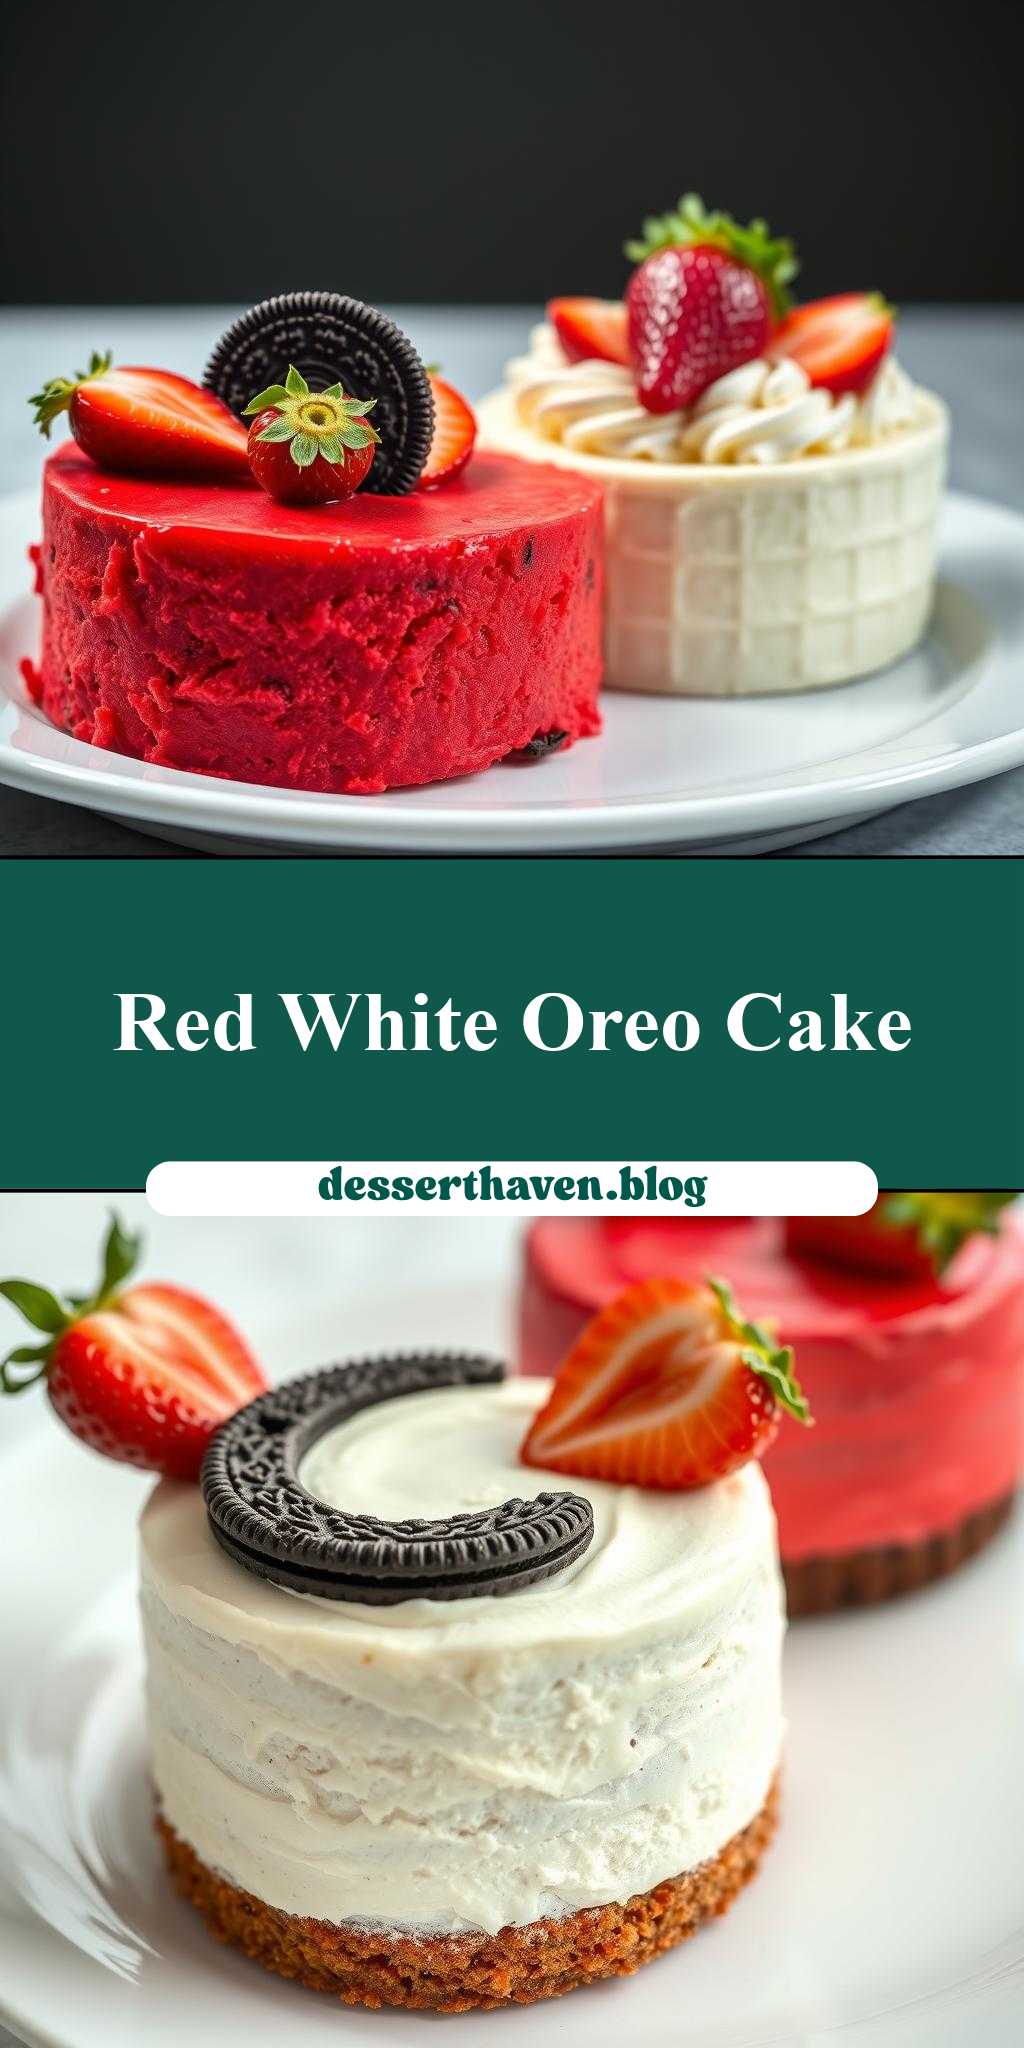
Two Cakes with Oreo Cookies and Strawberries on Top, One is White and the Other is Red
Introduction
Imagine a dessert so divine, it combines the creamy richness of cake, the crunch of Oreo cookies, and the sweetness of fresh strawberries, all in one visually stunning presentation. This recipe for two cakes, one white and one red, topped with Oreo cookies and strawberries, is a masterpiece of simplicity and flavor. It’s perfect for special occasions or just a sweet treat any day of the week. The best part? It’s incredibly easy to make, requiring minimal effort for a dessert that looks like it was plucked straight from a bakery window. In this article, we’ll guide you through the process of creating this delightful dessert, from preparation to presentation.
Why This Works
- The balance of flavors between the moist cake, the bitterness of the Oreo cookies, and the sweetness of the strawberries creates a perfect harmony of tastes.
- The accessibility of the ingredients and the straightforward preparation process make this dessert achievable for anyone, regardless of their baking experience.
- The impressive visual result, with the contrasting colors of the white and red cakes, the black and white of the Oreos, and the vibrant red of the strawberries, makes for a dessert that is almost too beautiful to eat.
Key Ingredients
To make these stunning cakes, you’ll need a few key ingredients. For the cakes, you’ll require all-purpose flour, sugar, eggs, butter or oil, and milk. For the white cake, you might add a bit of vanilla extract for flavor, while the red cake will need some red food coloring to give it that vibrant color. For the topping, you’ll need a package of Oreo cookies and some fresh strawberries. If you want to get a bit fancier, you could also use whipped cream or frosting to adhere the Oreos and strawberries to the top of the cakes. Practical substitutions could include using almond milk instead of regular milk for a dairy-free option or using different types of extract like almond or coconut for a unique flavor twist.
Instructions
- Step 1: Begin by preheating your oven to 350°F (175°C). Prepare two 9-inch round cake pans by greasing them and lining the bottoms with parchment paper. In a large mixing bowl, whisk together the flour, sugar, and a pinch of salt. In another bowl, whisk together the eggs, milk, and melted butter or oil. Add the wet ingredients to the dry ingredients and mix until just combined. Divide the batter evenly between two bowls. Add a few drops of red food coloring to one of the bowls and mix well to create the red cake batter. Add a teaspoon of vanilla extract to the other bowl for the white cake.
- Step 2: Pour the batters into the prepared pans and smooth the tops. Bake for about 25-30 minutes, or until a toothpick inserted into the center of each cake comes out clean. Let the cakes cool in the pans for 5 minutes before transferring them to a wire rack to cool completely.
- Step 3: Once the cakes are completely cool, you can start preparing the topping. Twist apart the Oreo cookies and set the creams aside for another use. Slice the strawberries into thin pieces. If using whipped cream or frosting, spread a thin layer on top of each cake to act as an adhesive for the Oreos and strawberries.
- Step 4: Arrange the Oreo cookies on top of each cake in a pattern that appeals to you. You could create a border around the edge of the cake or cover the entire surface. Next, arrange the sliced strawberries on top of the Oreos. You could make a pattern with the strawberries or simply scatter them across the top of the cake.
Handy Tips
- To ensure your cakes are moist, don’t overmix the batter, and make sure to not overbake them.
- If you find that your Oreos start to get soggy from the moisture of the whipped cream or the strawberries, you can try dipping the tops of the Oreos in melted chocolate before placing them on the cake. This will act as a barrier and keep them crunchy.
- For an extra special touch, consider making a simple glaze with powdered sugar and milk to drizzle over the strawberries and Oreos.
Heat Control
When baking the cakes, it’s crucial to keep an eye on them to ensure they don’t overcook. The ideal temperature is 350°F (175°C), and the cakes should be done in about 25-30 minutes. Check for doneness by inserting a toothpick into the center of each cake. If the toothpick comes out clean, the cakes are ready. If not, give them a few more minutes and check again.
Crunch Factor
The crunch factor in this dessert comes from the Oreo cookies. To maintain their crunch, it’s best to add them to the cake just before serving. If you’re using whipped cream or frosting as an adhesive, try to use a small amount to avoid making the cookies soggy. Additionally, if you choose to dip the Oreos in chocolate, this will also help maintain their crunch.
Pro Kitchen Tricks
- A professional baker’s trick for ensuring cakes are evenly baked and flat is to rotate the pans halfway through the baking time.
- To make the cakes more stable and easier to handle, especially if you’re planning to transport them, consider placing a dab of frosting or whipped cream on the serving plate and then placing the cake on top. This will act as a sort of glue, keeping the cake in place.
- For cleanup, having a bowl of warm soapy water ready for washing utensils and equipment as you go can save a lot of time and effort in the end.
Storage Tips
- If you’re not serving the cakes immediately, you can store them at room temperature for up to a day. If you won’t be serving them for more than a day, consider freezing them. Wrap the cakes tightly in plastic wrap or aluminum foil and place them in a freezer-safe bag.
- When reheating or thawing frozen cakes, do so at room temperature or in the refrigerator. Avoid thawing at room temperature for more than a couple of hours to prevent bacterial growth.
- The best containers for storing cakes are airtight ones, such as cake keepers or large Tupperware containers, to keep them fresh and protected from dust and other contaminants.
Gift Packaging Ideas
If you’re considering gifting these cakes, presentation is key. Wrap each cake individually in plastic wrap or aluminum foil and then place them in a decorative box or tin. You could also add a personal touch by including a handwritten note or card. For a more rustic look, consider wrapping the cakes in parchment paper and tying with twine. Adding a few fresh strawberries or an Oreo cookie on top of the wrapped cake can give a hint of what’s inside and add to the gift’s appeal.
Flavor Variations
- Consider adding different spices like cinnamon or nutmeg to the cake batter for a unique twist.
- For creative toppings, you could use other types of cookies like chocolate sandwich cookies or wafers, or even candy pieces for a more colorful and playful look.
- Ingredient swaps like using applesauce instead of oil or adding a teaspoon of espresso powder to intensify the chocolate flavor (if you decide to make a chocolate cake version) can also add interesting dimensions to the dessert.
Troubleshooting
- If your cakes turn out too dense, it might be because the batter was overmixed. Try mixing the wet and dry ingredients separately and gently folding them together.
- If you’re having trouble finding Oreos or prefer not to use them, you can substitute with another type of cookie. However, keep in mind that the flavor and texture will be slightly different.
- Signs of overcooking include the cakes being too brown on the bottom or feeling hard to the touch. Undercooking will result in the cakes being soggy or not holding their shape well.
FAQs
- Can I freeze it? Yes, you can freeze the cakes before decorating them with Oreos and strawberries. Wrap them tightly and store in a freezer-safe bag for up to 2 months.
- Is it gluten-free? The traditional recipe includes wheat flour, making it not gluten-free. However, you can substitute the flour with a gluten-free flour mix to accommodate dietary needs.
- Can I double the recipe? Yes, you can easily double or even triple the recipe if you’re serving a larger crowd. Just ensure you have enough pans and space in your oven for the additional cakes.
Conclusion
Making two cakes with Oreo cookies and strawberries on top, one white and the other red, is a fun and rewarding baking project that yields stunning results with minimal effort. Whether you’re a seasoned baker or just starting out, this recipe is sure to impress your family and friends. Don’t be afraid to experiment with different flavors and toppings to make the dessert truly your own. With its perfect balance of textures and flavors, this dessert is sure to become a favorite. So go ahead, give it a try, and enjoy the oohs and aahs as you present your masterpiece!