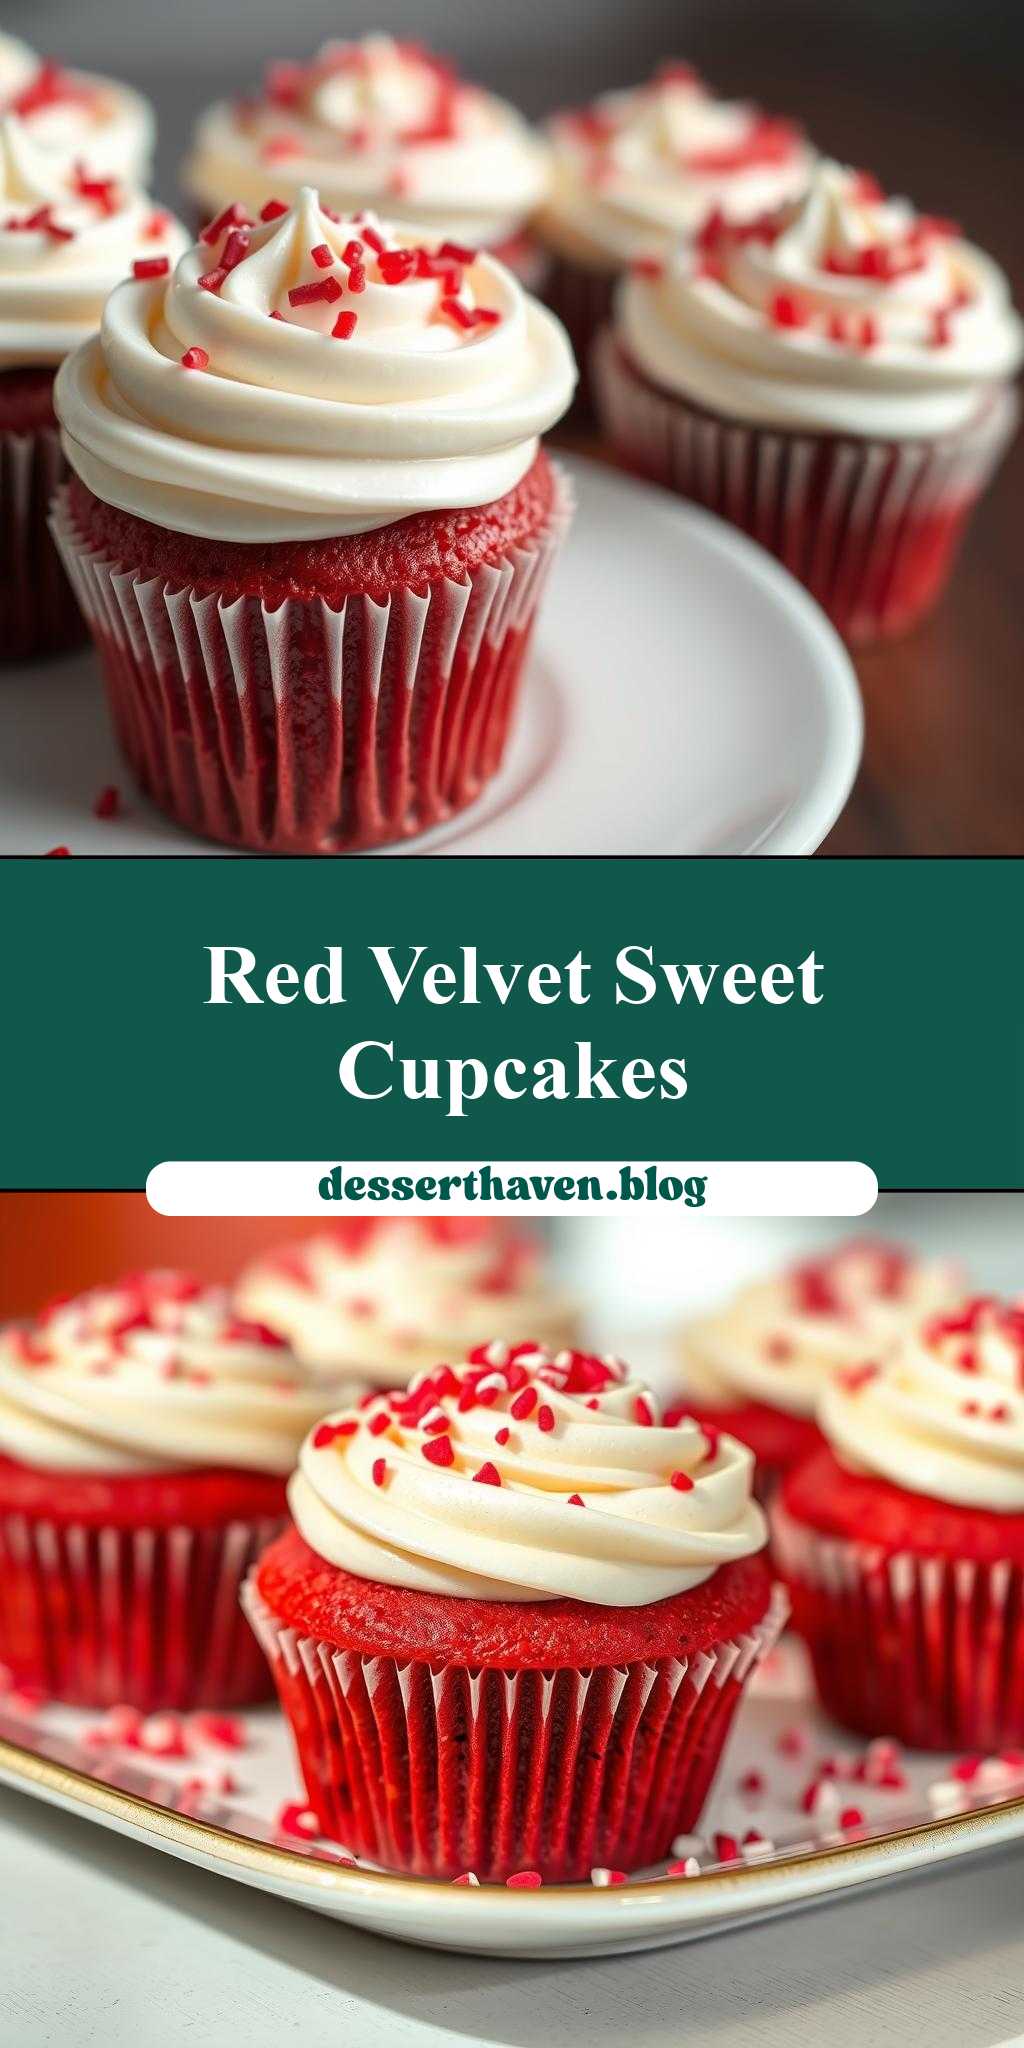
What makes a perfect dessert? Rich red velvet cupcakes topped with creamy white frosting and colorful sprinkles are a game changer. Made with buttermilk and a hint of cocoa, these easy homemade treats are a family favorite. Save this idea for your next baking project and indulge in the sweetness of these moist and decadent cupcakes, perfect for a weeknight dinner or special occasion. Try it soon
red velvet cupcakes with white frosting and sprinkles on top
Introduction
Baking has a way of bringing people together, and what better way to do that than with a batch of delicious, moist, and visually stunning red velvet cupcakes, topped with a creamy white frosting and sprinkles? These cupcakes are not only a treat for the taste buds but also a feast for the eyes. The best part? They’re easier to make than you think, using everyday ingredients that you might already have in your pantry. The combination of the subtle cocoa flavor, the tanginess of buttermilk, and the sweetness of the frosting creates a flavor profile that’s both classic and creative. Whether you’re a seasoned baker or just starting out, this recipe is perfect for any occasion, from birthday parties to casual get-togethers.
Why This Works
- Flavor balance and ingredient accessibility: The recipe strikes a perfect balance between the richness of the red velvet cake and the lightness of the white frosting, all made possible with ingredients that are readily available in most supermarkets.
- Ease of preparation: Despite their impressive appearance, these cupcakes are surprisingly easy to make. The cake batter comes together quickly, and the frosting requires minimal ingredients and effort.
- Impressive results with minimal effort: The end result is well worth the effort, with the vibrant red color of the cupcakes and the snowy white frosting making for a visually appealing treat that’s sure to impress friends and family.
Key Ingredients
The main ingredients for these red velvet cupcakes include all-purpose flour, granulated sugar, unsweetened cocoa powder, buttermilk, large eggs, red food coloring, and vanilla extract for the cake. For the frosting, you’ll need unsalted butter, cream cheese, powdered sugar, and vanilla extract. Practical substitutions can be made, such as using whole milk with a tablespoon of white vinegar or lemon juice as a replacement for buttermilk, or opting for a high-quality food coloring to achieve the perfect red hue. The sprinkles on top add a fun and playful touch, and you can choose them in any color or shape you like to match your occasion or theme.
Instructions
- Step 1: Begin by preheating your oven to 350°F (180°C). Line a 12-cup muffin tin with cupcake liners. In a medium bowl, whisk together flour, sugar, cocoa powder, and salt. In a large bowl, using an electric mixer, beat the eggs, buttermilk, oil, food coloring, and vanilla extract until well combined. Gradually add the dry ingredients to the wet ingredients, mixing until just combined, being careful not to overmix.
- Step 2: Divide the batter evenly among the cupcake liners. Bake for about 18-20 minutes, or until a toothpick inserted into the center of a cupcake comes out clean. Allow the cupcakes to cool completely in the pan before frosting.
- Step 3: To make the frosting, beat the butter and cream cheese until smooth. Gradually add the powdered sugar, beating until smooth and creamy. Add the vanilla extract and mix well. Once the cupcakes are completely cool, frost each cupcake with the white frosting.
- Step 4: Finally, top each frosted cupcake with sprinkles. You can arrange the sprinkles in a pattern or simply sprinkle them on top for a fun, playful look. Your red velvet cupcakes with white frosting and sprinkles are now ready to be served and enjoyed.
Handy Tips
- Always use room temperature ingredients for the best results in baking. This ensures that your batter mixes smoothly and evenly, leading to a better texture in your finished cupcakes.
- Don’t overmix the batter, as this can lead to dense cupcakes. Stop mixing as soon as the ingredients are combined.
- For an extra moist cupcake, try adding an extra tablespoon or two of buttermilk or substituting some of the oil with sour cream.
Heat Control
When baking the cupcakes, it’s crucial to maintain the right oven temperature and baking time. An oven that’s too hot can lead to cupcakes that are burnt on the outside before they’re fully cooked on the inside, while an oven that’s too cool can result in undercooked or soggy cupcakes. Keep an eye on your cupcakes after the 15-minute mark, and check for doneness by inserting a toothpick into the center of a cupcake. If the toothpick comes out clean or with a few moist crumbs, the cupcakes are done.
Crunch Factor
The red velvet cupcakes should be tender and moist, with a subtle crunch from the sprinkles on top. To achieve the perfect texture, make sure not to overbake the cupcakes. A slight springiness to the touch when you press lightly on the top of a cupcake is a good indicator that they’re ready to come out of the oven.
Pro Kitchen Tricks
- Use high-quality cocoa powder for the best flavor. Dutch-processed cocoa powder gives a deeper, richer flavor to the cupcakes.
- If you’re not using your cupcakes immediately, you can store them in an airtight container in the refrigerator for up to 3 days. Allow them to come to room temperature before serving for the best flavor and texture.
- For a shortcut, consider making the frosting ahead of time and storing it in the refrigerator until you’re ready to frost the cupcakes. Bring the frosting to room temperature before using for easier spreading.
Storage Tips
- Leftover cupcakes can be stored in an airtight container at room temperature for up to 2 days or in the refrigerator for up to 5 days. Freeze for longer storage, up to 2 months. When freezing, it’s best to freeze the cupcakes without frosting and then frost them after they’ve thawed.
- For reheating, simply leave the cupcakes at room temperature for a few hours or warm them gently in the microwave. Be careful not to overheat, as this can cause the frosting to melt or become too soft.
- The best containers for storing cupcakes are those that are airtight and can keep moisture out, such as plastic or metal containers with tight-fitting lids.
Gift Packaging Ideas
These cupcakes make a wonderful gift for friends, family, or coworkers. Consider packaging them in decorative cupcake boxes or towers, or even in mason jars with a ribbon tied around the lid. You can also arrange the cupcakes on a platter or cake stand and cover them with plastic wrap or a dome for a more rustic, homemade look. Adding a personal touch, like a handwritten note or a small gift, can make the gesture even more special.
Flavor Variations
- Different spices: Try adding a pinch of cinnamon, nutmeg, or cardamom to the batter for a unique twist on the traditional flavor.
- Creative toppings: Instead of sprinkles, top your cupcakes with chopped nuts, shredded coconut, or even candy pieces for a fun variation.
- Ingredient swaps: For a gluten-free version, substitute the all-purpose flour with a gluten-free flour blend. You can also use different types of milk or yogurt to change the flavor profile of the cupcakes.
Troubleshooting
- Texture problems: If your cupcakes turn out too dense, it might be because the batter was overmixed. Try mixing the ingredients just until they come together for a lighter texture.
- Ingredient replacements: If you don’t have buttermilk, you can make a substitute by mixing milk with vinegar or lemon juice. Let it sit for a few minutes to thicken before using.
- Over/undercooking signs: Keep an eye on your cupcakes while they’re baking. If they’re undercooked, they might sink in the center. If they’re overcooked, they’ll be dry and possibly cracked on top.
FAQs
- Can I freeze it? Yes, you can freeze the cupcakes for up to 2 months. It’s best to freeze them without frosting and then frost after they’ve thawed.
- Is it gluten-free? The original recipe includes gluten due to the all-purpose flour. However, you can make a gluten-free version by substituting the flour with a gluten-free flour blend.
- Can I double the recipe? Yes, you can easily double or even triple the recipe if you need more cupcakes. Just keep an eye on the baking time, as it might be slightly longer for larger batches.
Conclusion
Making red velvet cupcakes with white frosting and sprinkles is a fun and rewarding baking project that’s perfect for any occasion. With these simple steps and handy tips, you’ll be able to create delicious and visually stunning cupcakes that are sure to impress. Don’t be afraid to experiment with different flavors and toppings to make the recipe your own, and enjoy the process of sharing your creations with others. Whether you’re a baking novice or a seasoned pro, these cupcakes are a great way to bring a little joy and sweetness into your life and the lives of those around you.