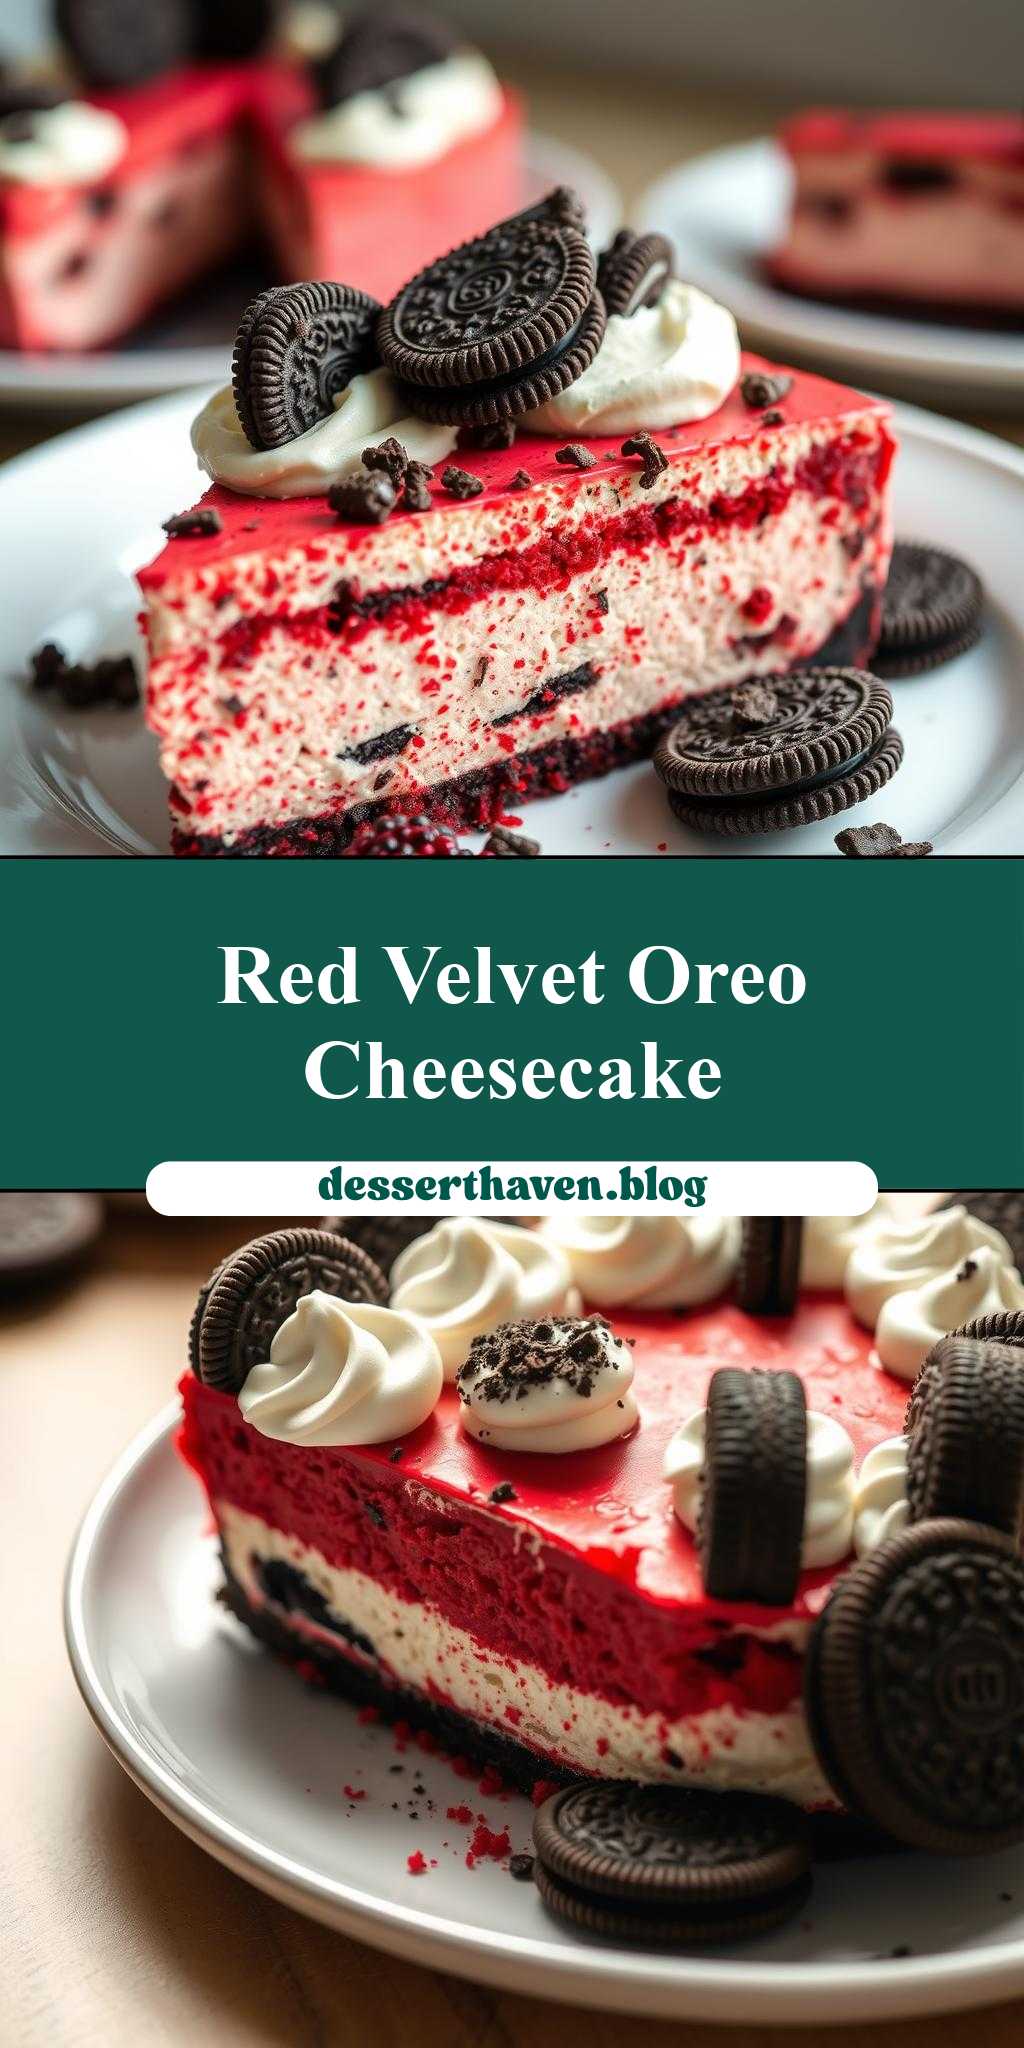
What makes a cheesecake truly unforgettable? A velvety red velvet twist and a crunchy Oreo topping, of course. This easy homemade dessert features a creamy cheesecake base, topped with crushed Oreos for added texture. Save this idea for your next family favorite dessert night.
red velvet oreo cheesecake with oreos on top
Introduction
This decadent red velvet oreo cheesecake with oreos on top is a masterpiece of flavors and textures, combining the richness of cheesecake, the crunch of Oreo cookies, and the vibrant color of red velvet. What makes this dessert truly special is its accessibility – using everyday ingredients, it’s easier than you think to create something this impressive. The balance of cream cheese, sugar, and vanilla provides a classic cheesecake taste, while the red velvet adds a distinctive twist, and the Oreos on top add a delightful crunch. Whether you’re a seasoned baker or a beginner, this recipe is designed to guide you through creating a show-stopping dessert with minimal fuss.
Why This Works
- Flavor balance and ingredient accessibility: The combination of red velvet cake mix, cream cheese, and Oreos creates a unique and delicious flavor profile that is both familiar and exciting. All the ingredients are easily found in most supermarkets, making this recipe highly accessible.
- Ease of preparation: Despite its impressive appearance, this cheesecake is relatively simple to prepare. The use of a red velvet cake mix for the crust simplifies the process, and the filling requires just a few ingredients, most of which are probably already in your pantry.
- Impressive results with minimal effort: The end result is a stunning dessert that looks like it came from a professional bakery, but requires less effort than you might expect. The layering of the cheesecake batter and the topping with Oreos creates a visually appealing dessert that’s sure to impress your guests.
Key Ingredients
The main ingredients in this recipe include a red velvet cake mix, which is used to make the crust, adding that distinctive red velvet flavor and color to the base of the cheesecake. For the cheesecake itself, you’ll need cream cheese, sugar, eggs, sour cream, and vanilla extract. These ingredients provide the richness and creaminess that define a good cheesecake. Lastly, a package of Oreo cookies is essential – not just for the top layer, where they add a fun textural element, but also potentially for the crust if you choose to incorporate them for extra flavor. Practical substitutions could include using a different type of cookie for the crust or topping, or substituting sour cream with Greek yogurt to alter the texture slightly.
Instructions
- Step 1: Begin by preheating your oven to 325°F (165°C). Prepare your springform pan by wrapping the outside with aluminum foil to prevent water from seeping in during the water bath. Next, prepare the crust by mixing the red velvet cake mix with melted butter until well combined. Press this mixture into the bottom of your springform pan.
- Step 2: Bake the crust for about 10 minutes, then let it cool completely. While the crust is cooling, you can start on the cheesecake batter. Beat the cream cheese until it’s smooth, then add the sugar and beat until combined. Beat in the eggs one at a time, followed by the sour cream and vanilla extract.
- Step 3: Pour the cheesecake batter into the cooled crust. If desired, add a layer of crushed Oreos on top of the batter for extra texture and flavor. Bake the cheesecake in a water bath for about 50-60 minutes, or until the edges are set and the center is just slightly jiggly.
- Step 4: Once the cheesecake is done, let it cool in the oven with the door ajar for 1 hour, then remove it and let it cool completely on a wire rack. Once cooled, refrigerate the cheesecake for at least 4 hours. Just before serving, top the cheesecake with a layer of whipped cream or sour cream, and decorate with whole Oreos or crushed Oreos, depending on your preference.
Handy Tips
- Avoid overmixing the cheesecake batter, as this can lead to a dense cheesecake. Stop mixing as soon as the ingredients are combined.
- Ensure your ingredients, especially the cream cheese, are at room temperature before starting. This helps in achieving a smooth batter.
- Don’t open the oven door during the baking time, as this can cause the cheesecake to sink or crack.
Heat Control
For this recipe, maintaining the right temperature is crucial. The oven should be set at 325°F (165°C) for baking the crust and the cheesecake. The water bath helps in cooking the cheesecake evenly and prevents it from cracking. The cheesecake is done when the edges are set, and the center is just slightly jiggly. This usually takes about 50-60 minutes, but keep an eye on it as oven times can vary.
Crunch Factor
The crunch factor in this dessert comes from the Oreo cookies used on top and potentially in the crust. To achieve the right crunch, bake the crust until it’s lightly browned and firm to the touch. For the topping, you can either use whole Oreos for a more pronounced crunch or crush them for a lighter, more dispersed texture. The choice depends on your personal preference and the look you’re aiming for.
Pro Kitchen Tricks
- For a smoother cheesecake, make sure to beat the cream cheese until it’s very smooth before adding the other ingredients.
- Use a water bath to prevent cracking and ensure even cooking. This step is crucial for a professional-looking cheesecake.
- Let the cheesecake cool completely in the pan before refrigerating it. This helps prevent cracking and makes it easier to remove from the pan.
Storage Tips
- Once the cheesecake is cooled and refrigerated, it can be stored in the fridge for up to 5 days. Wrap it tightly in plastic wrap or aluminum foil to prevent drying out.
- For longer storage, the cheesecake can be frozen. Wrap it tightly in plastic wrap and then in aluminum foil or place it in a freezer-safe bag. Frozen cheesecake can be stored for up to 2 months. Thaw frozen cheesecake in the refrigerator overnight.
- When reheating, let the cheesecake come to room temperature or warm it up slightly in the oven at a very low temperature. Avoid overheating, as this can cause the cheesecake to dry out or crack.
Gift Packaging Ideas
If you’re planning to give this cheesecake as a gift, consider packaging it in a decorative tin or a sturdy cake box. You can wrap the cheesecake in plastic wrap or aluminum foil and then place it in the tin or box. Decorate the outside with ribbons or gift tags for a personal touch. For a more rustic look, you could wrap the cheesecake in parchment paper and tie it with twine. Whatever method you choose, make sure the cheesecake is well-secured to prevent damage during transport.
Flavor Variations
- Different spices: Consider adding a pinch of cinnamon or nutmeg to the cheesecake batter for an extra depth of flavor.
- Creative toppings: Instead of Oreos, you could top your cheesecake with chopped nuts, chocolate shavings, or even caramel sauce for a different twist.
- Ingredient swaps: For a gluten-free version, use a gluten-free cake mix for the crust. You could also substitute the sour cream with Greek yogurt for a tangier cheesecake.
Troubleshooting
- Texture problems: If your cheesecake turns out too dense, it might be due to overmixing the batter. If it’s too soft, it might not have been baked long enough.
- Ingredient replacements: If you’re missing an ingredient, look for substitutions that offer similar texture and flavor. For example, you could use milk instead of sour cream in a pinch, though the result might be slightly different.
- Over/undercooking signs: An overcooked cheesecake will be dry and cracked, while an undercooked one will be too jiggly in the center. Adjust your baking time as needed to achieve the perfect doneness.
FAQs
- Can I freeze it? Yes, you can freeze the cheesecake for up to 2 months. Wrap it tightly and thaw in the refrigerator when you’re ready to serve.
- Is it gluten-free? The recipe as written is not gluten-free due to the cake mix used for the crust. However, you can make a gluten-free version by using a gluten-free cake mix.
- Can I double the recipe? Yes, you can double the recipe to make a larger cheesecake. Just keep in mind that you’ll need to adjust the baking time accordingly.
Conclusion
Creating a red velvet oreo cheesecake with oreos on top is a fun and rewarding baking project that yields impressive results with minimal effort. With its unique flavor combination and visually appealing presentation, this dessert is perfect for special occasions or just a sweet treat any time of the year. Don’t be afraid to experiment with different toppings or ingredient swaps to make the recipe your own. Whether you’re a beginner or an experienced baker, this cheesecake is sure to become a favorite. So go ahead, give it a try, and enjoy the delightful combination of red velvet and Oreo in every delicious bite.