What happens when red velvet and Oreos collide in a creamy cheesecake? Rich flavors and textures come together in this easy homemade dessert featuring a velvety cheesecake base, crunchy Oreo topping, and a simple baking method. Save this idea for your next family gathering or special occasion dessert.
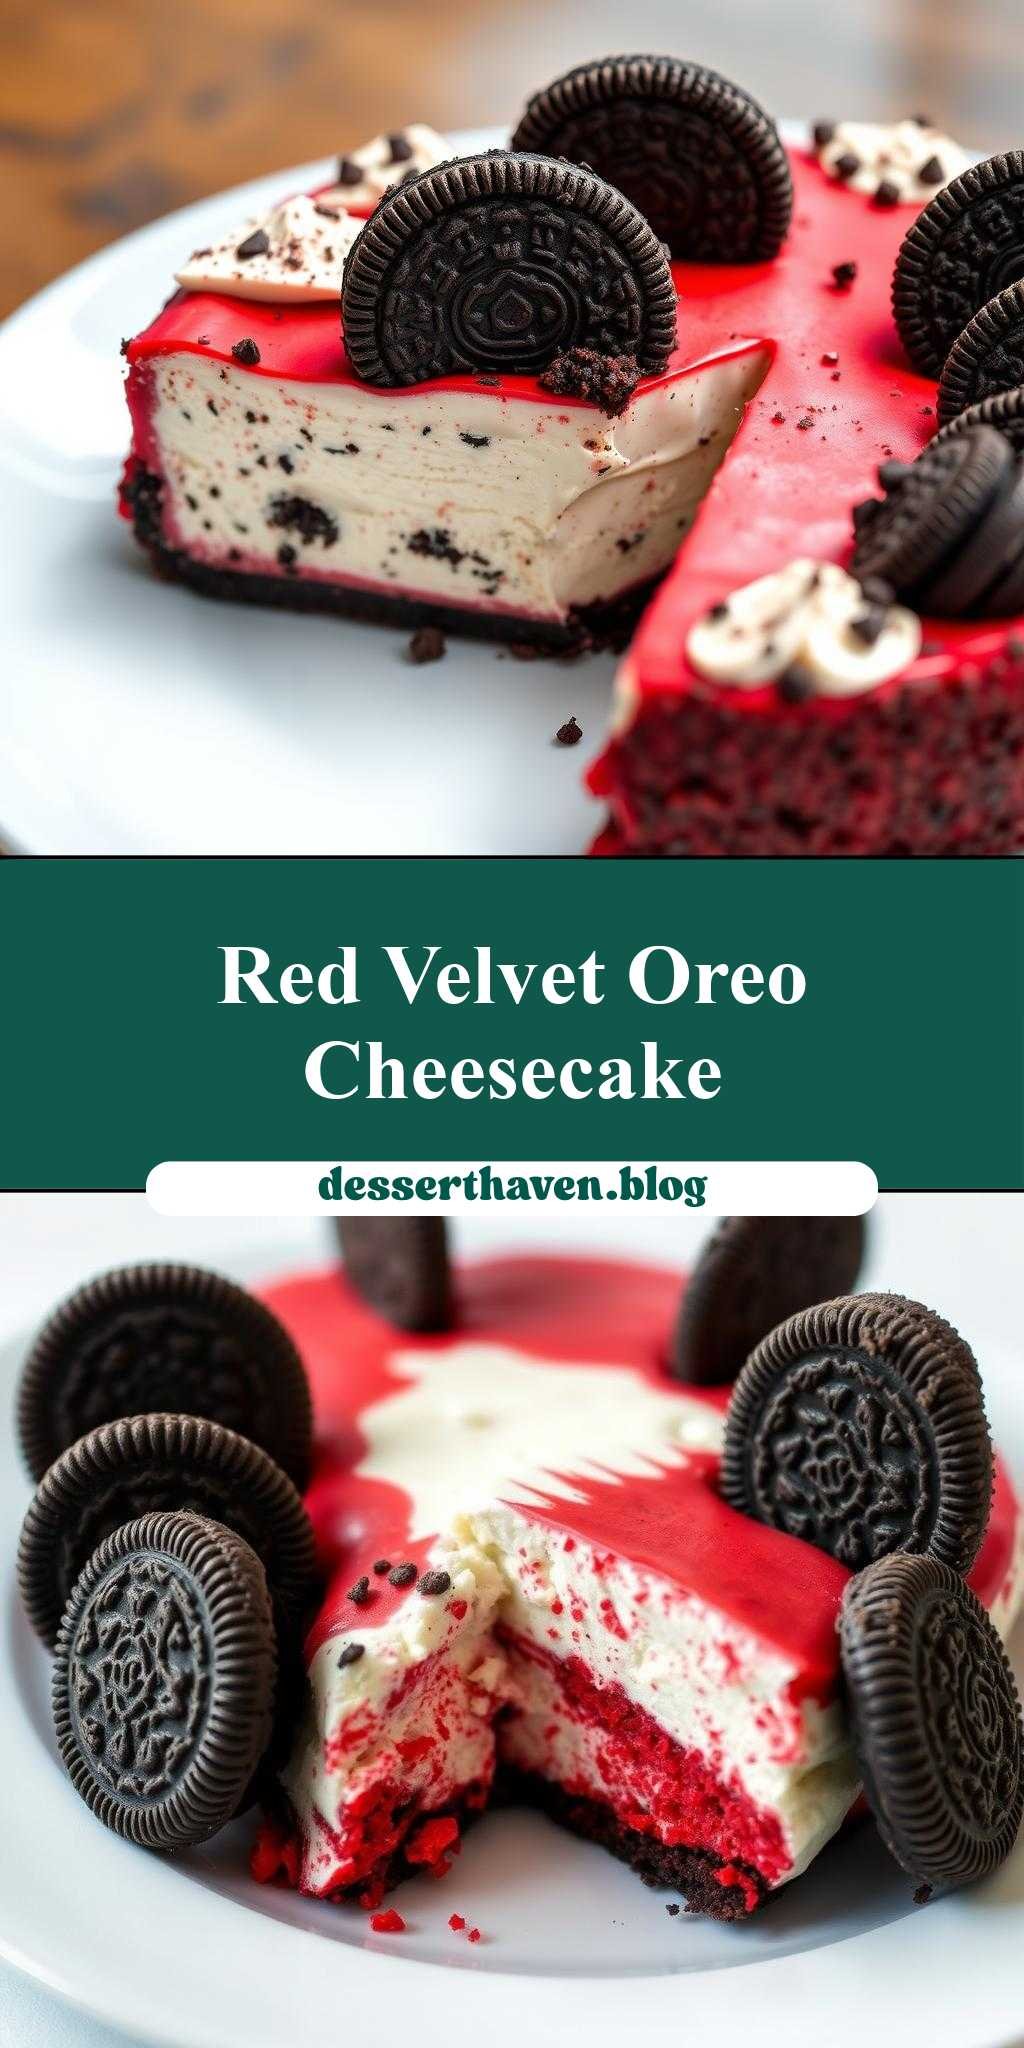
red velvet oreo cheesecake with oreos on top
Introduction
Imagine a dessert that combines the richness of cheesecake, the distinctive flavor of red velvet, and the crunch of Oreo cookies. The red velvet oreo cheesecake with oreos on top is a creative masterpiece that is easier to make than you think, using everyday ingredients that will impress your family and friends. This unique dessert is perfect for special occasions or as a treat any time of the year. With its stunning appearance and irresistible taste, it’s sure to become a favorite. In this article, we’ll guide you through the simple steps to create this culinary delight, highlighting the ease, flavor, and creativity that makes it stand out.
Why This Works
- Flavor balance and ingredient accessibility: The combination of red velvet and Oreo provides a unique and balanced flavor profile that is both familiar and exciting. The ingredients are readily available, making it easy to prepare.
- Ease of preparation: Despite its impressive appearance, this cheesecake is surprisingly easy to make. The steps are straightforward, and the use of a pre-made Oreo crust simplifies the process.
- Impressive results with minimal effort: The final product looks and tastes like it was made by a professional, but the actual preparation time is relatively short. This makes it perfect for those who want to impress without spending hours in the kitchen.
Key Ingredients
The main ingredients include a pre-made Oreo crust, cream cheese, granulated sugar, eggs, red food coloring, cocoa powder, sour cream, and a package of Oreos for the topping. For the cheesecake batter, you’ll need high-quality cream cheese and real vanilla extract for the best flavor. If you prefer a gluten-free option, consider using gluten-free Oreos or substituting the crust with a gluten-free alternative. Practical substitutions can also be made for the sour cream, such as using Greek yogurt for a lighter version.
Instructions
- Step 1: Begin by preheating your oven to 325°F (160°C). Prepare the Oreo crust according to the package instructions or your preferred method. In a large mixing bowl, beat the cream cheese until it’s smooth, then add the granulated sugar and beat until well combined.
- Step 2: Add the eggs one at a time, beating well after each addition. Mix in the red food coloring and cocoa powder until the batter is evenly colored. Then, stir in the sour cream and vanilla extract until smooth.
- Step 3: Pour the cheesecake batter into the prepared Oreo crust. Bake for about 50-60 minutes or until the edges are set and the center is slightly jiggly. Avoid overbaking, as this can cause the cheesecake to dry out.
- Step 4: Once the cheesecake is baked, let it cool completely in the pan. Then, refrigerate it for at least 4 hours or overnight. Just before serving, top the cheesecake with a layer of whipped cream or sour cream and decorate with additional Oreos. You can also drizzle with chocolate sauce for an extra touch of elegance.
Handy Tips
- To ensure the cheesecake cools evenly and prevents cracking, run a knife around the edges of the pan after it has cooled for about 10 minutes. This will help the cheesecake release from the pan more easily when it’s time to serve.
- For a water bath, wrap the outside of the springform pan with foil and place it in a larger pan filled with hot water to about halfway up the sides of the springform pan. This method helps cook the cheesecake more evenly and reduces the risk of cracking.
- When mixing the batter, avoid overmixing, as this can introduce too much air and cause the cheesecake to puff up too much during baking, leading to a dense final product.
Heat Control
The ideal temperature for baking the cheesecake is 325°F (160°C), and the baking time is approximately 50-60 minutes. It’s crucial to keep an eye on the cheesecake during the last 10 minutes of baking, as oven temperatures can vary. The cheesecake is done when the edges are set, and the center is just slightly jiggly. Avoid overbaking, as this will cause the cheesecake to dry out. If you’re unsure, it’s better to err on the side of underbaking slightly, as the cheesecake will continue to set as it cools.
Crunch Factor
The crunch factor in this dessert comes from the Oreo crust and the additional Oreos used as toppings. To maintain the crunch of the Oreos, it’s best to add them just before serving. If you’re using a different type of cookie or nut for the crust, ensure it’s crushed finely to provide a solid base for the cheesecake. For an extra crunchy element, consider sprinkling some chopped nuts or cookie pieces over the whipped cream topping.
Pro Kitchen Tricks
- Use room temperature ingredients: This ensures that the cream cheese and eggs mix smoothly and evenly, reducing the risk of a lumpy batter.
- Don’t overbake: Check the cheesecake frequently during the last 10 minutes of baking. It’s better for it to be slightly underbaked than overbaked, as it will continue to set as it cools.
- Let it rest: Allowing the cheesecake to cool completely in the pan and then refrigerating it overnight will help the flavors to meld together and the texture to set properly, resulting in a smoother, creamier cheesecake.
Storage Tips
- Leftover cheesecake can be stored in the refrigerator for up to 5 days. It’s best to keep it in an airtight container to maintain freshness.
- For longer storage, consider freezing the cheesecake. Wrap it tightly in plastic wrap or aluminum foil and place it in a freezer-safe bag. Frozen cheesecake can be stored for up to 2 months. When you’re ready to serve, thaw it overnight in the refrigerator.
- When reheating, avoid using the microwave, as this can cause the cheesecake to become unevenly heated and potentially dry out. Instead, let it come to room temperature or warm it up gently in a low-temperature oven.
Gift Packaging Ideas
If you’re considering gifting this cheesecake, presentation is key. Place the cheesecake on a decorative plate or cake stand and wrap it with clear plastic wrap or a large piece of cellophane. You can then decorate the outside with ribbons or bows to match the occasion. For a more rustic look, consider placing slices of the cheesecake in mason jars, topping them with whipped cream and an Oreo, and tying the jars with twine or ribbons.
Flavor Variations
- Different spices: Add a pinch of cinnamon or nutmeg to the batter for a unique twist on the traditional red velvet flavor.
- Creative toppings: Instead of using just Oreos, consider mixing in some chopped nuts, chocolate shavings, or even candy pieces for a fun and colorful topping.
- Ingredient swaps: For a lighter version, substitute the sour cream with Greek yogurt. You can also use different types of extract, like almond or coconut, to change up the flavor profile.
Troubleshooting
- Texture problems: If your cheesecake turns out too dense, it might be due to overmixing the batter. For a too-soft cheesecake, it could be underbaked. Adjust your mixing time and baking time accordingly in future attempts.
- Ingredient replacements: If you’re missing an ingredient, consider what role it plays in the recipe. For example, if you don’t have sour cream, you might substitute it with another acidic ingredient like Greek yogurt or buttermilk to maintain the balance of flavors.
- Over/undercooking signs: An overcooked cheesecake will be dry and possibly cracked, while an undercooked cheesecake will be too jiggly in the center. Adjust your baking time based on your oven’s performance and the size of your cheesecake.
FAQs
- Can I freeze it? Yes, you can freeze the cheesecake for up to 2 months. Wrap it tightly and store it in a freezer-safe bag. Thaw overnight in the refrigerator when you’re ready to serve.
- Is it gluten-free? The traditional recipe uses Oreos, which contain gluten. However, you can make a gluten-free version by using gluten-free Oreos or substituting the crust with a gluten-free alternative.
- Can I double the recipe? Yes, you can double the recipe, but keep in mind that you’ll need a larger pan and possibly a longer baking time. Ensure your oven is at the correct temperature and adjust the baking time as needed to prevent overcooking.
Conclusion
Making a red velvet oreo cheesecake with oreos on top is a fun and rewarding experience that combines the best of cheesecake, red velvet cake, and Oreo cookies. With its unique flavor profile and impressive appearance, it’s perfect for special occasions or as a treat any time of the year. Don’t be afraid to experiment with different toppings or flavor variations to make the recipe your own. Whether you’re a seasoned baker or a beginner, this cheesecake is sure to impress. So go ahead, give it a try, and enjoy the delightful combination of textures and flavors that this dessert has to offer.