What makes red velvet cake so irresistible? These bite sized cake pops are made with cream cheese frosting and baked to perfection, perfect for a quick and easy homemade dessert, save this idea for your next family gathering and try it soon.
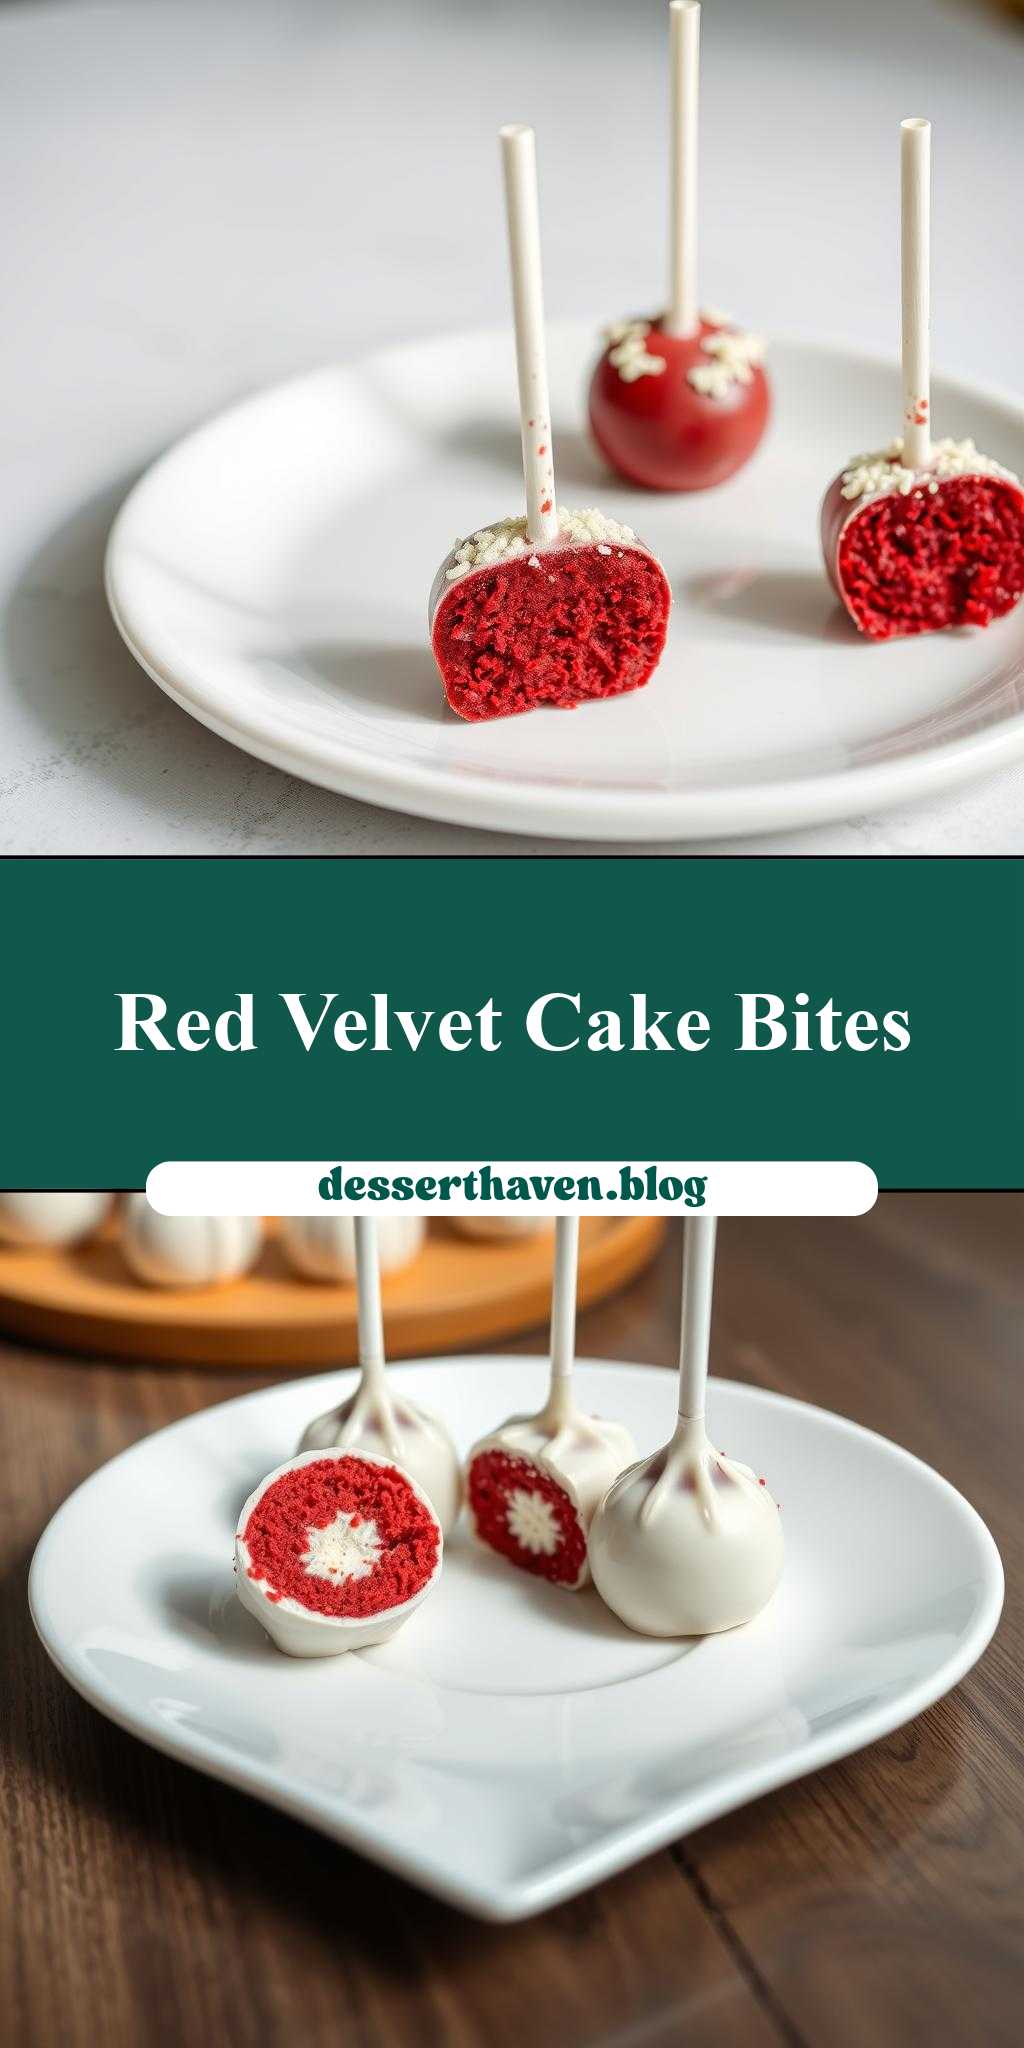
red velvet cake pops on a white plate
Introduction
Imagine the delight of biting into a moist, flavorful red velvet cake, but in a form that’s both fun and elegant: red velvet cake pops on a white plate. This creative dessert is not only a treat for the taste buds but also a feast for the eyes. With everyday ingredients and a bit of creativity, you can create these stunning cake pops that are perfect for any occasion, from birthdays to weddings. The best part? They’re surprisingly easy to make, requiring minimal effort for maximum impact. In this article, we’ll guide you through the process of making these delightful treats, from preparation to presentation.
Why This Works
- Flavor balance and ingredient accessibility: The combination of red velvet cake mix, cream cheese frosting, and white chocolate coating provides a perfect balance of flavors, and all the ingredients are easily found in most grocery stores.
- Ease of preparation: Despite their elegant appearance, cake pops are relatively simple to prepare. The process involves baking a cake, mixing it with frosting, shaping into balls, and dipping in chocolate, steps that are straightforward and hard to mess up.
- Impressive results with minimal effort: What makes cake pops truly special is the “wow” factor they bring to any gathering without requiring extensive culinary skills or a large amount of time. They’re perfect for those who want to impress without stressing.
Key Ingredients
To make red velvet cake pops, you’ll need a few key ingredients. First, you’ll need a red velvet cake mix, which can be found in most baking aisles. If you prefer to make your cake from scratch, you can use a recipe that includes flour, sugar, cocoa powder, and food coloring to achieve the signature red velvet color. You’ll also need cream cheese frosting, which can be homemade or store-bought, to bind the cake crumbs together. For the coating, white chocolate or candy melts work well, providing a smooth, sweet finish. Additionally, you’ll need lollipop sticks or cake pop sticks, which are available at craft stores or online. Practical substitutions can be made for the frosting and coating, such as using vanilla frosting or dark chocolate for a different flavor profile.
Instructions
- Step 1: Begin by baking the red velvet cake according to the package instructions or your recipe. Let it cool completely, as this is crucial for the cake to crumble properly.
- Step 2: Crumble the cooled cake into a large mixing bowl. Mix in about half a can of cream cheese frosting until the cake crumbs start to stick together when pressed. Be careful not to add too much frosting, as this can make the cake pops too wet and difficult to shape.
- Step 3: Use your hands to shape the cake mixture into small balls, about 1.5 inches in diameter. Place these balls onto a baking sheet lined with parchment paper. Insert a lollipop stick into each ball, about halfway through. This will help the cake pops hold their shape and make them easier to dip in chocolate.
- Step 4: Melt the white chocolate or candy melts in a microwave-safe bowl in 30-second increments, stirring between each interval, until smooth. Dip the end of each lollipop stick into the melted chocolate and then insert it into a cake ball, helping the stick stay in place. Then, dip each cake pop into the melted chocolate, using a fork or dipping tool to fully coat the cake. Tap off any excess chocolate by gently tapping the fork or dipping tool against the side of the bowl. Place the dipped cake pops back onto the parchment-lined baking sheet. If desired, sprinkle with decorations before the chocolate hardens.
Handy Tips
- One of the most helpful tips for making cake pops is to ensure the cake is completely cool before crumbling it. This prevents the cake from becoming too moist and difficult to work with. Also, don’t overmix the cake and frosting, as this can lead to dense cake pops. For substitutions, consider using different types of frosting or candy melts to change up the flavor and look of your cake pops. Always work in a cool, dry environment when dipping the cake pops in chocolate to prevent the chocolate from melting too quickly or becoming too thin.
Heat Control
When melting the chocolate or candy melts, it’s crucial to control the heat to prevent burning or seizing up of the chocolate. Using a microwave in short intervals and stirring between each heating helps to melt the chocolate evenly. If using a double boiler, make sure the water doesn’t touch the bottom of the bowl, and remove from heat occasionally to stir and prevent overheating. The ideal temperature for melting chocolate is between 105°F and 115°F for dark chocolate and slightly lower for milk or white chocolate.
Crunch Factor
The texture of cake pops should be moist on the inside and smooth on the outside, thanks to the chocolate coating. To achieve this, make sure not to overbake the cake and don’t overmix the cake and frosting mixture. The chocolate coating should be thin enough to set quickly but not so thin that it drips off the cake pop. If you’re looking for an added crunch, consider sprinkling chopped nuts or sprinkles onto the wet chocolate before it hardens.
Pro Kitchen Tricks
- For better results, chill the shaped cake balls in the refrigerator for about 15 minutes before dipping in chocolate. This helps them hold their shape better and makes the dipping process smoother. To speed up the chocolate-hardening process, place the dipped cake pops in the refrigerator for a few minutes. For cleanup, use a warm cloth to wipe down any surfaces with chocolate spills, and wash your hands thoroughly after handling chocolate to prevent stains.
Storage Tips
- Cake pops are best stored in an airtight container in the refrigerator to keep them fresh. They can be made ahead of time, but it’s best to dip them in chocolate just before serving for the best flavor and texture. If you need to transport them, consider placing each cake pop in a small candy cup or wrapping them individually in plastic wrap or cellophane bags to prevent them from sticking together. Cake pops can be frozen for up to 2 months, but it’s recommended to freeze them without the chocolate coating and dip them just before serving.
Gift Packaging Ideas
Cake pops make wonderful gifts due to their unique appearance and delicious taste. For packaging, consider placing each cake pop in a cellophane bag and tying the top with a ribbon. You can also arrange them in a gift box or a decorative tin filled with tissue paper. For a more personalized touch, attach a gift tag or a card with a message. If you’re gifting them in a large quantity, such as for a wedding favor, you might package them in small favor boxes or bags with a custom label or tag.
Flavor Variations
- Different spices: Consider adding a pinch of cinnamon or nutmeg to the cake mix for an extra depth of flavor.
- Creative toppings: Instead of using traditional sprinkles, try topping your cake pops with edible glitter, chopped nuts, or even candy pieces for a fun twist.
- Ingredient swaps: For a different flavor profile, you could use carrot cake mix with cream cheese frosting or lemon cake mix with a lemon-flavored frosting. The possibilities are endless, allowing you to experiment with various combinations to find your favorite.
Troubleshooting
- Texture problems: If the cake pops are too dense, it might be because the cake was overmixed with the frosting. Try using less frosting next time. If they’re too crumbly, you might need a bit more frosting to bind them together.
- Ingredient replacements: If you don’t have cream cheese frosting, you could use a buttercream frosting as a substitute, though the flavor will be slightly different.
- Over/undercooking signs: Make sure the cake is fully baked and a toothpick inserted comes out clean. Underbaked cake can lead to cake pops that fall apart when dipped in chocolate.
FAQs
- Can I freeze it? Yes, cake pops can be frozen for up to 2 months without the chocolate coating. It’s best to dip them in chocolate just before serving for the best taste and texture.
- Is it gluten-free? Depending on the cake mix used, cake pops can be made gluten-free by using a gluten-free cake mix. However, always check the ingredients of the frosting and chocolate to ensure they are also gluten-free.
- Can I double the recipe? Yes, you can easily double or triple the recipe to make more cake pops. Just be sure to have enough frosting and chocolate on hand.
Conclusion
Making red velvet cake pops on a white plate is a fun and rewarding baking project that’s perfect for any occasion. With these simple steps and helpful tips, you’ll be on your way to creating delicious and visually appealing treats that are sure to impress. Don’t be afraid to experiment with different flavors and decorations to make your cake pops truly unique. Whether you’re a seasoned baker or just starting out, cake pops are a great way to express your creativity and share joy with others. So, go ahead, get baking, and enjoy the process of creating something truly special!