What makes a sweet treat truly special is the love that goes into making it from scratch with homemade icing and fresh baked cookies. This easy recipe relies on simple ingredients like sugar and butter to create a deliciously soft center. Save this idea for a quick dessert fix anytime.
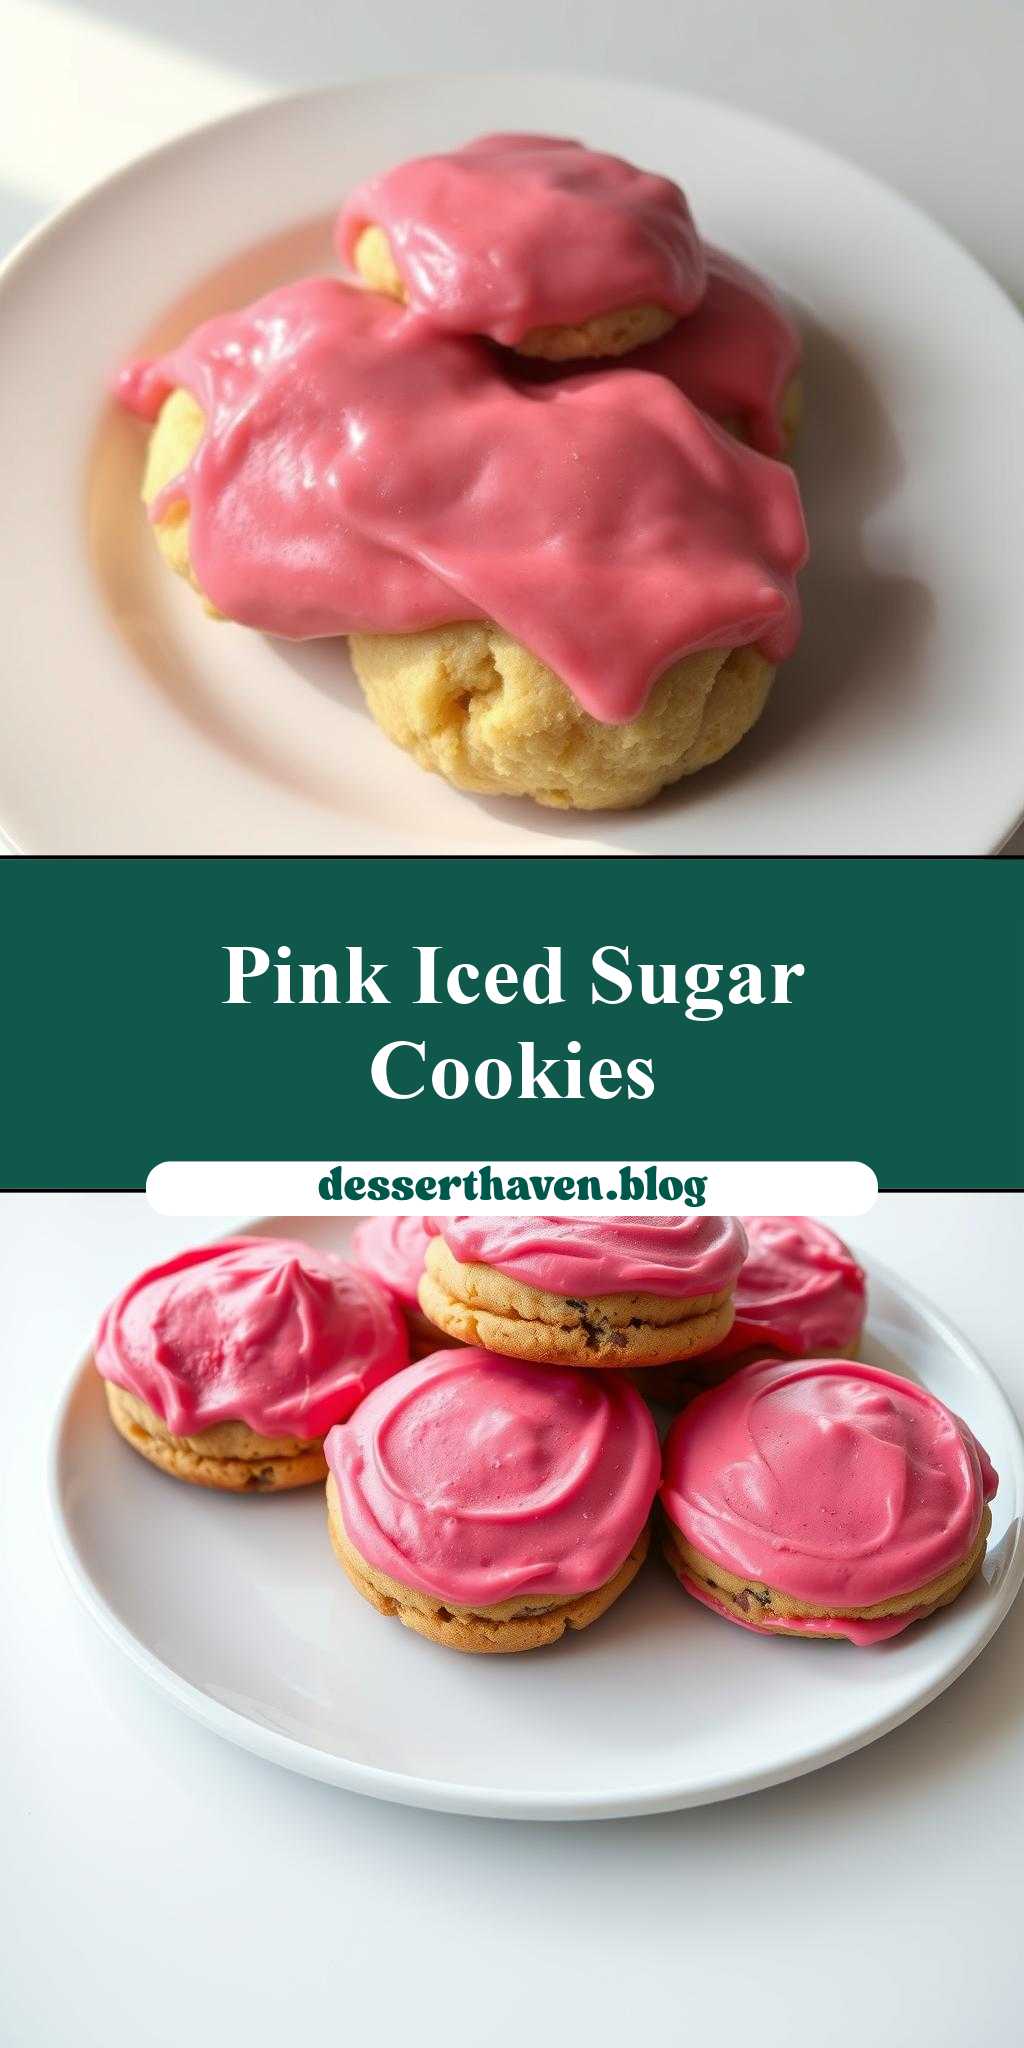
a white plate topped with cookies covered in pink icing
Introduction
Imagine a delightful treat that combines the simplicity of a classic cookie with the vibrant charm of pink icing, all beautifully presented on a pristine white plate. This dish is not just a feast for the eyes, but also a testament to the magic that happens when everyday ingredients come together in perfect harmony. With its ease of preparation, delightful flavor, and endless possibilities for creativity, this recipe is sure to become a favorite among both beginners and seasoned bakers. Whether you’re looking for a sweet surprise to brighten up a weekday or a show-stopping centerpiece for your next gathering, this white plate topped with cookies covered in pink icing is the perfect choice.
Why This Works
- Flavor balance and ingredient accessibility: The beauty of this recipe lies in its use of readily available ingredients, carefully balanced to create a taste experience that is both familiar and exciting. The cookies provide a solid foundation with their crunchy edges and chewy centers, while the pink icing adds a sweet and tangy contrast that elevates the entire dish.
- Ease of preparation: One of the most appealing aspects of this recipe is how straightforward it is to prepare. With simple steps and minimal fuss, you can have your cookies baked and iced in no time, making it an ideal project for a spontaneous baking session or a fun activity with the family.
- Impressive results with minimal effort: Despite its simplicity, the end result is nothing short of impressive. The visual appeal of the pink icing against the white plate and the cookies is sure to impress your guests, making it a great option for those looking to make a statement without breaking a sweat.
Key Ingredients
To bring this delightful treat to life, you’ll need a few key ingredients. For the cookies, you’ll be using all-purpose flour, baking soda, salt, granulated sugar, brown sugar, butter, eggs, and vanilla extract. For the pink icing, you’ll need powdered sugar, butter or cream cheese, milk or cream, and a few drops of red food coloring to achieve the perfect pink hue. Practical substitutions can be made, such as using almond flour for a gluten-free option or coconut sugar for a slightly different flavor profile, allowing you to tailor the recipe to your dietary needs and preferences.
Instructions
- Step 1: Begin by preheating your oven to 375°F (190°C). While the oven is warming up, prepare your cookie dough by whisking together the dry ingredients (flour, baking soda, salt) in one bowl and the wet ingredients (sugars, butter, eggs, vanilla extract) in another. Combine the two mixtures until a dough forms, being careful not to overmix.
- Step 2: Scoop the cookie dough into balls, about 1 tablespoon each, and place them on a baking sheet lined with parchment paper, leaving about 2 inches of space between each cookie. Bake for 10-12 minutes or until the edges are lightly golden. Allow the cookies to cool completely on the baking sheet.
- Step 3: While the cookies are cooling, prepare the pink icing. In a large bowl, beat the butter or cream cheese until it’s smooth, then gradually add the powdered sugar, beating well after each addition. Add the milk or cream a tablespoon at a time until you achieve the desired consistency. Finally, add a few drops of red food coloring and mix until the color is evenly distributed.
- Step 4: Once the cookies are completely cool, it’s time for the fun part – icing and decorating. Place a cookie on the white plate, then spread or pipe a generous amount of pink icing on top. You can choose to ice each cookie individually before placing them on the plate or ice them directly on the plate for a more rustic look. The key is to have fun and be creative with your icing patterns and designs.
Handy Tips
- To ensure your cookies retain their shape and bake evenly, chill the dough for at least 30 minutes before baking. This step is crucial for achieving the perfect texture and appearance.
- For the icing, using room temperature butter or cream cheese will make it easier to mix and achieve a smooth consistency. If you find your icing too thin, add a bit more powdered sugar. If it’s too thick, add a tiny bit more milk or cream.
- Experiment with different flavors by adding extracts (like almond or lemon) to the cookie dough or the icing. This can add a unique twist to your treat and cater to various tastes.
Heat Control
When it comes to baking the cookies, maintaining the right temperature is crucial. Ensure your oven is at 375°F (190°C) for the best results. The baking time may vary slightly depending on your oven and! the size of your cookies, so keep an eye on them. They are done when the edges are lightly golden. For the icing, no heat is required, making it a great part of the recipe to involve kids or those who are new to baking.
Crunch Factor
The crunch factor in this dish comes from the cookies, which should have a crunchy edge and a chewy center. To achieve this perfect texture, make sure not to overbake the cookies. They should be lightly golden and still feel slightly soft to the touch when removed from the oven. The pink icing adds a smooth contrast to the crunch of the cookies, creating a delightful texture combination in each bite.
Pro Kitchen Tricks
- Invest in a cookie scoop to ensure all your cookies are uniform in size, which helps them bake evenly and makes the presentation more appealing.
- For a more vibrant pink icing, use a high-quality food coloring. Gel or paste coloring can give a more intense color with less product, making your icing more vibrant and fun.
- Consider using parchment paper or a silicone mat on your baking sheet for easy cleanup and to prevent the cookies from spreading too much.
Storage Tips
- Store your baked cookies in an airtight container at room temperature for up to 5 days. If you’ve iced the cookies, it’s best to store them in the refrigerator to prevent the icing from becoming too soft or runny.
- For longer storage, you can freeze the baked cookies for up to 2 months. Simply place them in a single layer in a freezer-safe bag or container and thaw at room temperature when you’re ready to ice and serve.
- Leftover icing can be stored in the refrigerator for up to a week. Allow it to come to room temperature before using, or soften it in the microwave in short increments, stirring between each heating.
Gift Packaging Ideas
If you’re looking to share your delicious cookies as a gift, consider packaging them in decorative jars or tins. Place a layer of cookies at the bottom, followed by a layer of wax paper or parchment paper, and repeat until the container is full. You can then top the cookies with a dollop of pink icing and decorate the jar with ribbons or gift tags. Another idea is to wrap individual cookies in cellophane bags and tie them with twine or ribbon, making for a cute and easy gift that’s perfect for any occasion.
Flavor Variations
- Different spices: Add a pinch of salt or a teaspoon of cinnamon to the cookie dough for a unique flavor twist.
- Creative toppings: Instead of just pink icing, consider topping your cookies with chopped nuts, sprinkles, or even a drizzle of chocolate for added texture and flavor.
- Ingredient swaps: Swap the butter for coconut oil or use almond milk instead of regular milk to cater to different dietary needs or preferences.
Troubleshooting
- Texture problems: If your cookies turn out too hard, they might have been overbaked. If they’re too soft, they might not have been baked long enough. Adjust the baking time as needed for your next batch.
- Ingredient replacements: If you’re missing an ingredient, look for substitutions online. For example, if you don’t have butter, you can use margarine or a vegan butter substitute in a pinch.
- Over/undercooking signs: Keep an eye on your cookies while they’re baking. They’re done when the edges are lightly golden. If you prefer a chewier cookie, take them out when they’re slightly less done.
FAQs
- Can I freeze it? Yes, you can freeze the baked cookies for up to 2 months. It’s best to freeze them without icing and then ice them after thawing for the best results.
- Is it gluten-free? The recipe as written is not gluten-free due to the use of all-purpose flour. However, you can make it gluten-free by substituting the flour with a gluten-free flour blend.
- Can I double the recipe? Yes, you can easily double or even triple the recipe if you’re planning for a larger group. Just remember to adjust the baking time slightly if you’re making a larger batch of cookies.
Conclusion
This recipe for a white plate topped with cookies covered in pink icing is a versatile and fun project that’s perfect for bakers of all skill levels. With its simple ingredients, easy instructions, and endless possibilities for creativity, it’s a great way to spend an afternoon in the kitchen, whether you’re baking for yourself or for a crowd. Don’t be afraid to experiment with different flavors and decorations, and most importantly, enjoy the process and the delicious results. Happy baking!