Can you guess the secret ingredient in this show-stopping dessert? It starts with a moist homemade cake, topped with crunchy Oreo cookies and finished with a sweet red icing drizzle, making it an easy family favorite. Save this idea for your next quick weeknight treat.
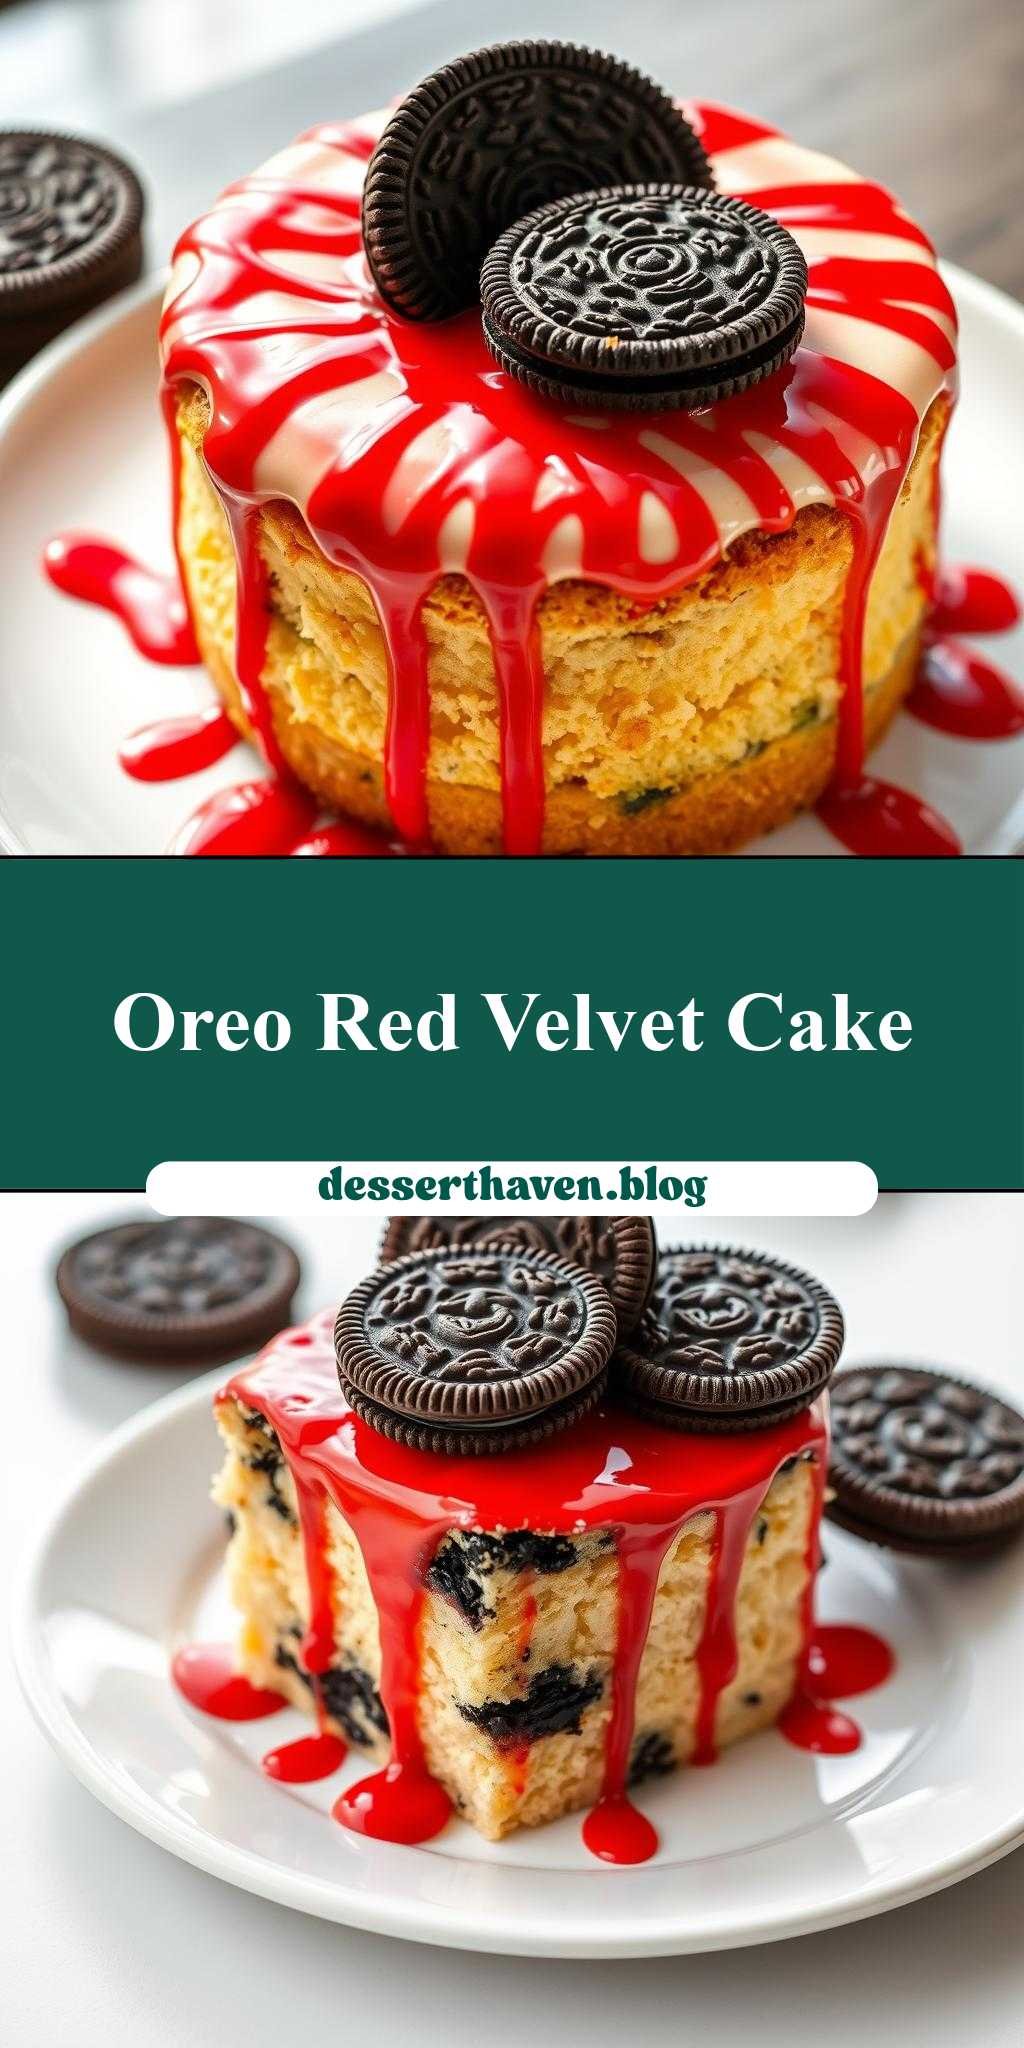
a cake with oreo cookies on top and red icing drizzled over it
Introduction
Imagine a moist and decadent cake, topped with a delightful crunch of Oreo cookies and finished with a drizzle of vibrant red icing – a treat that’s as visually stunning as it is delicious. This cake is a masterpiece of simplicity, requiring only everyday ingredients and basic kitchen skills. The combination of textures and flavors is a true delight, perfect for satisfying your sweet tooth or impressing your friends and family at any gathering. The best part? It’s incredibly easy to make, requiring minimal effort for such an impressive result.
Why This Works
- Flavor balance and ingredient accessibility: The cake’s core flavor is enhanced by the cookies and icing, creating a well-rounded taste experience. All ingredients are readily available in most supermarkets, making it accessible to bake.
- Ease of preparation: The steps to prepare this cake are straightforward and simple, requiring no advanced baking techniques. This makes it perfect for beginners or those short on time.
- Impressive results with minimal effort: Despite its simplicity, the end result is a visually appealing and delicious dessert that’s sure to impress. The Oreo cookies and red icing add a professional touch without requiring professional skills.
Key Ingredients
The main ingredients for this cake include all-purpose flour, sugar, eggs, butter or oil, milk, vanilla extract, Oreo cookies, and red icing. For the cake, you can use either butter or oil, depending on your preference for flavor and texture. If you want to substitute the Oreos, you could use any other sandwich cookie, though Oreos provide a unique flavor and visual appeal. The red icing can be store-bought or homemade, depending on your baking level and the time you have available.
Instructions
- Step 1: Begin by preheating your oven to 350°F (175°C). Prepare your cake pans by greasing them and lining the bottoms with parchment paper. In a large mixing bowl, whisk together the flour, sugar, and any dry ingredients. In another bowl, whisk together the eggs, milk, and vanilla extract. Combine the wet and dry ingredients, then add the butter or oil, mixing until just combined.
- Step 2: Divide the batter evenly between your prepared pans and smooth the tops. Bake for about 20-25 minutes, or until a toothpick inserted into the center comes out clean. Let the cakes cool in the pans for a few minutes before transferring them to a wire rack to cool completely.
- Step 3: Once the cakes are cool, you can start assembling your dessert. Place one of the cakes on a serving plate or cake stand. If desired, you can add a layer of icing or jam on top of the first cake before placing the second cake on top. However, for this recipe, we’re focusing on the simplicity of the cake, Oreos, and red icing, so you can skip this step if you prefer.
- Step 4: Arrange the Oreo cookies on top of the cake. You can leave them whole for a more rustic look or crush them slightly for a textured appearance. Finally, drizzle the red icing over the cookies. You can use as much or as little icing as you like, depending on your desired level of sweetness and visual appeal.
Handy Tips
- To ensure your cake is moist, don’t overmix the batter, and make sure not to overbake. A toothpick inserted into the center should come out clean, but if it’s perfectly clean, the cake might be overcooked.
- If you’re using homemade red icing, make sure it’s at room temperature before drizzling to achieve the best consistency.
- For an extra crunchy texture, you can bake the Oreo cookies in a single layer on a baking sheet at 300°F (150°C) for about 5 minutes. Keep an eye on them to avoid burning.
Heat Control
For baking the cake, the ideal temperature is 350°F (175°C), and the timing will depend on the size of your cakes. Generally, for two 9-inch (23cm) round cakes, you’re looking at about 20-25 minutes. Signs of doneness include the cake pulling away from the sides of the pan, a toothpick coming out clean from the center, and the top being firm to the touch.
Crunch Factor
The crunch factor in this dessert comes from the Oreo cookies on top. To enhance this, you can slightly crush the cookies before placing them on the cake, or you can bake them lightly as mentioned earlier. The goal is to provide a nice textural contrast to the softness of the cake.
Pro Kitchen Tricks
- To ensure the cakes bake evenly, rotate the pans halfway through the baking time.
- For a more vibrant red icing, use a high-quality food coloring or consider using a flavored extract like cherry or raspberry to add depth to the flavor.
- Keep your cakes fresh by storing them in an airtight container at room temperature. If you’re not serving the cake immediately, you can bake the cakes ahead of time and freeze them until needed, then thaw and decorate.
Storage Tips
- Leftover cake should be stored in an airtight container at room temperature for up to 3 days. If you won’t be serving it within this timeframe, consider freezing the undecorated cake layers.
- For reheating, you can warm the cake slightly in the microwave, but be cautious not to overheat, which can dry out the cake.
- The best containers for storing cake are those that are airtight and can keep moisture out, such as plastic or metal containers with tight-fitting lids.
Gift Packaging Ideas
If you’re planning to give this cake as a gift, consider presenting it on a decorative cake stand or plate, wrapped in clear plastic wrap or a large cellophane bag tied with a ribbon. For a more rustic look, you could place the cake in a cardboard cake box or a vintage tin, finishing it off with a gift tag and some decorative twine.
Flavor Variations
- Different spices: Adding a pinch of salt or a teaspoon of cinnamon can enhance the flavor of the cake.
- Creative toppings: Besides Oreo cookies, you could use other types of cookies, nuts, or even dried fruits to change up the texture and flavor.
- Ingredient swaps: For a gluten-free version, you could substitute the all-purpose flour with a gluten-free flour mix. For a dairy-free version, use non-dairy milk and vegan butter substitutes.
Troubleshooting
- Texture problems: If your cake turns out too dense, it might be due to overmixing the batter. If it’s too dry, it could be overbaked.
- Ingredient replacements: Always try to use the ingredients called for in the recipe for the best flavor and texture. However, if you need to make substitutions, do so thoughtfully, considering how the replacement will affect the final product.
- Over/undercooking signs: Keep an eye on your cake while it’s baking. If the edges start to pull away from the pan and a toothpick comes out clean, it’s done. If you notice it browning too quickly, you might need to cover the top with foil to prevent overbrowning.
FAQs
- Can I freeze it? Yes, you can freeze the cake layers before decorating. Wrap them tightly in plastic wrap or aluminum foil and place them in a freezer-safe bag. Frozen cakes can be stored for up to 3 months.
- Is it gluten-free? Not in its basic form. However, you can make a gluten-free version by substituting the flour with a gluten-free mix.
- Can I double the recipe? Yes, you can easily double the recipe to make a larger cake. Just keep in mind that you’ll need to adjust the baking time accordingly, likely adding an extra 10-15 minutes to the baking time, depending on the size of your cakes.
Conclusion
This cake with Oreo cookies on top and red icing drizzled over it is a true showstopper that belies its simplicity. With its moist cake, crunchy Oreo topping, and sweet red icing, it’s a dessert that’s sure to please both kids and adults alike. Don’t be afraid to experiment with different flavors and toppings to make the recipe your own, and consider sharing your creations on social media to inspire others. Whether you’re a seasoned baker or just starting out, this recipe is a great addition to any dessert repertoire, offering a delicious, impressive, and easy-to-make treat for any occasion.