Can you resist a moist homemade cake loaded with Oreo cookies on top? This easy dessert features a simple cookie-crusted topping and rich chocolate flavor, perfect for a weeknight treat, save this idea for your next family favorite dinner Pin for later
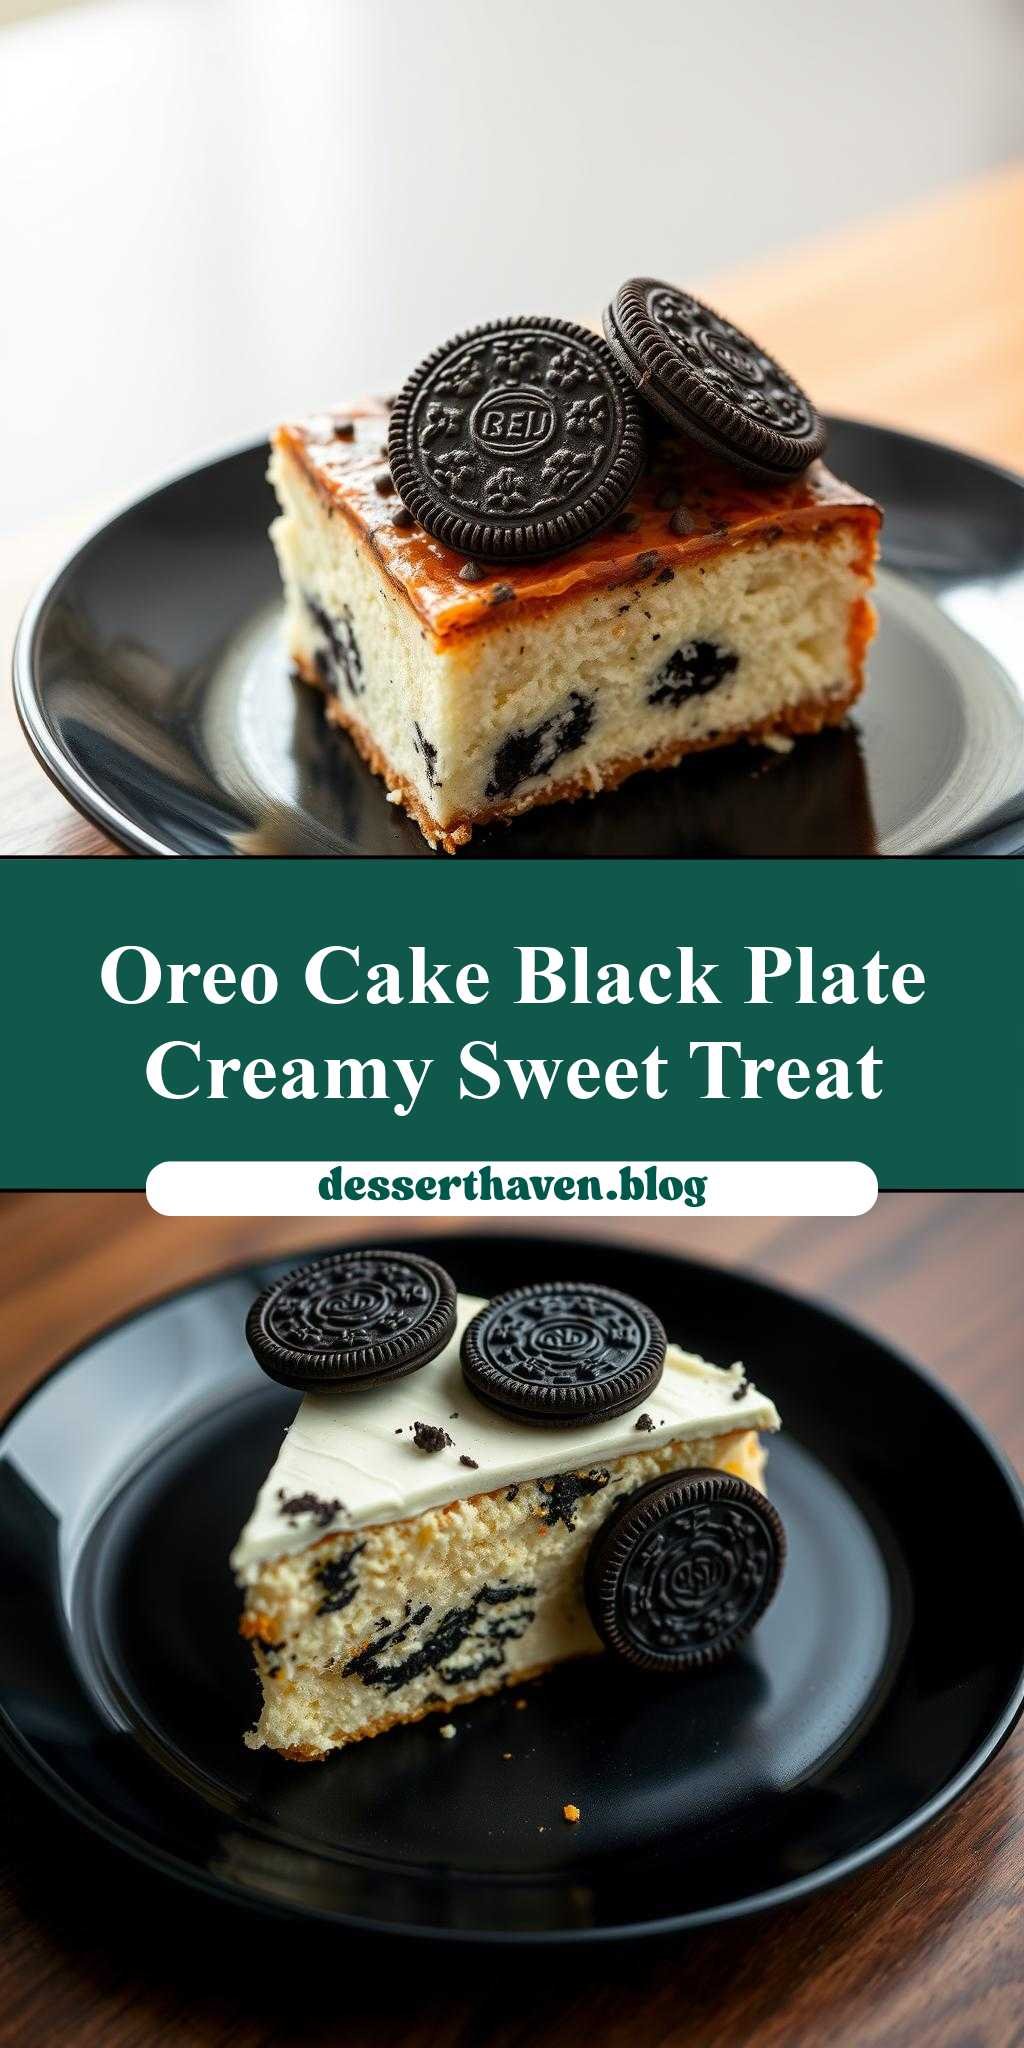
a piece of cake with oreo cookies on top is sitting on a black plate
Introduction
Imagine a moist and decadent cake, topped with a delightful crunch of Oreo cookies, all neatly presented on a sleek black plate. This dessert is not just a treat for the taste buds but also a feast for the eyes. The best part? It’s incredibly easy to make, requiring minimal effort and everyday ingredients. The combination of textures and flavors is a masterclass in creativity, proving that sometimes the simplest ideas can lead to the most impressive results. Whether you’re a beginner in the kitchen or a seasoned baker, this recipe is sure to delight both you and your guests.
Why This Works
- Flavor balance and ingredient accessibility: The cake provides a rich, velvety base, while the Oreo cookies add a nice crunch and a burst of cookie flavor, creating a perfect balance of textures and tastes. All the ingredients are easily found in most supermarkets, making this dessert accessible to everyone.
- Ease of preparation: The cake mix is straightforward, and topping it with Oreo cookies couldn’t be simpler. This dessert is perfect for those short on time or new to baking, as it requires minimal preparation and cooking skills.
- Impressive results with minimal effort: Despite its simplicity, the presentation and taste of this dessert are sure to impress. The contrast between the black plate, the cake, and the Oreo cookies creates a visually appealing dish that looks like it came from a professional bakery.
Key Ingredients
The main ingredients for this dessert include a box of cake mix (preferably chocolate to complement the Oreos), the necessary ingredients to prepare the cake mix (usually eggs, oil, and water), and a package of Oreo cookies. For the cake, you can use any type of chocolate cake mix you prefer, and for a more adult twist, you could even use a espresso or coffee-flavored cake mix to deepen the flavors. If you want to get creative, you could also use different flavors of Oreo cookies, like mint or peanut butter, to give your dessert a unique twist.
Instructions
- Step 1: Begin by preheating your oven according to the instructions on the cake mix box. While the oven is heating up, prepare your cake mix according to the package instructions, which usually involves mixing the cake mix with eggs, oil, and water in a large bowl until well combined.
- Step 2: Pour the cake batter into a greased cake pan and bake for the time specified on the cake mix box. Once the cake is done, let it cool completely on a wire rack. This step is crucial as you want the cake to be completely cool before you top it with the Oreo cookies to prevent them from becoming soggy.
- Step 3: Once the cake is cool, you can start decorating it with the Oreo cookies. You can either place the cookies randomly on top of the cake or create a pattern, depending on your preference. For an extra-special touch, you could also drizzle the top with chocolate sauce or melted chocolate to act as a ‘glue’ for the cookies and add an extra layer of flavor.
- Step 4: Finally, place your masterpiece on a black plate. The contrast between the cake, the Oreo cookies, and the plate will make for a stunning presentation. You can serve this dessert as is, or if you’re feeling extra fancy, you could add some whipped cream or ice cream on the side to complement the cake and cookies.
Handy Tips
- To ensure your cake is moist, don’t overmix the batter, and make sure to not overbake it. A good way to check if the cake is done is to insert a toothpick into the center; if it comes out clean, the cake is ready.
- If you find that your Oreo cookies are becoming soggy, it might be because the cake wasn’t completely cool when you topped it with the cookies. To avoid this, make sure the cake is at room temperature before decorating.
- For a fun twist, consider using different types of cookies or even candy pieces to top your cake. This can be a great way to match the dessert to a specific theme or the preferences of your guests.
Heat Control
When baking the cake, it’s crucial to follow the temperature and baking time instructions on the cake mix box. Generally, cakes are baked at around 350°F (175°C), but this can vary depending on the specific mix you’re using. Keep an eye on your cake as it bakes, and once a toothpick inserted into the center comes out clean, you know it’s done. Avoid overbaking, as this can lead to a dry cake.
Crunch Factor
The crunch factor in this dessert comes from the Oreo cookies on top. To maintain this crunch, it’s essential to add the cookies just before serving, especially if you’re drizzling with chocolate, as this can make the cookies soggy if left for too long. If you’re looking for an extra crunch, you could also sprinkle some chopped nuts or cookie crumbs over the top of the cake before adding the Oreos.
Pro Kitchen Tricks
- Another trick is to not overcomplicate things. Sometimes, the simplest desserts are the most impressive. Don’t be afraid to keep your design simple and let the natural beauty of the cake and cookies shine through.
- For cleanup, a handy trick is to line your cake pan with parchment paper before adding the batter. This makes removing the cake from the pan and cleaning up afterward much easier.
Storage Tips
- If you’re not serving the cake immediately, it’s best to store it in an airtight container at room temperature. If you’ve already topped the cake with Oreo cookies, it’s best to consume it within a day to maintain the crunch of the cookies.
- For longer storage, you can bake the cake, let it cool, and then freeze it. When you’re ready to serve, thaw the cake at room temperature, and then top it with the Oreo cookies.
- Reheating the cake is not necessary, but if you prefer your cake warm, you can heat it in the microwave for a few seconds. Be careful not to overheat, as this can dry out the cake.
Gift Packaging Ideas
If you’re considering gifting this dessert, one of the most attractive ways to present it is in a clear plastic or glass container. This allows the recipient to see the beautiful layers and textures of the cake and cookies. You can wrap a ribbon around the container and add a gift tag for a personal touch. Another idea is to slice the cake and package each slice individually in decorative wrappers or bags, perfect for a party favor or a sweet treat to go.
Flavor Variations
- Different spices: Consider adding a pinch of salt or a teaspoon of cinnamon to the cake batter to give it an extra depth of flavor.
- Creative toppings: Instead of Oreo cookies, you could use M&M’s, chopped nuts, or even candy pieces to create a colorful and fun topping.
- Ingredient swaps: For a gluten-free version, look for gluten-free cake mix. You could also use almond milk or another non-dairy milk to make the dessert more accessible to those with dietary restrictions.
Troubleshooting
- Texture problems: If your cake turns out too dry, it might be because it was overbaked. Try checking the cake more frequently towards the end of the baking time. If your cookies become soggy, it could be because the cake wasn’t completely cool when you added them.
- Ingredient replacements: If you can’t find Oreo cookies, you could substitute them with another type of sandwich cookie. For the cake mix, always follow the instructions on the box for the best results.
- Over/undercooking signs: An undercooked cake will be wet and soggy in the center, while an overcooked cake will be dry and possibly cracked on top. Adjust your baking time as needed to achieve the perfect texture.
FAQs
- Can I freeze it? Yes, you can freeze the baked cake for up to 3 months. It’s best to freeze it without the Oreo cookies and add them just before serving.
- Is it gluten-free? This depends on the type of cake mix you use. Look for a gluten-free cake mix to make this dessert accessible to those with gluten intolerance.
- Can I double the recipe? Yes, you can easily double or triple this recipe if you’re serving a larger crowd. Just remember to adjust the baking time accordingly if you’re making a larger cake.
Conclusion
This piece of cake with Oreo cookies on top is a true showstopper that’s deceptively easy to make. With its perfect balance of flavors and textures, it’s sure to be a hit at any gathering. Don’t be afraid to experiment with different types of cookies or cake mixes to make the dessert your own. Whether you’re a seasoned baker or just starting out, this recipe is a great addition to any dessert repertoire. So go ahead, get creative, and enjoy the process of making something truly special.