What makes a perfect homemade loaf so irresistible? Freshly baked bread, made with simple ingredients like yeast and warm water, is a staple for any weeknight dinner. This easy recipe yields a deliciously soft interior and crispy crust. Save this idea for a family favorite that is sure to please, try it soon
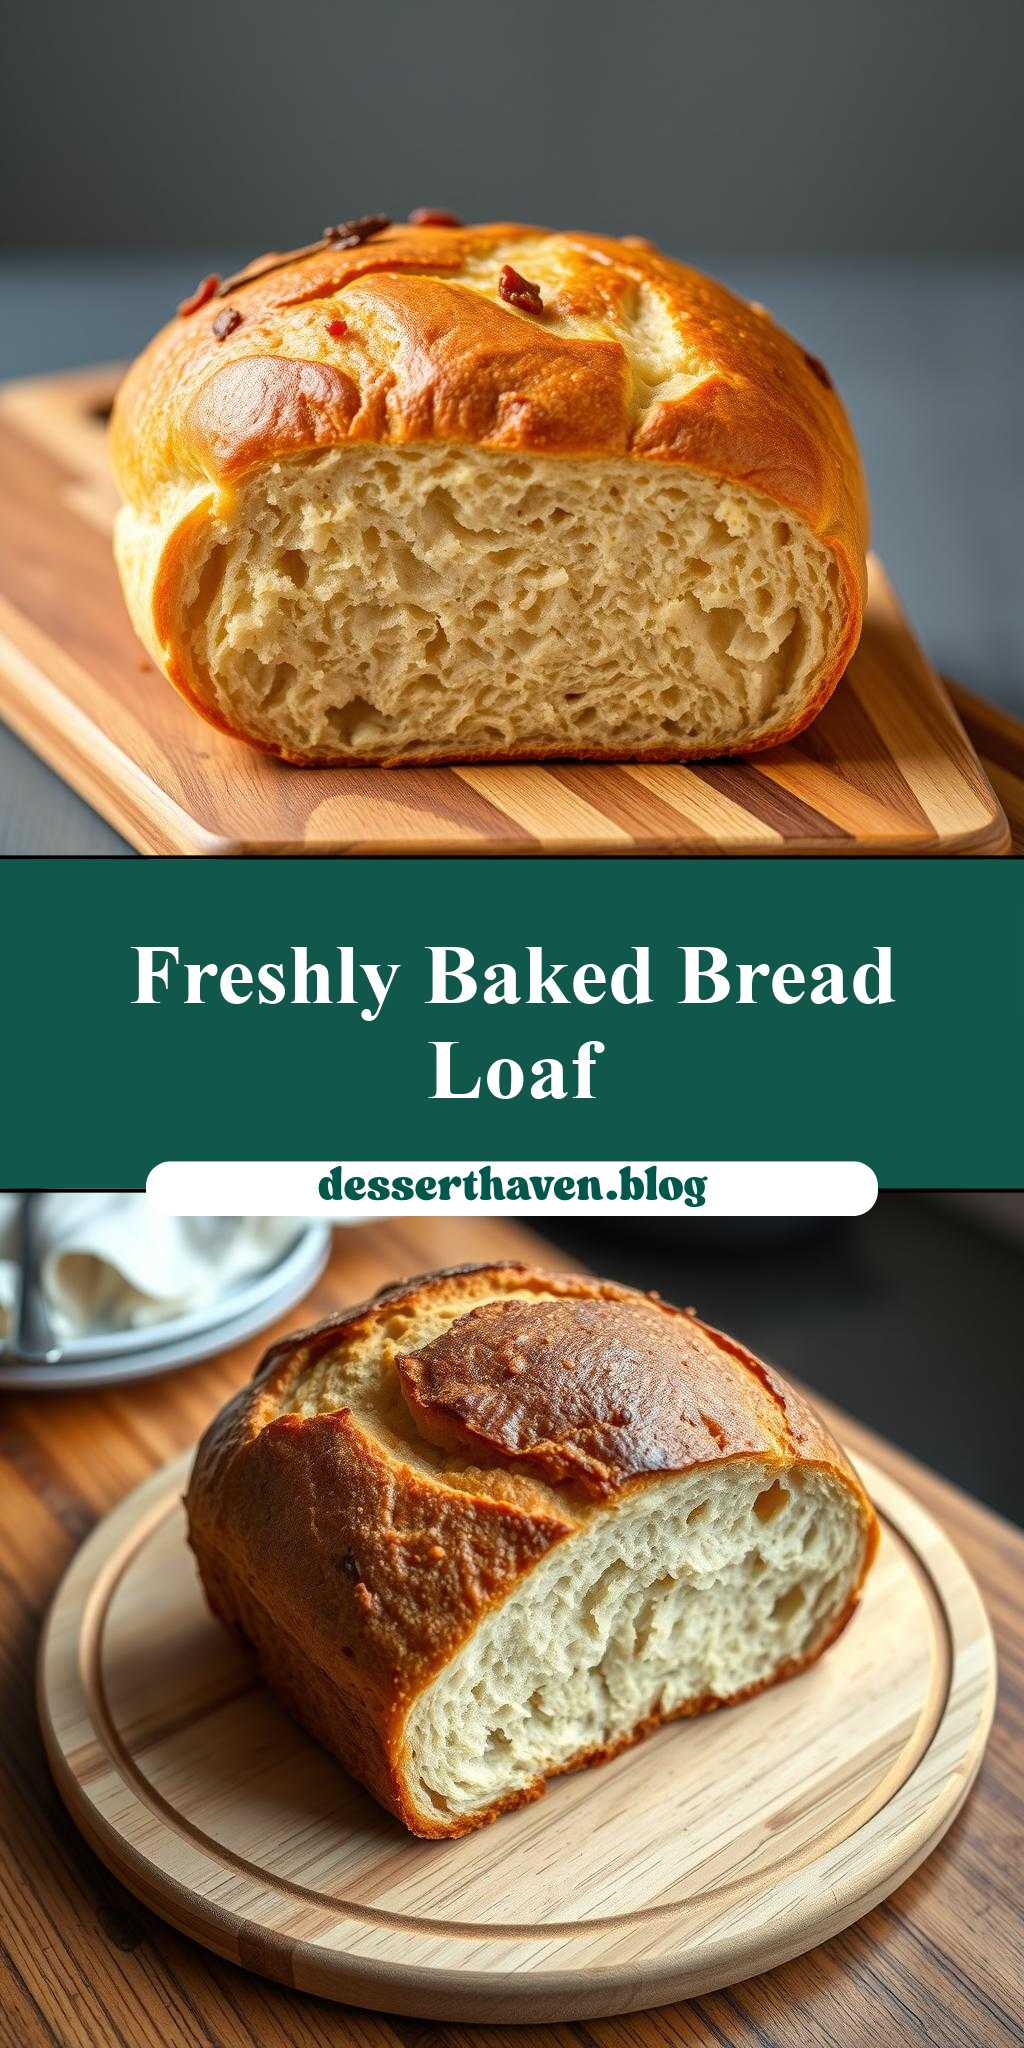
a loaf of bread sitting on top of a wooden cutting board
Introduction
There’s something undeniably inviting about a freshly baked loaf of bread sitting atop a rustic wooden cutting board. The aroma of warm bread, the rustic charm of the wood, and the promise of a delicious meal to come all combine to create an experience that’s both comforting and inviting. In this recipe, we’ll explore how to create this quintessential scene, focusing on ease, flavor, and creativity using everyday ingredients. Whether you’re a seasoned baker or a culinary newbie, this guide will walk you through the simple yet satisfying process of baking a perfect loaf of bread and presenting it in a visually appealing way.
Why This Works
- Flavor balance and ingredient accessibility: The beauty of baking bread lies in its simplicity. With just a few basic ingredients, you can create a multitude of flavors, from classic to more adventurous combinations, ensuring there’s something for every palate.
- Ease of preparation: Despite its impressive results, the process of baking bread is surprisingly straightforward. With minimal effort, you can achieve a delicious, homemade loaf that’s sure to impress.
- Impressive results with minimal effort: The presentation of a loaf of bread on a wooden cutting board is deceptively simple yet incredibly effective. It’s a perfect centerpiece for any meal, adding a touch of warmth and hospitality to your dining experience.
Key Ingredients
The main ingredients for this recipe include 2 cups of warm water, 2 teaspoons of sugar, 1 tablespoon of active dry yeast, 3 tablespoons of olive oil, 1 teaspoon of salt, and 4 cups of all-purpose flour. For the wooden cutting board presentation, you’ll also need a clean, rustic wooden cutting board and any additional garnishes you prefer, such as a sprig of rosemary or a pat of butter. Practical substitutions can be made for the type of flour or oil used, allowing for some creativity and adaptation based on personal preference or dietary needs.
Instructions
- Step 1: Begin by activating the yeast. In a large mixing bowl, combine the warm water, sugar, and yeast. Let it sit for about 5-10 minutes, until the mixture becomes frothy and bubbly, indicating the yeast is active.
- Step 2: Add the olive oil, salt, and 2 cups of flour to the bowl. Mix until a shaggy dough forms. Gradually add the remaining flour, one cup at a time, until the dough becomes smooth and elastic. You may not need all of the remaining flour, so add it gradually and be prepared to stop adding flour when the dough feels right.
- Step 3: Knead the dough. This can be done by hand or using a stand mixer with a dough hook attachment. Knead for about 10 minutes, until the dough is smooth, elastic, and slightly shiny.
- Step 4: Let the dough rise. Place the dough in a lightly oiled bowl, cover it with plastic wrap or a damp towel, and let it rise in a warm, draft-free place for about 1 hour, or until it has doubled in size.
- Step 5: Shape the dough. Once the dough has risen, punch it down and shape it into a loaf. Place the loaf onto a baking sheet lined with parchment paper, cover it with a clean towel, and let it rise for another 30-45 minutes, or until it has puffed up slightly.
- Step 6: Bake the bread. Preheat your oven to 375°F (190°C). Bake the loaf for 25-35 minutes, or until it’s golden brown and sounds hollow when tapped on the bottom.
- Step 7: Present the bread. Once the bread is baked, let it cool for a few minutes before transferring it to your wooden cutting board. You can garnish with herbs, a drizzle of olive oil, or any other toppings you like.
Handy Tips
- Use a digital thermometer to ensure your water is at the right temperature for yeast activation. Too hot, and you’ll kill the yeast; too cold, and it won’t activate properly.
- Don’t overmix the dough. This can lead to a dense, tough bread. Mix just until the ingredients come together, then let the kneading process develop the dough’s texture.
- Keep your rising area warm and draft-free. A cold environment or drafts can slow down the rising process or even stop it altogether.
Heat Control
For baking the bread, it’s crucial to have your oven at the correct temperature. An oven that’s too hot can burn the bread’s crust before it’s fully cooked inside, while an oven that’s too cool can result in a dense, undercooked loaf. Use an oven thermometer to ensure accuracy, and keep an eye on your bread as it bakes, adjusting the baking time as necessary.
Crunch Factor
A perfectly baked loaf of bread should have a crunchy, golden crust and a soft, airy interior. To achieve this, make sure your oven is at the right temperature, and don’t overbake the bread. A good sign of doneness is when the bread sounds hollow when tapped on the bottom. If you prefer a crisper crust, you can bake the bread for a few minutes longer, but keep a close eye on it to avoid burning.
Pro Kitchen Tricks
- Use a pizza stone in your oven. Preheating the stone with the oven can help create a crispy crust on your bread by absorbing moisture and distributing heat evenly.
- Score the bread. Just before baking, use a sharp knife or razor blade to make a few shallow cuts on the top of the loaf. This helps control the way the bread expands during baking and can create a more visually appealing crust.
- Let the bread cool completely before slicing. This can be hard to do, but it’s essential for maintaining the bread’s texture. Cutting into warm bread can cause it to tear or become dense.
Storage Tips
- Store your bread at room temperature for up to 3 days. Wrap it in plastic wrap or aluminum foil to keep it fresh.
- For longer storage, consider freezing your bread. Wrap the loaf tightly in plastic wrap or aluminum foil and place it in a freezer bag. Frozen bread can be stored for up to 3 months. To thaw, leave it at room temperature or reheat it in the oven.
- Reheat bread by wrapping it in foil and baking it in a preheated oven at 350°F (175°C) for about 10-15 minutes, or until warmed through.
Gift Packaging Ideas
If you’re looking to give your freshly baked loaf as a gift, consider presenting it in a charming way. You could wrap the cooled bread in a rustic paper bag, tie it with twine, and add a few fresh herbs or a handwritten note. Alternatively, place the bread in a beautiful basket or on a decorative wooden board, add some gourmet cheeses, and you have a lovely gift basket perfect for any occasion.
Flavor Variations
- Different spices: Try adding some dried herbs like thyme or rosemary, or spices like garlic powder or paprika to the dough for unique flavor profiles.
- Creative toppings: Before baking, brush the top of the loaf with olive oil and sprinkle with coarse salt, sesame seeds, or poppy seeds for added texture and flavor.
- Ingredient swaps: Experiment with different types of flour, such as whole wheat, rye, or sourdough, for distinct flavors and textures.
Troubleshooting
- Texture problems: If your bread turns out too dense, it might be due to overmixing the dough or not letting it rise long enough. If it’s too dry, you might have overbaked it or used too much flour.
- Ingredient replacements: If you’re missing an ingredient, look for substitutes. For example, you can use honey instead of sugar, or avocado oil instead of olive oil, though keep in mind these substitutions can affect the flavor and texture of the final product.
- Over/undercooking signs: Keep an eye on your bread while it bakes. If the crust is getting too dark, cover the top with foil to prevent burning. If the bread doesn’t sound hollow when tapped, it might not be fully cooked inside.
FAQs
- Can I freeze it? Yes, you can freeze your bread for up to 3 months. Wrap it tightly and store it in a freezer bag.
- Is it gluten-free? No, this recipe uses all-purpose flour and is not gluten-free. However, you can experiment with gluten-free flours, though the result may vary in texture and taste.
- Can I double the recipe? Yes, you can easily double or even triple this recipe if you need more bread. Just keep in mind that you’ll need to adjust the baking time slightly for larger loaves.
Conclusion
Baking a loaf of bread and presenting it on a wooden cutting board is a simple yet satisfying experience that combines the joy of baking with the pleasure of presentation. With these steps and tips, you’re well on your way to creating not just a delicious meal, but a memorable dining experience. Feel free to experiment with different flavors and ingredients, and don’t hesitate to share your creations with friends and family. Happy baking!