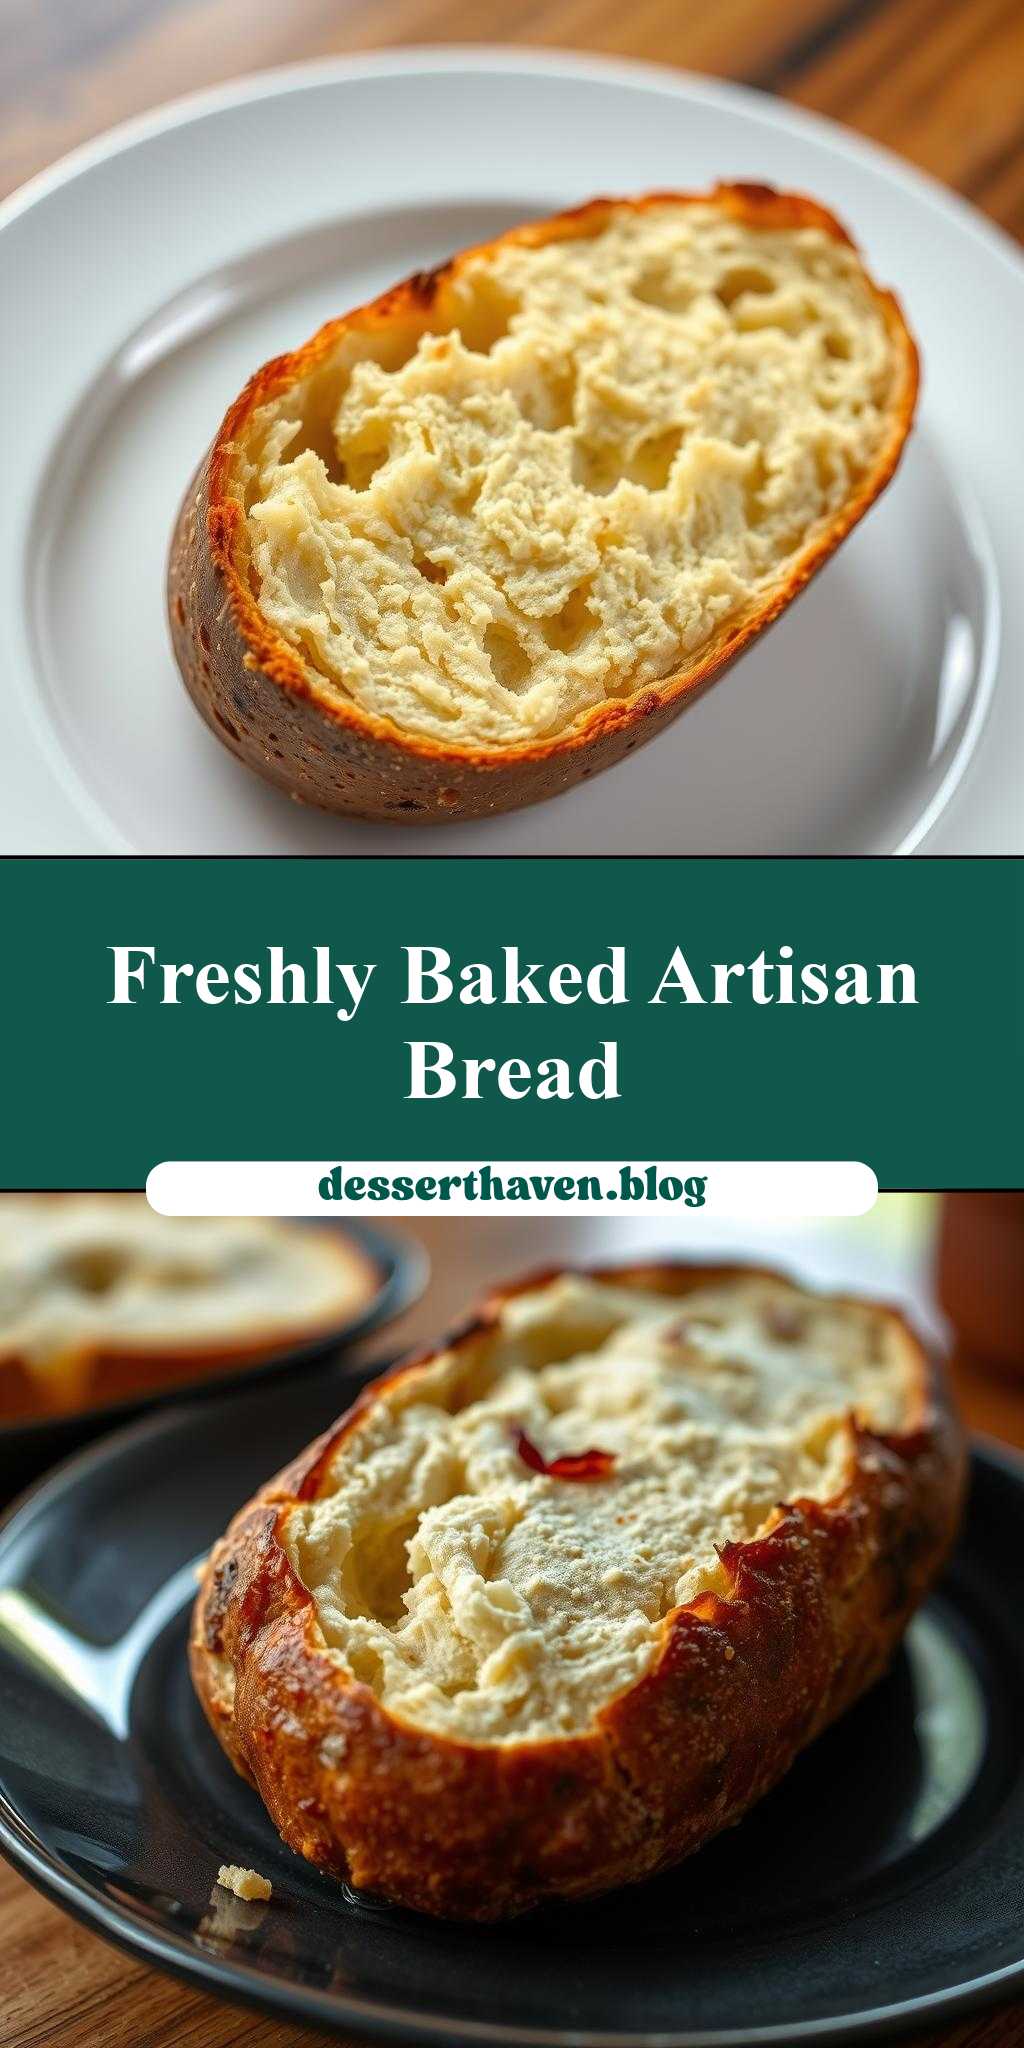
What makes a perfect loaf of artisan bread so irresistible? It’s the combination of crunchy crust and soft interior, achieved with just a few simple ingredients like yeast and flour. This easy homemade recipe is a weeknight dinner game changer, yielding a deliciously fresh loaf with minimal effort. Save this idea for your next family favorite meal.
Artisan Bread
Introduction
Baking artisan bread is an exciting culinary adventure that combines ease, flavor, and creativity, all using everyday ingredients. The process is not only rewarding but also allows for a great deal of personalization, making each loaf uniquely yours. With a few simple ingredients and some basic kitchen tools, you can create a delicious, crusty loaf that rivals those found in professional bakeries. Whether you’re a seasoned baker or just starting out, artisan bread is a great project to undertake, offering a journey of discovery and the joy of sharing freshly baked goods with family and friends.
Why This Works
- Flavor balance and ingredient accessibility: Artisan bread relies on a balance of simple ingredients like flour, water, yeast, and salt, which are readily available in most kitchens. This balance creates a depth of flavor that is hard to achieve with more complex recipes.
- Ease of preparation: Despite the intimidating reputation of bread making, artisan bread is surprisingly easy to prepare. The dough requires minimal handling, and the long fermentation time does much of the work for you, breaking down the flour and developing the flavor.
- Impressive results with minimal effort: One of the most appealing aspects of artisan bread is the impressive results you can achieve with relatively minimal effort. A few minutes of mixing and shaping are followed by long periods of fermentation and baking, making it a low-maintenance yet high-reward project.
Key Ingredients
The main ingredients in artisan bread are flour, water, yeast, and salt. The type of flour used can significantly affect the flavor and texture of the bread; bread flour or all-purpose flour with a high protein content is preferred for its ability to produce a strong gluten structure, which is essential for the bread’s chew and rise. Yeast is the leavening agent that causes the dough to rise, and salt enhances the flavor and helps control yeast growth. Water hydrates the dough, and its quality can impact the final product. Practical substitutions include using different types of flour, such as whole wheat or rye, for varying flavors and textures, or adjusting the water temperature to influence the yeast’s activity.
Instructions
- Step 1: Begin by preparing your ingredients. Measure out your flour, water, yeast, and salt. If you’re using active dry yeast, you may need to activate it in warm water before mixing it with the other ingredients.
- Step 2: Mix the dough. In a large bowl, combine the flour, yeast, salt, and then gradually add the water, mixing until a shaggy dough forms. The initial mix should be brief, just until the ingredients come together in a cohesive mass.
- Step 3: Knead the dough. Turn the dough out onto a floured surface and knead for about 10 minutes, until the dough becomes smooth and elastic. This process develops the gluten in the dough, which is crucial for the bread’s structure and texture.
- Step 4: Ferment the dough. Place the dough in a lightly oiled bowl, cover it with plastic wrap or a damp towel, and let it ferment in a warm, draft-free place. The first 24 hours are crucial for flavor development and dough rise.
- Step 5: Shape the dough. After the fermentation period, gently deflate the dough and shape it into its final form. This could be a round, oblong, or long loaf, depending on your preference.
- Step 6: Proof the dough. Allow the shaped dough to proof for a few hours, until it has doubled in size. This final rise gives the bread its light, airy texture.
- Step 7: Bake the bread. Preheat your oven to a high temperature (usually around 450°F to 500°F), place the dough inside, and bake for about 25-40 minutes, or until the bread is golden brown and sounds hollow when tapped on the bottom.
Handy Tips
- Use a digital scale for precise measurements, especially for the flour and water, as this can significantly affect the dough’s consistency and the final product’s quality.
- Keep the dough at room temperature during fermentation, as cooler temperatures can slow down the yeast’s activity, and warmer temperatures can speed it up, potentially leading to over-proofing.
- Avoid over-mixing the dough, as this can lead to a dense, tough bread. Mix just until the ingredients come together, and then let the kneading and fermentation processes do the rest.
Heat Control
Heat control is crucial when baking artisan bread. The ideal temperature for baking is between 450°F to 500°F (230°C to 260°C), depending on your oven and the type of bread you’re making. It’s also important to preheat your oven thoroughly before baking and to use steam during the baking process to achieve a crispy crust. Signs of doneness include a golden-brown color, a hollow sound when the bottom of the loaf is tapped, and an internal temperature of around 200°F to 210°F (90°C to 99°C).
Crunch Factor
The crunch factor in artisan bread refers to the crispy crust that contrasts beautifully with the soft, airy interior. To achieve this, it’s essential to bake the bread at a high temperature and to use steam in the oven. Steam helps to create a crispy crust by gelatinizing the starches on the surface of the bread, which then brown and crisp up as the steam evaporates. You can create steam by placing a pan of water in the oven or by using a steam injection oven if available.
Pro Kitchen Tricks
- Use a baking stone in the oven to enhance the crust’s crispiness. The stone absorbs moisture from the dough and distributes heat evenly, contributing to a better crust.
- Score the bread before baking to control where the bread expands during baking, creating a more even rise and a more appealing appearance.
- For an extra crispy crust, try baking the bread under a cloche or in a Dutch oven for the first 20-25 minutes of baking. This traps the steam and heat, mimicking a steam oven.
Storage Tips
- Store cooled bread in a paper bag or a bread box at room temperature for up to 3 days. This helps maintain the crust’s crispiness and the interior’s freshness.
- For longer storage, consider freezing the bread. Wrap the cooled loaf tightly in plastic wrap or aluminum foil and place it in a freezer-safe bag. Frozen bread can be stored for up to 2 months and thawed at room temperature or reheated in the oven when needed.
- Reheat bread by wrapping it in foil and baking it in a preheated oven at 350°F (175°C) for about 10-15 minutes, or until warmed through.
Gift Packaging Ideas
Artisan bread makes a wonderful gift, especially when presented nicely. Consider wrapping the cooled loaf in a rustic paper bag, twine, or a linen cloth, and add a personal touch with a handwritten note or a small jar of homemade jam or butter. For a more elaborate presentation, place the loaf in a wicker basket or a wooden crate, filled with other artisanal goodies like cheeses, olives, and crackers.
Flavor Variations
- Different spices: Try adding herbs like rosemary, thyme, or oregano to the dough for a savory flavor, or spices like cinnamon, nutmeg, or cardamom for a sweet bread.
- Creative toppings: Before baking, brush the loaf with olive oil and sprinkle with coarse salt, sesame seeds, or poppy seeds for added texture and flavor.
- Ingredient swaps: Substitute some of the bread flour with whole wheat, rye, or ancient grains like Kamut or Spelt to create a bread with a nuttier flavor and denser texture.
Troubleshooting
- Texture problems: If your bread turns out too dense, it might be due to over-mixing or insufficient fermentation time. If it’s too airy, it could be over-proofed.
- Ingredient replacements: If you’re out of a specific ingredient, consider substitutions. For example, you can use active dry yeast instead of instant yeast, but you may need to activate it first.
- Over/undercooking signs: Keep an eye on your bread’s color and sound. A well-baked loaf will be golden brown and sound hollow when tapped. If it’s pale, it might be undercooked, and if it’s too dark, it could be overcooked.
FAQs
- Can I freeze it? Yes, artisan bread can be frozen for up to 2 months. Wrap the cooled loaf tightly and place it in a freezer-safe bag.
- Is it gluten-free? Traditional artisan bread recipes include wheat flour and therefore contain gluten. However, you can experiment with gluten-free flours, but the texture and flavor might differ significantly.
- Can I double the recipe? Yes, you can double the recipe, but keep in mind that the fermentation and baking times might need to be adjusted. It’s also important to ensure your mixing bowl and baking surface are large enough to handle the increased dough size.
Conclusion
Baking artisan bread is a journey that combines tradition, creativity, and patience. With practice, you’ll find that the process becomes not just about making bread, but about the joy of creation, the satisfaction of a job well done, and the pleasure of sharing something truly special with others. Don’t be discouraged by initial failures; each loaf is a learning experience, and even the less successful attempts can yield valuable insights and delicious results. Encourage experimentation, share your bread with friends and family, and enjoy the process of perfecting your craft. Happy baking!