What to do with leftover mashed potatoes? Turn them into crispy cheese puffs with just a few simple ingredients like shredded cheddar and a quick baking method. A perfect easy weeknight dinner solution, these homemade puffs are a family favorite. Save this idea for a tasty twist on a classic comfort food.
Crispy Leftover Mashed Potato Cheese Puffs
Introduction
Are you tired of throwing away leftover mashed potatoes? Look no further! This recipe for Crispy Leftover Mashed Potato Cheese Puffs is a game-changer. It’s an easy, creative, and delicious way to breathe new life into yesterday’s mashed potatoes. With just a few simple ingredients and some quick preparation, you can transform a humble leftover into a crispy, cheesy, and irresistible snack or side dish that’s sure to impress your family and friends. The best part? It’s incredibly easy to make and requires minimal effort, making it perfect for busy weeknights or weekend gatherings.
Why This Works
- Flavor balance and ingredient accessibility: This recipe strikes a perfect balance between the comforting warmth of mashed potatoes and the savory allure of melted cheese, all while using ingredients that are likely already in your pantry.
- Ease of preparation: With a preparation time of just 10 minutes and a cooking time of 20 minutes, this recipe is quick, easy, and hassle-free, making it ideal for those with limited time.
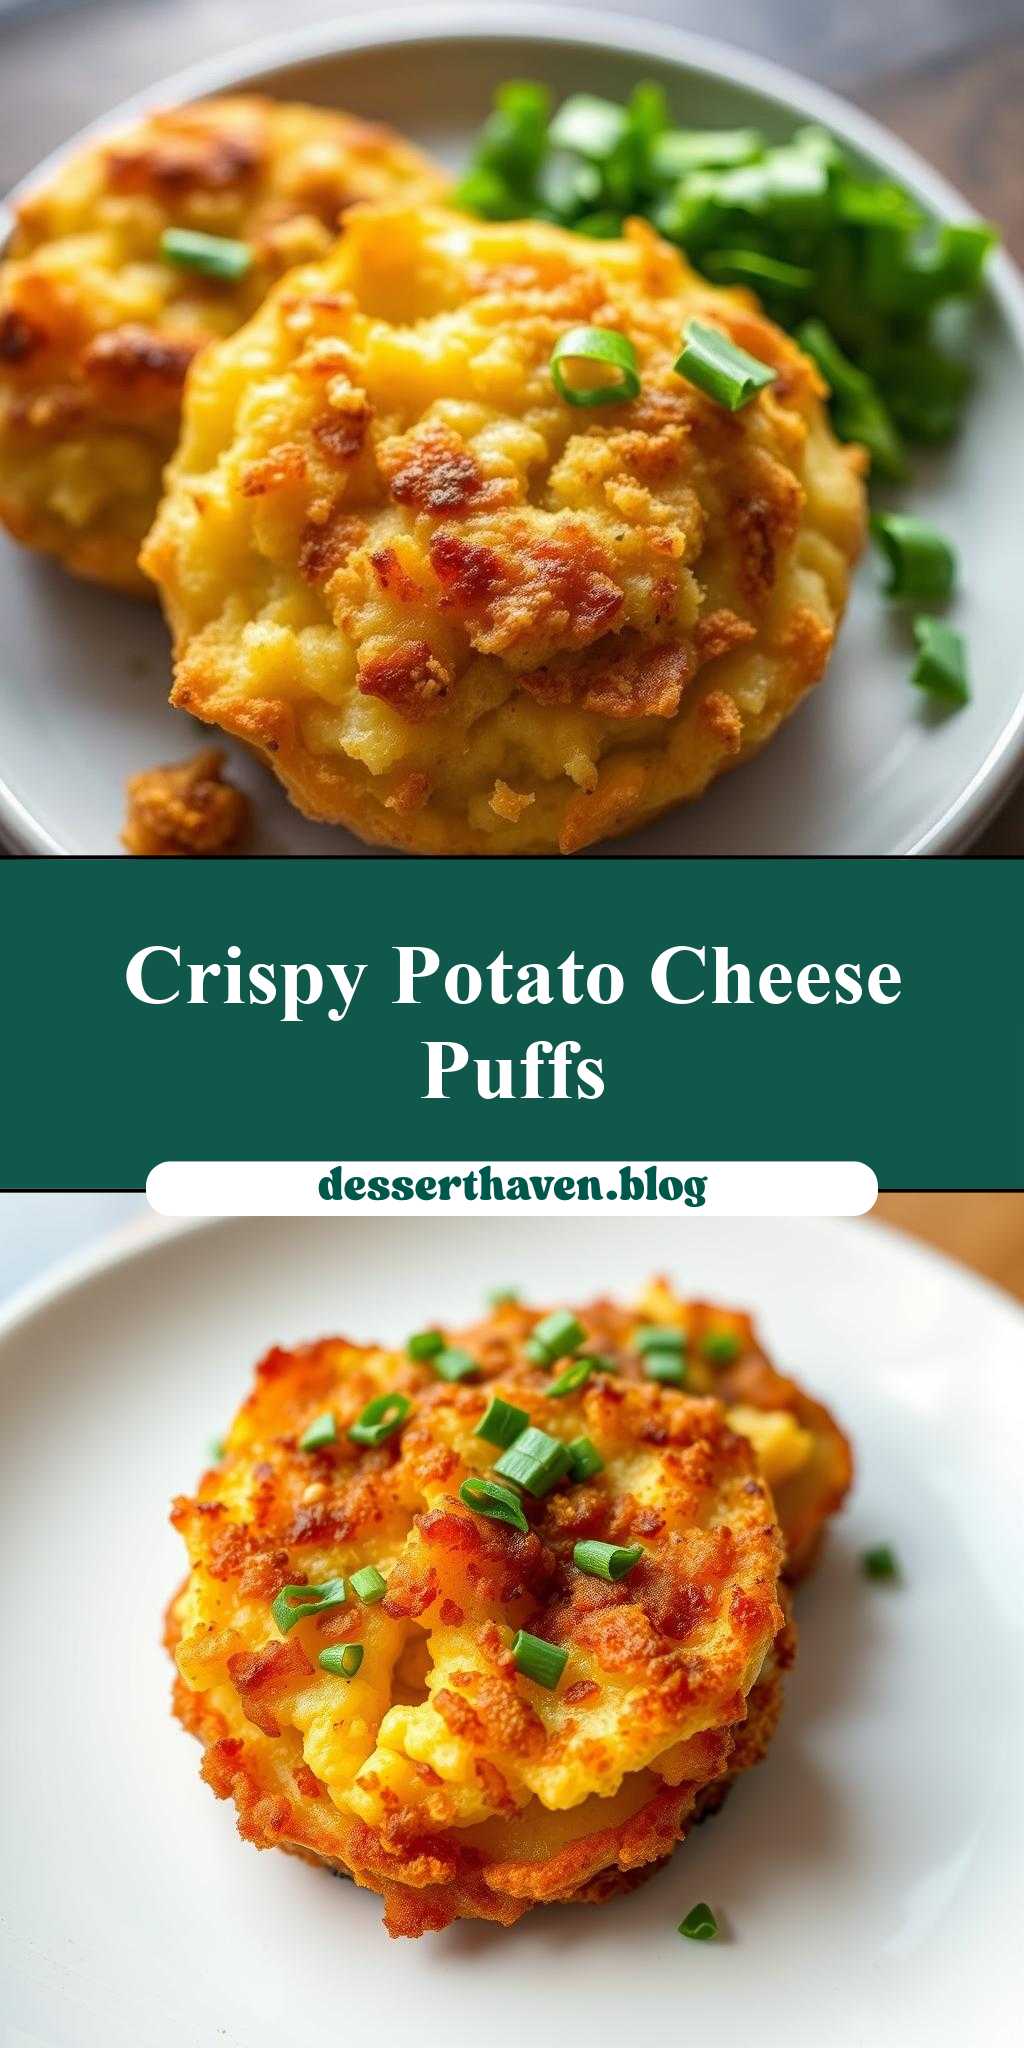
- Impressive results with minimal effort: Despite its simplicity, this dish yields impressive results, with a crispy exterior giving way to a fluffy, cheesy interior that’s sure to delight both kids and adults.
Key Ingredients
The star of the show is, of course, leftover mashed potatoes. You’ll also need some grated cheese – cheddar or mozzarella work well – a bit of all-purpose flour, an egg, and some breadcrumbs or panko for that perfect crunch. If you want to get fancy, you can add some diced herbs like parsley or chives, or a sprinkle of paprika for extra flavor. Practical substitutions include using different types of cheese, such as parmesan or feta, or adding some diced ham or bacon for a smoky twist.
Instructions
- Step 1: Begin by prepping your ingredients. If your leftover mashed potatoes are cold, give them a quick stir to loosen them up. Grate your cheese, crack an egg into a bowl, and get your breadcrumbs ready.
- Step 2: In a large mixing bowl, combine your mashed potatoes, grated cheese, a pinch of salt, and a few grinds of pepper. Mix well until the cheese is fully incorporated and the potatoes are smooth and creamy.
- Step 3: Using your hands, shape the potato mixture into small balls or patties, depending on your desired shape. You should end up with around 8-10 puffs.
- Step 4: Dip each puff into the beaten egg, coating it completely, then roll it in the breadcrumbs to coat. Place the coated puffs on a plate or tray and refrigerate for at least 30 minutes to set the coating.
- Step 5: When you’re ready to cook, heat about 1/2 inch (1 cm) of oil in a large skillet over medium-high heat. When the oil is hot, add a few of the puffs (don’t overcrowd the skillet) and cook until they’re golden brown and crispy, about 3-4 minutes per side. Repeat with the remaining puffs.
- Step 6: Remove the puffs from the oil and place them on a paper towel-lined plate to drain any excess oil. Serve hot and enjoy!
Handy Tips
- Make sure your mashed potatoes are cold, as this will help them hold their shape when you form them into balls or patties.
- Don’t overmix the potato mixture, as this can make the puffs dense and heavy.
- If you find that your puffs are not crisping up as much as you’d like, try chilling them in the refrigerator for 30 minutes before frying. This will help the coating set and crisp up better.
Heat Control
When frying the puffs, it’s essential to maintain the right temperature. You want the oil to be hot enough to crisp up the exterior quickly, but not so hot that it burns the puffs before they’re fully cooked. Aim for a temperature of around 350°F (175°C) and adjust the heat as needed to maintain this temperature. You’ll know the puffs are done when they’re golden brown and crispy on the outside, and fluffy on the inside.
Crunch Factor
The crunch factor is what sets these puffs apart from regular mashed potatoes. To achieve the perfect crunch, make sure to coat the puffs evenly with breadcrumbs and fry them at the right temperature. You can also try adding some extra crunch by sprinkling some grated parmesan cheese or chopped nuts on top of the puffs before frying.
Pro Kitchen Tricks
- Use a thermometer to ensure the oil is at the right temperature. This will help you achieve the perfect crunch and prevent the puffs from absorbing too much oil.
- Don’t overcrowd the skillet. Fry the puffs in batches if necessary, to ensure they have enough room to cook evenly.
- Experiment with different seasonings and herbs to add extra flavor to your puffs. Some ideas include dried thyme, garlic powder, or smoked paprika.
Storage Tips
- Leftover puffs can be stored in an airtight container in the refrigerator for up to 3 days. Reheat them in the oven or microwave until crispy and hot.
- To freeze, place the coated puffs on a baking sheet lined with parchment paper and freeze until solid. Transfer the frozen puffs to a freezer-safe bag or container and store for up to 2 months. Fry frozen puffs straight from the freezer, adding a minute or two to the cooking time.
- The best containers for storing puffs are airtight containers with lids, such as glass or plastic containers with tight-fitting lids.
Gift Packaging Ideas
These puffs are perfect for gifting, especially during the holidays. Consider packaging them in decorative tins or jars, or wrapping them individually in parchment paper or cellophane bags. You could also add a ribbon or gift tag with a personal message. For a more rustic look, try packaging the puffs in a wooden crate or basket lined with paper or fabric.
Flavor Variations
- Different spices: Try adding some dried herbs like thyme or rosemary, or some grated nutmeg or cayenne pepper to give your puffs an extra boost of flavor.
- Creative toppings: Top your puffs with some grated cheese, sour cream, or chives for added flavor and texture.
- Ingredient swaps: Experiment with different types of cheese, such as parmesan or feta, or add some diced ham or bacon for a smoky twist.
Troubleshooting
- Texture problems: If your puffs are too dense or heavy, try adding a little more egg or flour to the mixture. If they’re too crumbly, try adding a little more mashed potato.
- Ingredient replacements: If you don’t have breadcrumbs, try using crushed crackers or even oatmeal as a substitute. If you don’t have cheese, try using nutritional yeast or soy cheese as a vegan alternative.
- Over/undercooking signs: If your puffs are too brown or crispy, they may be overcooked. If they’re too pale or soft, they may be undercooked. Adjust the cooking time and temperature as needed to achieve the perfect crispiness.
FAQs
- Can I freeze it? Yes, you can freeze the puffs before frying. Simply place them on a baking sheet lined with parchment paper and freeze until solid, then transfer to a freezer-safe bag or container.
- Is it gluten-free? The puffs can be made gluten-free by substituting the all-purpose flour with gluten-free flour and using gluten-free breadcrumbs.
- Can I double the recipe? Yes, you can easily double or triple the recipe to make more puffs. Just be sure to adjust the cooking time and temperature as needed to ensure the puffs are cooked evenly.
Conclusion
In conclusion, these Crispy Leftover Mashed Potato Cheese Puffs are a delicious and creative way to breathe new life into leftover mashed potatoes. With their crispy exterior and fluffy interior, they’re sure to become a favorite snack or side dish in your household. So next time you’re faced with a mountain of leftover mashed potatoes, don’t throw them away – turn them into these amazing puffs instead! Experiment with different seasonings and toppings to make the recipe your own, and don’t be afraid to get creative and try new things. Happy cooking!