What makes the perfect sweet escape from a hectic day? These colorful meringue cookies are a quick and easy homemade treat that combines the simplicity of whipped egg whites with the sweetness of sugar, perfect for a family favorite weeknight dessert. Save this idea for a delicious pick-me-up anytime.
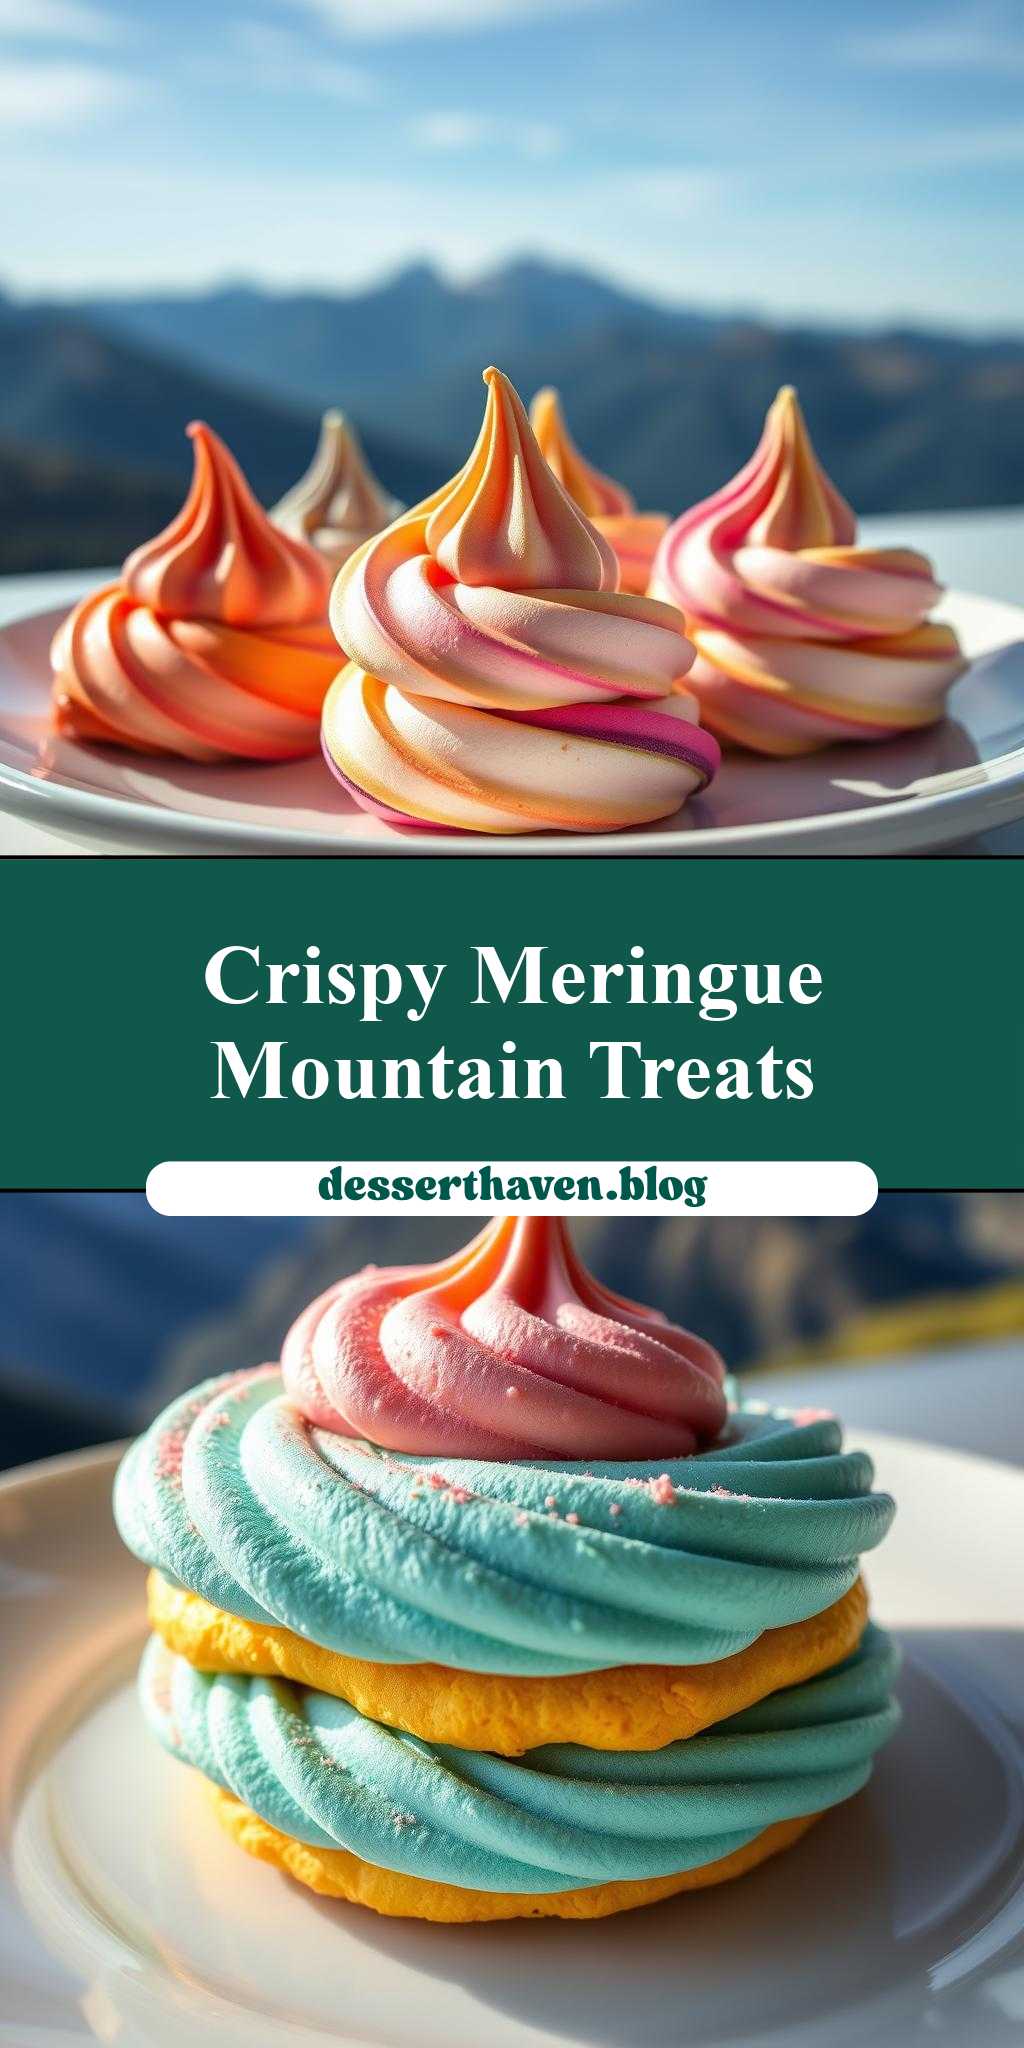
colorful meringue cookies on a plate with mountains in the background
Introduction
Imagine a whimsical scene where delicate, colorful meringue cookies are arranged artfully on a plate, set against the breathtaking backdrop of majestic mountains. This picturesque setting isn’t just a product of imagination; it’s a culinary reality that can be achieved with simplicity and creativity. The star of this enchanting scene is the meringue cookie, a dessert that embodies the perfect balance of ease, flavor, and visual appeal, all made possible with everyday ingredients. In this recipe, we’ll delve into the world of meringue cookies, exploring their versatility, the simplicity of their preparation, and the boundless opportunities for creative expression they offer.
Why This Works
- Flavor balance and ingredient accessibility: Meringue cookies rely on basic ingredients like egg whites, sugar, and cream of tartar, making them accessible to anyone with a basic pantry. The beauty of meringue cookies lies in their ability to be flavored in countless ways, from classic vanilla to vibrant fruit extracts, allowing for a personalized flavor balance.
- Ease of preparation: Despite their elegant appearance, meringue cookies are surprisingly simple to make. The process involves whipping egg whites and sugar into a stiff meringue, which is then baked at a low temperature until crisp. This straightforward method makes meringue cookies an ideal project for beginners and experienced bakers alike.
- Impressive results with minimal effort: One of the most appealing aspects of meringue cookies is the impressive presentation they offer with relatively minimal effort. By adding a few drops of food coloring to the meringue mixture, you can create a rainbow of colors, making these cookies perfect for themed parties, special occasions, or simply as a fun baking project.
Key Ingredients
The foundation of meringue cookies is surprisingly simple, requiring just a few key ingredients: egg whites, granulated sugar, and cream of tartar. Egg whites provide the structure, sugar adds sweetness and helps stabilize the egg whites, and cream of tartar is a stabilizer that ensures the meringue holds its shape. For flavor, a pinch of salt and a teaspoon of vanilla extract are common additions. When it comes to coloring, food-grade dyes or powders can be used, allowing for a wide range of hues. Practical substitutions can be made for flavor extracts (e.g., using almond extract instead of vanilla) and even for sugar, where alternatives like caster sugar can be used for a smoother meringue.
Instructions
- Step 1: Begin by preheating your oven to 200°F (90°C) and lining a baking sheet with parchment paper. In a small bowl, whisk together the cream of tartar and salt. Set aside.
- Step 2: In a large mixing bowl, beat the egg whites until they become frothy. Gradually add the sugar to the egg whites, beating continuously until stiff peaks form. Add the vanilla extract and the cream of tartar mixture, beating until well combined.
- Step 3: Divide the meringue mixture into separate bowls if you wish to create multi-colored cookies. Add a few drops of food coloring to each bowl and gently fold the color into the meringue until it’s evenly distributed.
- Step 4: Spoon the colored meringue mixtures into piping bags fitted with round tips. Pipe onto the prepared baking sheet in desired shapes. Tap the baking sheet gently to remove any air bubbles. Bake for about 1.5 to 2 hours, or until the meringues are dry and crisp. Allow them to cool completely on the baking sheet before transferring them to an airtight container.
Handy Tips
- Ensure your mixing bowl and utensils are completely free of grease, as this can prevent the egg whites from whipping properly. Wipe your bowl and beaters with vinegar or lemon juice before starting.
- Avoid overmixing the meringue, especially after adding color, as this can deflate the mixture and lead to dense cookies.
- For a chewier center, bake the meringues for a shorter time. For crisper meringues, bake them for a longer duration, keeping a close eye to prevent overcooking.
Heat Control
Heat control is crucial when baking meringue cookies. The ideal temperature is 200°F (90°C), and the baking time can range from 1.5 to 2 hours, depending on the size of your meringues and your desired level of crispness. It’s essential to bake them at a low temperature to prevent the meringues from browning or cooking too quickly on the outside before they’re fully dry on the inside. Signs of doneness include the meringues being completely dry and crisp to the touch, with no soft or sticky spots.
Crunch Factor
The desired texture of meringue cookies is crisp on the outside and can range from chewy to fully crisp on the inside, depending on personal preference and baking time. To achieve a crisp exterior and a chewy interior, bake the meringues for about 1.5 hours. For fully crisp meringues, extend the baking time, checking on them periodically to avoid overcooking.
Pro Kitchen Tricks
- Use aged egg whites: Letting egg whites sit at room temperature for 24 hours can help reduce moisture content, leading to more stable meringues.
- Don’t open the oven door: Resist the temptation to check on the meringues frequently, as the sudden change in temperature can cause them to crack or become misshapen.
- Use the right sugar: Granulated sugar is standard, but caster sugar can produce a smoother meringue due to its finer texture.
Storage Tips
- Meringue cookies are best stored in an airtight container to maintain their crispness. If stored properly, they can last for up to 2 weeks.
- Avoid storing meringues in humid environments, as moisture can cause them to become soft or sticky.
- If you notice your meringues becoming soft, you can try revitalizing them by placing them in a low-temperature oven (150°F or 65°C) for about 10 minutes to dry them out again.
Gift Packaging Ideas
Meringue cookies make delightful gifts due to their light, airy texture and visually appealing presentation. Consider packaging them in clear cellophane bags tied with ribbons, arranging them in decorative tins, or placing them in glass jars with a layer of decorative paper or fabric between each cookie for a beautiful, layered effect. For a more rustic look, you can wrap them individually in parchment paper and tie with twine, perfect for a homemade, artisanal feel.
Flavor Variations
- Different spices: Add a pinch of salt, cinnamon, or nutmeg to give your meringues a unique twist.
- Creative toppings: Once your meringues are baked and cooled, you can decorate them with melted chocolate, chopped nuts, or sprinkles for added flavor and visual appeal.
- Ingredient swaps: Experiment with different extracts like almond, coconut, or lemon to create a variety of flavors.
Troubleshooting
- Texture problems: If your meringues are too chewy, they may not have baked long enough. If they’re too crisp, they might have overbaked.
- Ingredient replacements: If you’re out of cream of tartar, you can substitute it with a pinch of salt or lemon juice, though the meringues might not be as stable.
- Over/undercooking signs: Undercooked meringues will be soft or sticky to the touch, while overcooked ones might brown or become too brittle.
FAQs
- Can I freeze it? Yes, meringue cookies can be frozen for up to 2 months in an airtight container. However, they’re best consumed fresh for optimal texture.
- Is it gluten-free? Yes, meringue cookies made with the basic ingredients (egg whites, sugar, cream of tartar) are gluten-free, making them a great option for those with gluten intolerance.
- Can I double the recipe? Absolutely, you can double or even triple the recipe, but be sure to use a large enough mixing bowl to accommodate the increased volume of the meringue mixture.
Conclusion
Creating colorful meringue cookies on a plate with mountains in the background is a fun and rewarding baking project that combines simplicity with creative flair. Whether you’re a seasoned baker or just starting out, these cookies offer a versatile canvas for experimentation with flavors and colors. With the tips, tricks, and variations outlined in this recipe, you’re well on your way to crafting not just delicious meringue cookies, but a visually stunning dessert display that’s sure to impress. So, don’t be afraid to get creative, share your baking adventures with friends and family, and enjoy the process of turning a simple meringue into a masterpiece.