What makes the perfect comfort food for a weeknight dinner? It’s all about quick and easy homemade recipes like these irresistible crack chicken tenders, made with tender chicken, creamy ranch seasoning and crispy bacon. Save this idea for a family favorite meal that’s sure to please everyone, try it soon and enjoy a delicious homemade dinner.
Irresistible Crack Chicken Tenders
Introduction
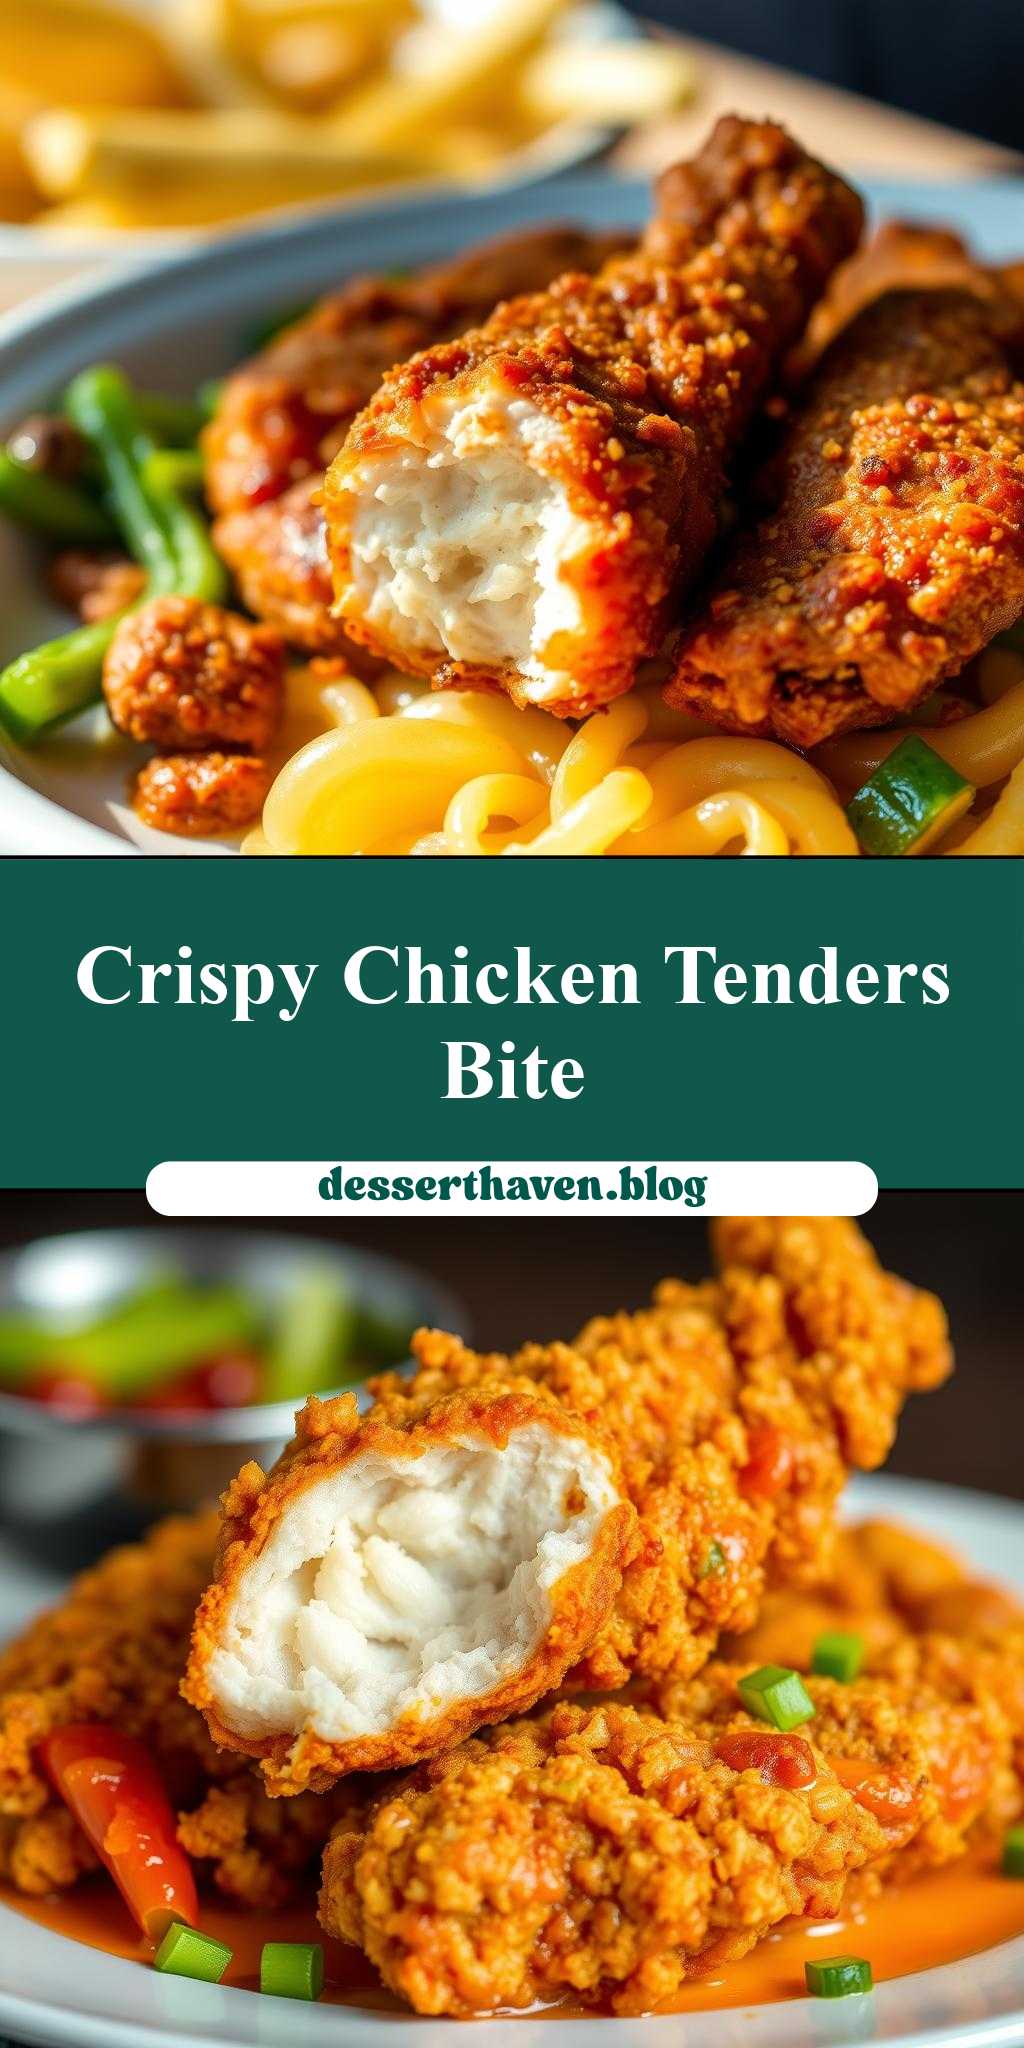
Imagine sinking your teeth into tender, juicy chicken strips coated in a crunchy, flavorful batter that’s simply irresistible. Our Irresistible Crack Chicken Tenders recipe is here to make that a reality, using everyday ingredients in a creative way that’s both easy to prepare and packed with flavor. This dish is perfect for a quick dinner, a party appetizer, or even a fun snack for the kids. The best part? It’s incredibly simple to make, requiring minimal effort for maximum deliciousness. With the combination of crispy exterior, tender interior, and a burst of flavors, you’ll find yourself making these crack chicken tenders again and again.
Why This Works
- Flavor balance and ingredient accessibility: This recipe strikes a perfect balance between savory, slightly sweet, and spicy flavors, all achievable with ingredients you likely have in your pantry or can easily find at your local grocery store.
- Ease of preparation: The steps are straightforward, from prep to plating, making it a great option for both beginners and experienced cooks looking for a quick meal solution.
- Impressive results with minimal effort: Despite the simplicity, the outcome is impressive, with chicken tenders that are not only delicious but also visually appealing, perfect for serving to guests or posting on social media.
Key Ingredients
The core of our Irresistible Crack Chicken Tenders includes boneless, skinless chicken breasts, which provide the tender base of the dish. For the coating, we use a mix of all-purpose flour, panko breadcrumbs, and a blend of spices including paprika, garlic powder, onion powder, and a pinch of cayenne pepper for a kick. But what really makes these tenders “crack” is the addition of ranch seasoning and grated cheddar cheese mixed into the breadcrumb coating, giving them an addictive flavor. Practical substitutions can be made, such as using gluten-free flour for those with dietary restrictions or swapping out the cheddar for another cheese of your choice.
Instructions
- Step 1: Begin by prepping your ingredients. Cut the chicken breasts into strips, about 1-1.5 inches wide. In a shallow dish, mix together the flour, a pinch of salt, and a few grinds of pepper. In another dish, beat the eggs. And in a third dish, combine the panko breadcrumbs, grated cheddar cheese, ranch seasoning, and spices.
- Step 2: Dip each chicken strip into the flour mixture, coating lightly, then into the eggs, making sure they’re fully coated, and finally into the breadcrumb mixture, pressing the crumbs gently onto the chicken to ensure they stick. Place the coated chicken tenders on a plate or tray.
- Step 3: Heat about 1/2 inch of olive oil in a large skillet over medium-high heat until it reaches 350°F. Carefully place a few of the coated chicken tenders into the hot oil. Do not overcrowd the skillet. Cook for about 5-6 minutes on each side, or until the chicken is golden brown and cooked through. Repeat with the remaining chicken tenders.
- Step 4: Once cooked, place the chicken tenders on a paper towel-lined plate to drain any excess oil. Serve hot and enjoy! You can serve them as is, or with your favorite dipping sauce, such as ranch dressing, honey mustard, or a simple ketchup.
Handy Tips
- For an extra crispy coating, you can chill the coated chicken tenders in the refrigerator for 30 minutes before frying. This helps the breadcrumbs adhere better to the chicken.
- If you prefer a baked version, you can place the coated chicken tenders on a baking sheet lined with parchment paper and bake in a preheated oven at 400°F for about 20-25 minutes, or until cooked through, flipping them halfway.
- Be careful not to overcook the chicken, as it can become dry. The internal temperature should reach 165°F for safety.
Heat Control
Maintaining the right temperature is crucial for achieving that perfect crispy exterior and juicy interior. For frying, aim for 350°F. If you don’t have a thermometer, you can test the oil by dropping a small piece of breadcrumb into the oil; if it sizzles and rises to the surface, the oil is ready. For baking, preheat your oven to 400°F. Always check the chicken for doneness, either by cutting into one of the tenders to ensure there’s no pink left or by using a meat thermometer.
Crunch Factor
The crunch factor in these chicken tenders comes from the panko breadcrumbs mixed with cheese and spices. To enhance the crunch, make sure to not overcrowd the skillet when frying, as this can lower the oil temperature, resulting in a less crispy coating. For baked tenders, a higher oven temperature helps achieve a crisper exterior. Additionally, chilling the coated tenders before cooking can help the breadcrumbs adhere better, leading to a crunchier finish.
Pro Kitchen Tricks
- Use a thermometer: Whether baking or frying, a thermometer ensures you’re working at the right temperature, which is key for both safety and the best texture.
- Don’t overmix: When coating the chicken, gently press the breadcrumbs onto the meat. Overmixing or pressing too hard can make the coating thick and heavy, leading to a less enjoyable texture.
- Cleanup hack: Line your work surface with parchment paper or a silicone mat before coating the chicken. This makes cleanup much easier, as you can simply throw away the paper or wipe down the mat.
Storage Tips
- Leftover chicken tenders can be stored in an airtight container in the refrigerator for up to 3 days. Reheat them in the oven at 350°F for about 10-15 minutes, or until warmed through.
- For longer storage, you can freeze the cooked and cooled chicken tenders in a single layer on a baking sheet, then transfer them to a freezer-safe bag or container for up to 2 months. Reheat from frozen in the oven at 400°F for about 15-20 minutes.
- Best containers for storage are airtight and moisture-proof to keep the chicken fresh and prevent the coating from becoming soggy.
Gift Packaging Ideas
If you’re considering gifting these delicious chicken tenders, perhaps for a potluck or as a treat for a friend, you can package them in a variety of creative ways. Place the cooled tenders in a decorative tin or a gift basket lined with parchment paper. Add a side of your favorite dipping sauce in a small jar, and include a few fresh veggies like carrot sticks or cherry tomatoes for a complete snack. Finish it off with a ribbon or a gift tag, and you have a thoughtful and tasty gift.
Flavor Variations
- Different spices: Experiment with various spice blends like Italian seasoning, Cajun spice, or a Mediterranean mix to give your chicken tenders a unique flavor profile.
- Creative toppings: Once cooked, top your chicken tenders with diced onions, sliced jalapeños, or a drizzle of your favorite sauce for added flavor and texture.
- Ingredient swaps: Try using different types of cheese, such as parmesan or feta, or swap out the chicken for tofu or tempeh for a vegan version.
Troubleshooting
- Texture problems: If your chicken tenders turn out too dry, it might be overcooking. If they’re too soggy, the oil might not have been hot enough, or the coating could be too thick.
- Ingredient replacements: If you’re missing an ingredient, look for substitutes that offer similar texture or flavor. For example, you can use cornstarch or cornflakes as an alternative to panko breadcrumbs.
- Over/undercooking signs: Always check the internal temperature of the chicken to ensure it’s cooked through. Undercooked chicken will be pink and feel soft, while overcooked chicken will be dry and hard.
FAQs
- Can I freeze it? Yes, both cooked and uncooked chicken tenders can be frozen. Cooked tenders can be frozen for up to 2 months, and uncooked for up to 3 months.
- Is it gluten-free? The recipe can be made gluten-free by substituting the all-purpose flour with a gluten-free flour mix and ensuring the panko breadcrumbs are gluten-free.
- Can I double the recipe? Yes, you can easily double or triple the recipe for a larger crowd. Just remember to adjust the cooking time slightly if frying in batches to prevent overcrowding the skillet.
Conclusion
Making Irresistible Crack Chicken Tenders is a fun and rewarding cooking experience that yields delicious results with minimal fuss. Whether you’re a seasoned chef or a beginner in the kitchen, this recipe is sure to become a favorite. Feel free to experiment with different seasonings and ingredients to make it your own, and don’t hesitate to share your creations with friends and family. The combination of crunchy outside, juicy inside, and addictive flavor is sure to make these chicken tenders a hit at any gathering. So, go ahead, give this recipe a try, and enjoy the delightful experience of cooking and savoring these irresistible treats.