What makes a perfect weeknight dinner? For me, it’s all about quick and easy homemade options like these crispy chicken caesar wraps, made with juicy chicken and parmesan cheese. Save this idea for a delicious family favorite meal that’s ready in no time, try it soon and enjoy!
Crispy Chicken Caesar Wraps
Introduction
Imagine sinking your teeth into a crispy, flavorful wrap that combines the best of juicy chicken, tangy Caesar dressing, and crunchy vegetables, all wrapped up in a soft, warm tortilla. This recipe for Crispy Chicken Caesar Wraps is a game-changer for anyone looking for a quick, easy, and incredibly delicious meal that can be made with everyday ingredients. Whether you’re a busy professional, a parent on-the-go, or simply someone who loves good food without the fuss, this dish is sure to become a favorite. The beauty of this recipe lies in its simplicity, accessibility, and the versatility it offers, allowing you to customize it to your taste and dietary preferences.
Why This Works
- Flavor balance and ingredient accessibility: This recipe strikes a perfect balance between flavors, with the savory taste of chicken, the richness of Caesar dressing, and the freshness of vegetables. All the ingredients are easily accessible in most supermarkets, making it convenient for anyone to prepare.
- Ease of preparation: The steps involved in making Crispy Chicken Caesar Wraps are straightforward and require minimal cooking skills. It’s a perfect dish for beginners or those who are short on time.
- Impressive results with minimal effort: Despite its simplicity, the end result is impressive and satisfying, making it a great option for both family meals and entertaining guests.
Key Ingredients
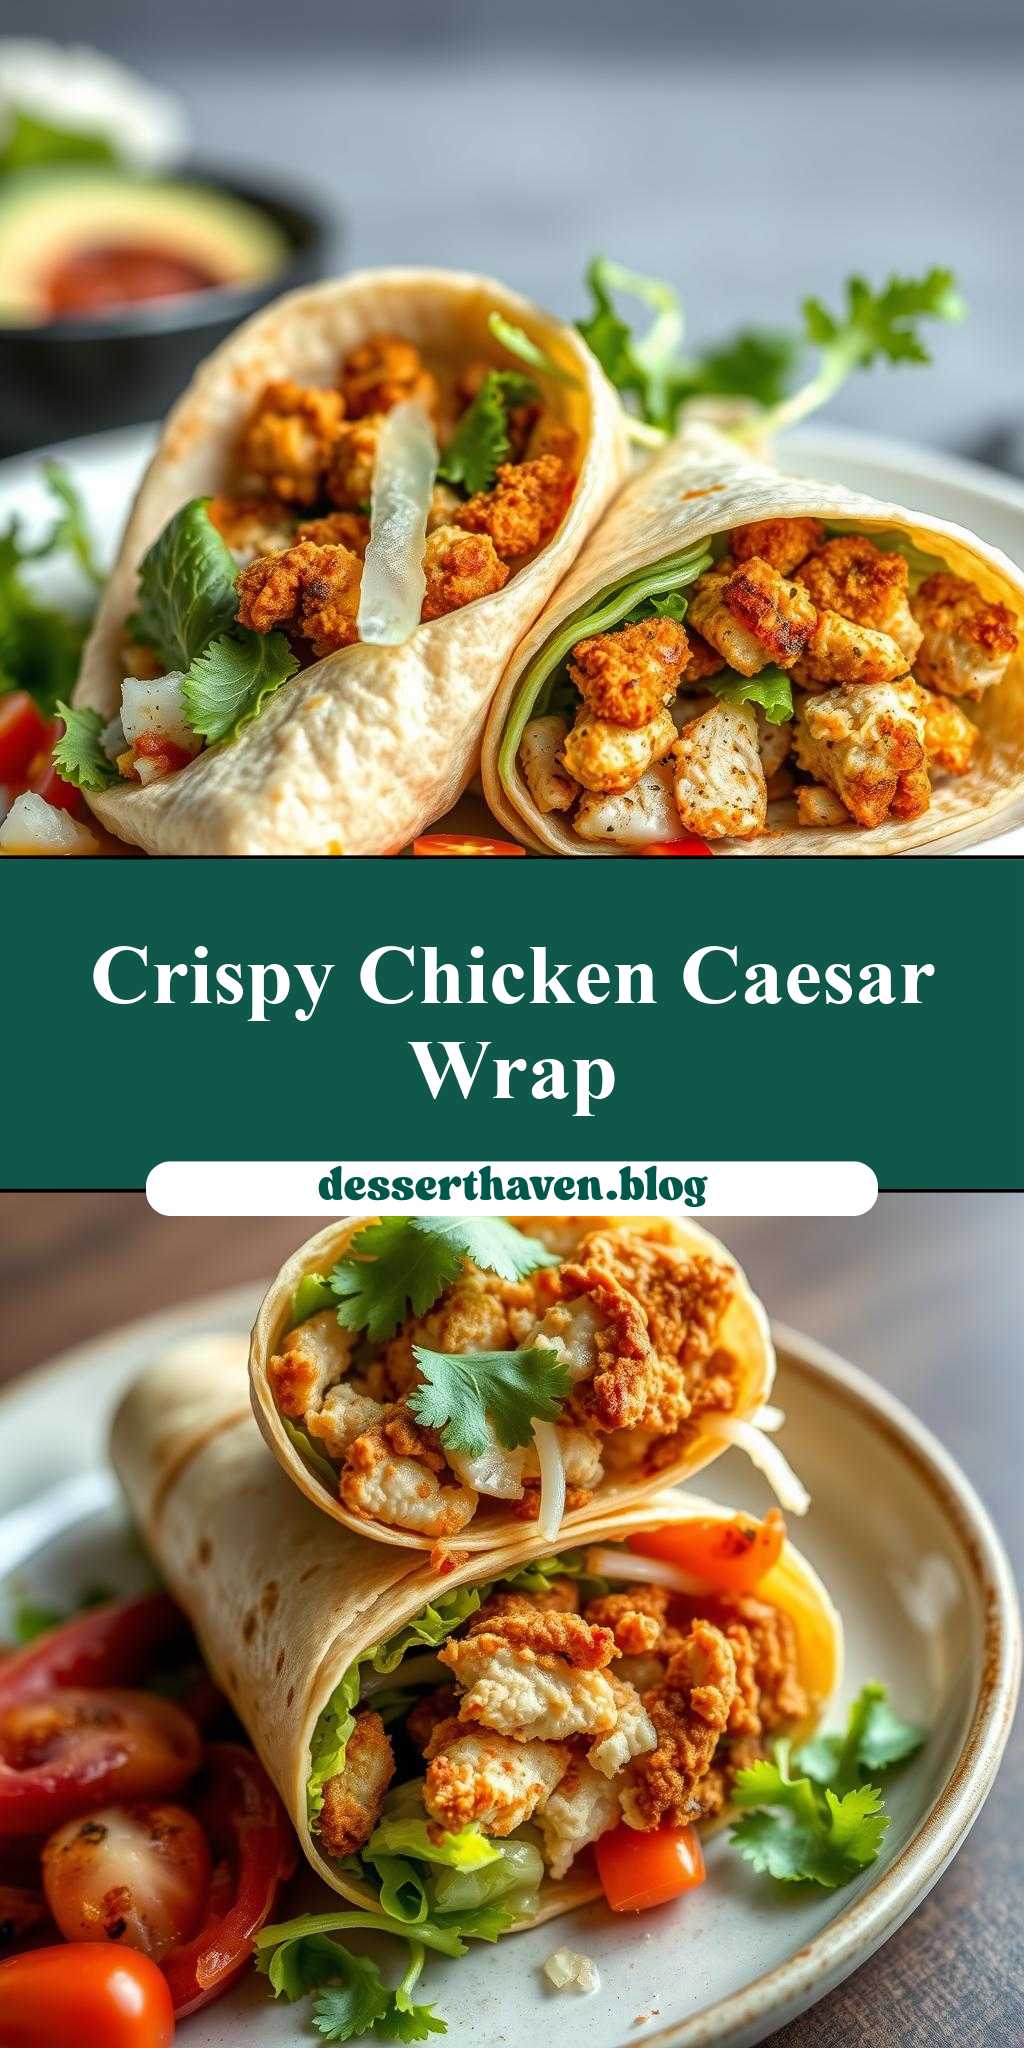
The main ingredients for this recipe include chicken breasts, Caesar dressing, large flour tortillas, romaine lettuce, parmesan cheese, and olive oil. For the chicken, you can use either boneless, skinless chicken breasts or thighs, depending on your preference. The Caesar dressing can be store-bought or homemade, and the same goes for the tortillas – you can opt for whole wheat for a healthier twist. Romaine lettuce provides a nice crunch, while parmesan cheese adds a salty, nutty flavor. Feel free to customize with your favorite vegetables or additional toppings like diced onions or bell peppers.
Instructions
- Step 1: Begin by preheating your oven to 400°F (200°C). Prepare your ingredients by washing and chopping the lettuce, shredding the cheese, and slicing any additional vegetables you wish to include.
- Step 2: Season the chicken breasts with salt, pepper, and any other desired herbs or spices. Drizzle with olive oil and bake in the oven for about 20-25 minutes, or until the chicken is cooked through and slightly browned on the outside.
- Step 3: While the chicken is cooking, prepare your tortillas. You can warm them by wrapping them in a damp paper towel and microwaving for 20-30 seconds. This step makes the tortillas more pliable and easier to roll.
- Step 4: Once the chicken is done, let it rest for a few minutes before slicing it into thin strips. Assemble the wraps by spreading a generous amount of Caesar dressing on each tortilla, followed by slices of chicken, lettuce, cheese, and any other desired toppings. Roll the wraps tightly but gently to ensure everything stays inside.
Handy Tips
- For an extra crispy exterior on your chicken, try dredging the seasoned chicken breasts in a mixture of panko breadcrumbs and parmesan cheese before baking.
- Don’t overfill the wraps, as this can make them difficult to roll and may result in fillings spilling out while eating.
- Consider using leftover roasted chicken or store-bought rotisserie chicken to speed up the preparation time.
Heat Control
For the baking of the chicken, it’s crucial to maintain an oven temperature of 400°F (200°C) to ensure the chicken cooks evenly and develops a nice brown crust on the outside. The cooking time may vary depending on the size and thickness of your chicken breasts, so keep an eye on them and adjust the cooking time as necessary. The chicken is done when it reaches an internal temperature of 165°F (74°C) and the juices run clear when pierced with a fork.
Crunch Factor
Achieving the right crunch in your Crispy Chicken Caesar Wraps is key to their appeal. This comes from the crispy exterior of the baked chicken, the fresh crunch of the lettuce, and the satisfying bite of any additional vegetables you include. To enhance the crunch, make sure not to overcook the chicken, and consider adding some crispy bacon bits or toasted nuts to your wrap for extra texture.
Pro Kitchen Tricks
- To keep your wraps fresh for a longer period, prepare the components separately and assemble just before serving. This prevents the tortillas from becoming soggy.
- Use high-quality ingredients, especially when it comes to the Caesar dressing and parmesan cheese, as these can greatly impact the overall flavor of the dish.
- For a shortcut, use pre-cooked chicken or a rotisserie chicken, and store-bought Caesar dressing to speed up the preparation time without sacrificing flavor.
Storage Tips
- Leftover wraps can be stored in the refrigerator for up to a day. It’s best to store the components separately to maintain freshness.
- For longer storage, consider freezing the cooked chicken and assembling the wraps when you’re ready to eat them. Frozen chicken can be thawed overnight in the fridge or thawed quickly by submerging it in cold water.
- When reheating, wrap the chicken in foil and heat it in the oven at a low temperature (around 300°F or 150°C) to prevent drying out.
Gift Packaging Ideas
If you’re considering gifting Crispy Chicken Caesar Wraps, a thoughtful way to present them could be wrapping each wrap individually in parchment paper or aluminum foil and placing them in a basket or container. You could also include a side of homemade Caesar dressing or a bag of crispy croutons for an extra-special touch. For a more substantial gift, pair the wraps with a bottle of wine, a salad, or a dessert for a complete meal package.
Flavor Variations
- Different spices: Experiment with various seasoning blends on your chicken, such as Italian seasoning, garlic powder, or paprika, to give your wraps a unique flavor profile.
- Creative toppings: Add some diced tomatoes, avocado slices, or grilled mushrooms to your wrap for added flavor and nutrition.
- Ingredient swaps: Try using different types of cheese, such as feta or goat cheese, or swapping out the chicken for grilled shrimp or steak for a variation.
Troubleshooting
- Texture problems: If your chicken turns out too dry, it may be overcooked. Try reducing the cooking time or covering the chicken with foil during baking to prevent overcooking.
- Ingredient replacements: If you don’t have Caesar dressing, you can make a simple substitute by mixing mayonnaise, lemon juice, minced garlic, and grated parmesan cheese.
- Over/undercooking signs: Always check the internal temperature of the chicken to ensure it’s cooked through. If the chicken is undercooked, it will feel soft and squishy to the touch, while overcooked chicken will be hard and dry.
FAQs
- Can I freeze it? Yes, you can freeze the cooked chicken and assemble the wraps later. It’s best to freeze the chicken without the sauce or toppings to preserve freshness.
- Is it gluten-free? This depends on the ingredients used. Traditional Caesar dressing and some seasonings may contain gluten. Look for gluten-free alternatives or make your own gluten-free Caesar dressing using gluten-free ingredients.
- Can I double the recipe? Absolutely, this recipe can be easily doubled or tripled to feed a larger crowd. Just remember to adjust the cooking time of the chicken accordingly if you’re cooking more pieces at once.
Conclusion
Crispy Chicken Caesar Wraps are a versatile and delicious meal option that can be customized to suit any taste. With their perfect balance of flavors, ease of preparation, and impressive presentation, they’re ideal for everything from quick weeknight dinners to special occasions. Feel free to experiment with different ingredients and toppings to make the recipe your own, and don’t hesitate to reach out if you have any questions or need further substitutions or variations. Happy cooking, and enjoy your crispy, cheesy, wonderfully satisfying chicken Caesar wraps!