What happens when peanut butter and jelly meet rich chocolate? A match made in heaven, that’s what. These easy homemade treats combine creamy peanut butter, sweet jelly, and melted chocolate for a quick weeknight dessert. Save this idea for a family favorite that’s sure to please.
PB & J Chocolate Cups
Introduction
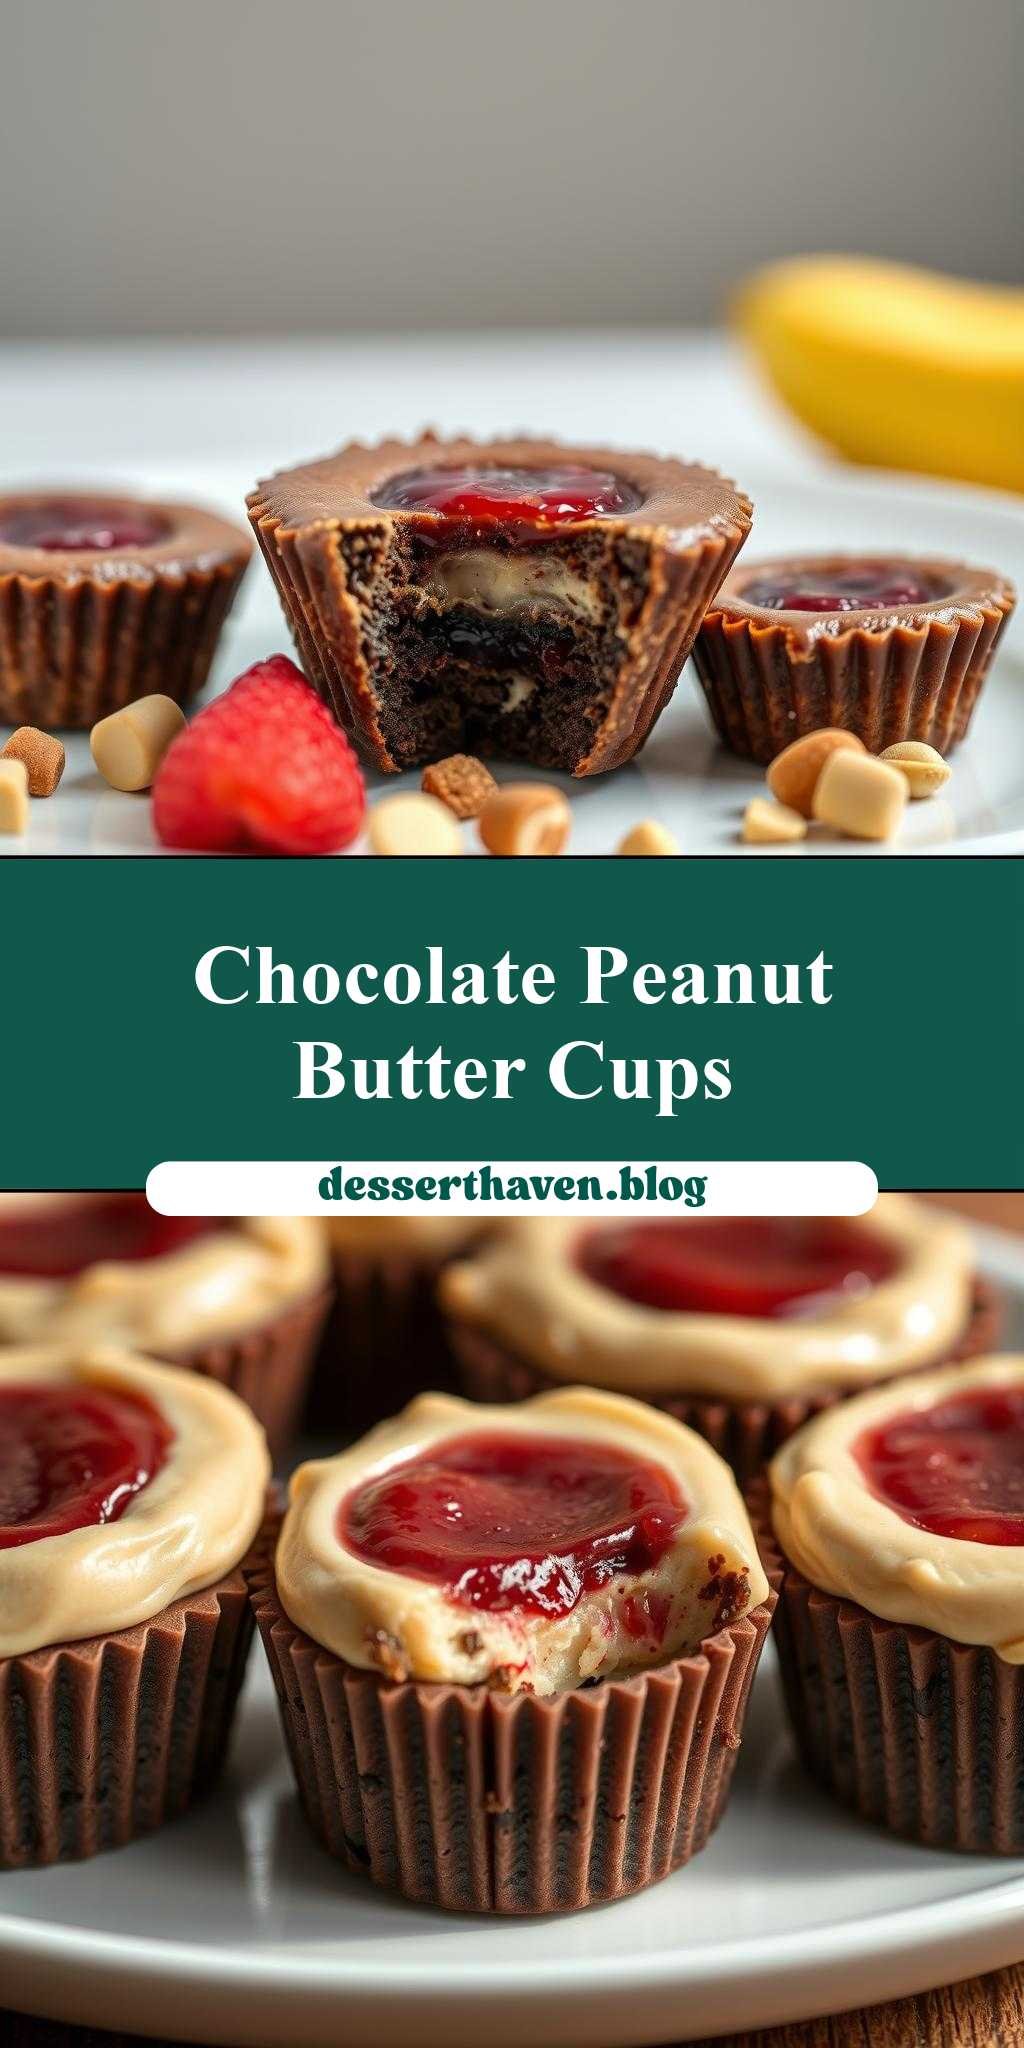
Indulge in the nostalgic flavors of childhood with our creative twist on the classic PB&J, now in the form of decadent chocolate cups. This recipe combines the simplicity of everyday ingredients with the elegance of chocolate, making it perfect for both kids and adults. The beauty of these PB&J Chocolate Cups lies in their ease of preparation, rich flavor profile, and the versatility they offer for creativity and experimentation. Whether you’re a chocolate lover, a peanut butter fanatic, or a jelly enthusiast, these bite-sized treats are sure to delight. With minimal effort, you can create impressive desserts that are perfect for parties, gift-giving, or simply satisfying your sweet tooth.
Why This Works
- Flavor balance and ingredient accessibility: The combination of peanut butter, jelly, and chocolate creates a harmonious balance of flavors that is both familiar and exciting. The ingredients are easily accessible, making this recipe a staple for any home baker.
- Ease of preparation: The process of making these chocolate cups is straightforward and requires no advanced cooking skills, making it a great project for beginners or a quick treat for experienced bakers.
- Impressive results with minimal effort: Despite the simplicity of the recipe, the end result is visually appealing and tastes sophisticated, perfect for impressing friends and family without spending hours in the kitchen.
Key Ingredients
The main ingredients for these PB&J Chocolate Cups include creamy peanut butter, your choice of jelly or jam, and high-quality chocolate. For the peanut butter, you can opt for creamy or crunchy, depending on your texture preference. The jelly can be any flavor you like, from classic grape to more exotic options like apricot or orange marmalade. For the chocolate, using a high-cocoa content chocolate will provide the best flavor, but milk chocolate works well too for a sweeter treat. Practical substitutions can include using other nut butters like almond butter for a different flavor profile or experimenting with different types of jam for unique taste combinations.
Instructions
- Step 1: Begin by preparing your ingredients. Measure out your peanut butter and jelly, and have your chocolate ready for melting. If using, chop any nuts or additional toppings you plan to add.
- Step 2: Melt your chocolate. This can be done in a double boiler or in the microwave in 30-second increments, stirring between each interval until smooth. Be careful not to burn the chocolate.
- Step 3: Layer your flavors. Spoon a small amount of melted chocolate into the bottom of your cupcake liners or chocolate molds. Add a dollop of peanut butter and a small spoonful of jelly on top of the chocolate. Then, cover with another layer of chocolate, making sure to seal the filling inside.
- Step 4: Final touches and plating. Allow the chocolate to set at room temperature or speed up the process by placing the cups in the refrigerator. Once set, you can decorate with additional toppings like chopped nuts, sprinkles, or a drizzle of melted chocolate.
Handy Tips
- When melting chocolate, it’s crucial to do so gently to avoid seizing up the chocolate. Using short intervals in the microwave and stirring well between each heating can help prevent this.
- Experiment with different types of jelly or jam to find your favorite flavor combination. Some pairings, like peanut butter and strawberry, might surprise you with how well they work together.
- Consider using silicone chocolate molds for easy removal of the chocolate cups once they’re set. If using cupcake liners, peeling them off gently can help preserve the shape of your chocolate cups.
Heat Control
When melting chocolate, the ideal temperature is just above the melting point of chocolate, which is around 105°F to 115°F (40°C to 46°C) for dark chocolate and slightly lower for milk chocolate. It’s essential to melt chocolate slowly and gently to prevent it from becoming too hot, which can cause it to seize or separate. If using a double boiler, ensure the water does not boil but instead simmers gently. For microwave melting, use short intervals and check the chocolate frequently to avoid overheating.
Crunch Factor
The crunch factor in these PB&J Chocolate Cups can come from adding nuts, cookie crumbs, or even crunchy peanut butter. To achieve a nice crunch, sprinkle your toppings onto the melted chocolate before it sets. This way, they adhere well to the chocolate and provide a satisfying texture contrast to the smooth peanut butter and jelly filling. If you prefer a smoother treat, you can omit the crunchy toppings or use creamy peanut butter for a uniform texture.
Pro Kitchen Tricks
- For a professional finish, use high-quality chocolate and fresh ingredients. The taste and appearance of your final product will significantly improve with better ingredients.
- Tempering your chocolate can give your chocolate cups a glossy finish and a snappy texture when broken. While not necessary for taste, it elevates the presentation of your treats.
- Melt a small amount of chocolate separately to use as a “glue” for attaching nuts, sprinkles, or other decorations to the top of your chocolate cups after they’ve set. This ensures your decorations stay in place.
Storage Tips
- Store your PB&J Chocolate Cups in an airtight container in the refrigerator to keep them fresh. They can be stored for up to a week.
- For longer storage, consider freezing them. Place the chocolate cups in a single layer in a freezer-safe bag or container and store in the freezer for up to 3 months. Allow them to come to room temperature or refrigerate overnight before serving.
- When storing, it’s best to keep them away from strong-smelling foods as chocolate can absorb odors easily.
Gift Packaging Ideas
If you’re looking to give these PB&J Chocolate Cups as gifts, consider packaging them in decorative tins, jars, or gift boxes. You can wrap each chocolate cup individually in colorful foil or paper for a pop of color. Adding a ribbon or gift tag with a personal message can make the gift even more special. For a more rustic look, fill a mason jar with a layer of chocolate cups and add some decorative stones or candy pieces around them for a beautiful presentation.
Flavor Variations
- Different spices: Add a pinch of salt or a grind of cinnamon to your peanut butter for a unique twist.
- Creative toppings: Experiment with different nuts (walnuts, almonds, pecans), seeds (sesame, poppy), or even dried fruits (cranberries, cherries) for varied textures and flavors.
- Ingredient swaps: Try using almond butter or cashew butter instead of peanut butter for a different nutty flavor. You can also experiment with various types of chocolate or add a teaspoon of instant coffee to the melted chocolate for a mocha flavor.
Troubleshooting
- Texture problems: If your chocolate becomes too thick to work with, you can thin it out with a small amount of shortening like coconut oil or vegetable shortening. If it’s too thin, letting it cool slightly can help it thicken up.
- Ingredient replacements: If you’re allergic to peanuts, almond butter or sunflower seed butter can be great alternatives. For those who can’t have dairy, ensure your chocolate is dairy-free.
- Over/undercooking signs: Chocolate that’s overheated can become grainy or separate. If this happens, it’s best to start over. Underheated chocolate might not set properly, so ensure it’s melted enough to coat the peanut butter and jelly filling evenly.
FAQs
- Can I freeze it? Yes, these chocolate cups can be frozen for up to 3 months. Simply thaw at room temperature or refrigerate overnight when you’re ready to serve.
- Is it gluten-free? Yes, this recipe is naturally gluten-free, making it a great option for those with gluten intolerance or sensitivity.
- Can I double the recipe? Absolutely, you can easily double or triple this recipe to make more chocolate cups. Just ensure you have enough chocolate and molds to accommodate the increased quantity.
Conclusion
Creating PB&J Chocolate Cups is a fun and rewarding process that allows you to indulge in a classic flavor combination with a sophisticated twist. With these easy steps and handy tips, you’re well on your way to making delicious treats that are perfect for any occasion. Don’t be afraid to experiment with different flavors and toppings to make this recipe your own. Share your creations with friends and family, and enjoy the joy of giving a homemade gift that’s as delicious as it is thoughtful. Happy baking, and remember, the most important ingredient in any recipe is love!