What makes the perfect sweet treat to satisfy your afternoon slump? Rich, creamy chocolate fudge loaded with crunchy nuts and walnuts is a match made in heaven. This easy homemade dessert requires just a few simple ingredients and is ready in no time. Save this idea for a quick indulgence anytime.
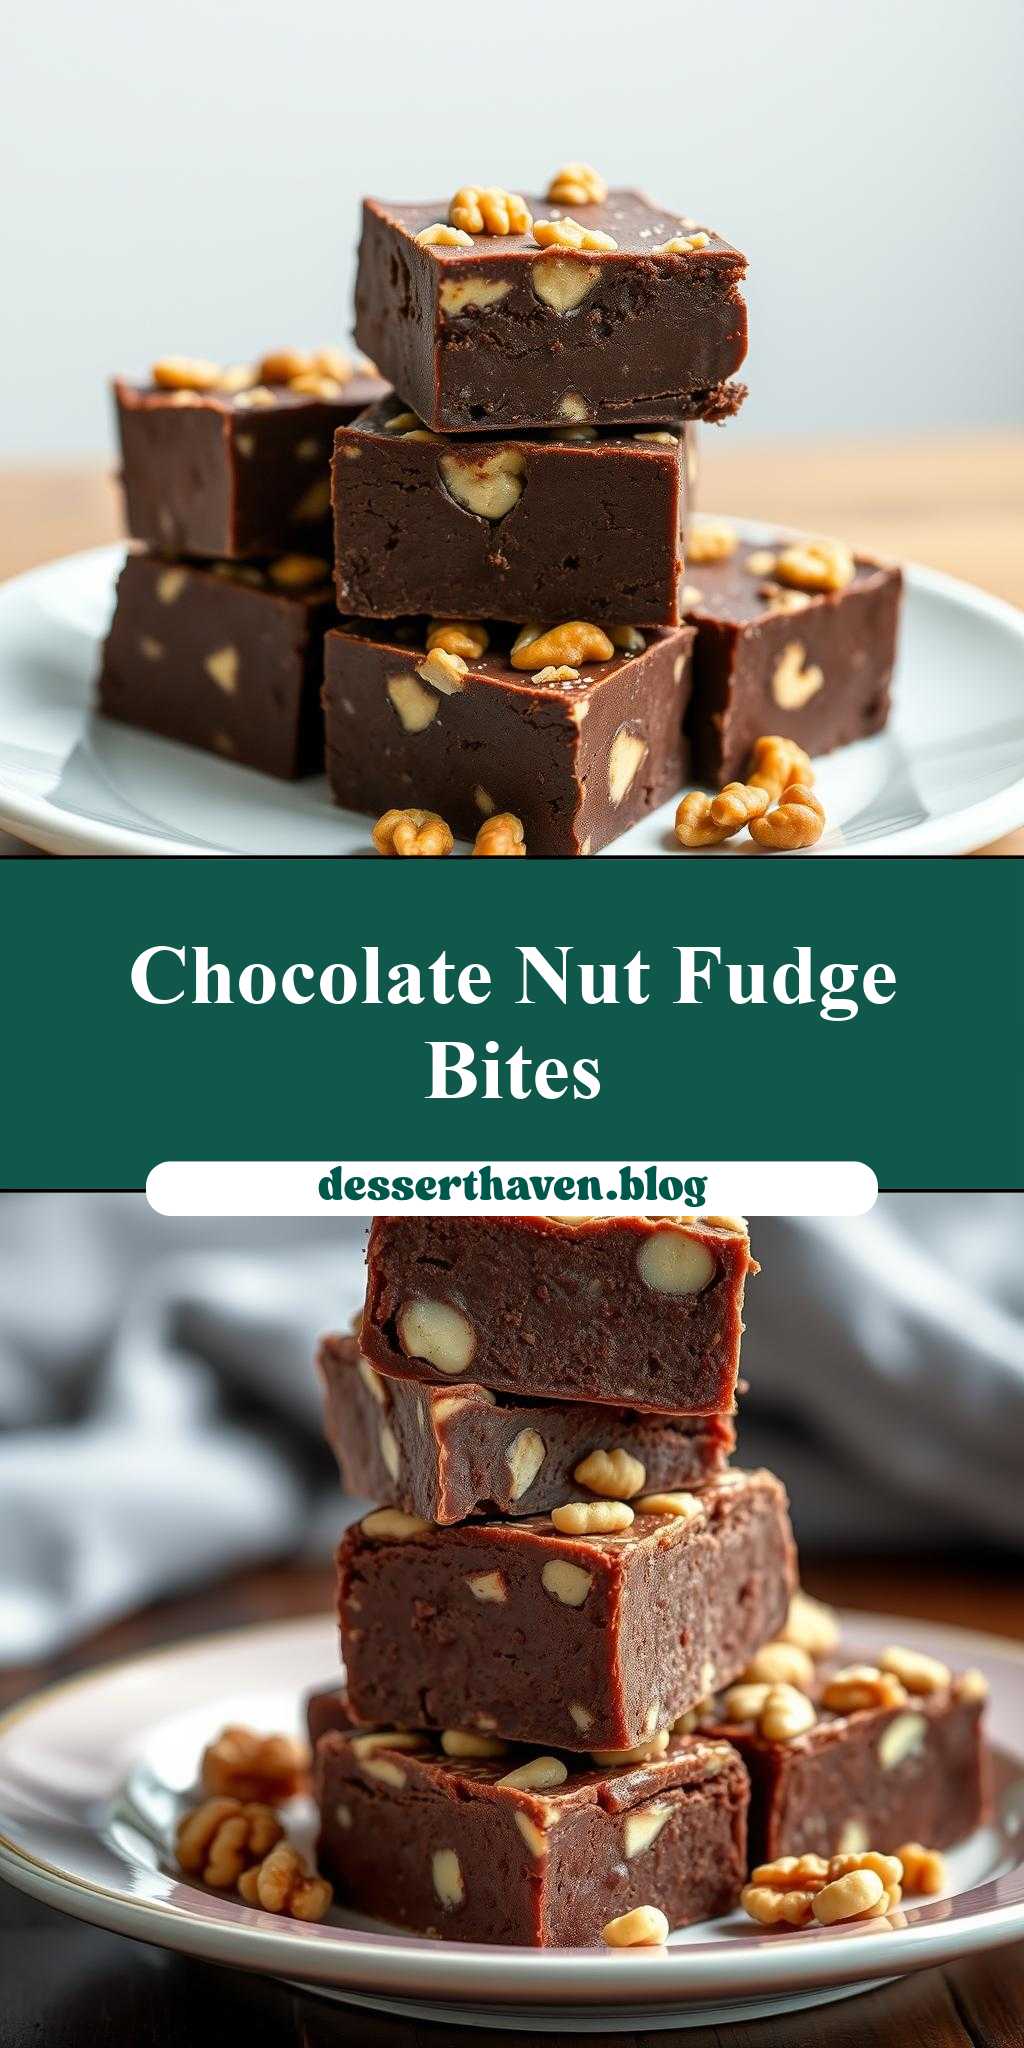
Several Pieces of Chocolate Fudge Stacked on Top of Each Other with Nuts and Walnuts
Introduction
Indulge in the richness of chocolate and the crunch of nuts with this simple yet impressive dessert recipe. Making several pieces of chocolate fudge stacked on top of each other with nuts and walnuts is easier than you think, requiring just a few everyday ingredients and some basic kitchen equipment. The best part? It’s incredibly versatile, allowing you to experiment with different types of chocolate, nuts, and even add-ins like dried fruits or espresso powder to create a unique flavor profile that suits your taste. Whether you’re a seasoned baker or a beginner in the kitchen, this recipe is sure to delight both you and your guests with its deep, velvety chocolate flavor and satisfying textural contrast.
Why This Works
- Flavor balance and ingredient accessibility: The combination of dark chocolate, creamy sweetened condensed milk, and the earthy taste of nuts creates a well-balanced flavor profile that appeals to a wide range of palates. Plus, the ingredients are easily found in most supermarkets, making this a convenient option for last-minute dessert needs.
- Ease of preparation: Unlike many desserts that require precise temperature control or intricate decorating, this chocolate fudge recipe is straightforward and hard to mess up. It involves melting chocolate, mixing it with a few other ingredients, and then letting it set before cutting it into pieces.
- Impressive results with minimal effort: Despite its simplicity, the end result looks and tastes like a professionally made dessert. The layering of fudge pieces with nuts and walnuts adds a sophisticated touch, making it perfect for special occasions or as a gift for friends and family.
Key Ingredients
The main ingredients for this recipe include high-quality dark chocolate (at least 70% cocoa for the best flavor), sweetened condensed milk, unsalted butter, vanilla extract, chopped nuts (such as walnuts or pecans), and sea salt. For those looking for substitutions, you can use different types of chocolate or nuts based on personal preference or dietary needs. For example, using milk chocolate will result in a sweeter fudge, while adding a pinch of salt can enhance the flavors. If you’re looking for a dairy-free option, consider substituting the sweetened condensed milk with a non-dairy alternative.
Instructions
- Step 1: Begin by preparing your ingredients. Chop the nuts into small pieces and set them aside. If using walnuts, you might want to toast them lightly in a 350°F oven for about 5 minutes to enhance their flavor and texture.
- Step 2: In a double boiler or a heatproof bowl set over a pot of simmering water, melt the chocolate, stirring occasionally. Once the chocolate is melted and smooth, remove it from the heat and stir in the sweetened condensed milk, butter, and vanilla extract until well combined.
- Step 3: Pour the chocolate mixture into a lined or greased 8-inch square baking pan. Let it cool to room temperature, then cover and refrigerate until set, which should take about 2 to 3 hours depending on your refrigerator’s temperature.
- Step 4: Once the fudge is set, remove it from the refrigerator and use a sharp knife to cut it into small squares. To assemble, place a piece of fudge on a serving plate or tray, top with a few pieces of chopped nuts or a walnut half, and then stack another piece of fudge on top. Repeat this process until you achieve the desired height, finishing with a layer of nuts on top.
Handy Tips
- For a smoother fudge, make sure to stir the chocolate mixture well after adding the sweetened condensed milk. If you find the mixture too thick, you can thin it out with a little more condensed milk. Conversely, if it’s too thin, letting it cool slightly before pouring into the baking pan can help.
- Avoid overmixing the chocolate, as this can cause it to seize up and become grainy. Also, be gentle when cutting the fudge to prevent it from breaking or crumbling excessively.
Heat Control
When melting the chocolate, it’s crucial to avoid overheating, as this can cause the chocolate to separate or become too thin. Using a double boiler is ideal, as it provides a gentle heat. If you don’t have a double boiler, you can simulate one by placing a heatproof bowl over a pot of simmering water, ensuring the bowl doesn’t touch the water. Stir the chocolate periodically and remove it from the heat once it’s melted and smooth.
Crunch Factor
The crunch factor in this dessert comes from the chopped nuts and walnuts. To enhance the crunch, ensure that your nuts are fresh and haven’t become rancid, which can give them a bitter taste. If you’re using walnuts, toasting them lightly before chopping can bring out their natural oils and flavor, adding depth to your dessert.
Pro Kitchen Tricks
- For cleaner cuts and less crumbing when cutting the fudge, dip your knife in hot water and wipe it dry with a towel between cuts. This helps the knife glide through the fudge more smoothly.
- To prevent the fudge from becoming too sticky or soft at room temperature, especially in warmer climates, consider adding a small amount of shortening like coconut oil or vegetable shortening to the chocolate mixture before it sets.
Storage Tips
- Store the fudge in an airtight container in the refrigerator to keep it fresh for up to 2 weeks. Let it come to room temperature before serving for the best flavor and texture.
- If you plan to gift the fudge, consider packaging it in decorative tins or jars lined with parchment paper. This not only keeps the fudge fresh but also adds a touch of elegance to the presentation.
Gift Packaging Ideas
Turning your chocolate fudge into a thoughtful gift is easy and can be customized to fit any occasion. Place the stacked fudge pieces in a decorative tin or a mason jar, wrap the jar in a ribbon or twine, and add a gift tag with a personal message. For a more rustic look, you could wrap the fudge pieces individually in parchment paper or cellophane bags and then place them in a small gift box or a paper cone.
Flavor Variations
- Different spices: Add a pinch of cinnamon, nutmeg, or cayenne pepper to the chocolate mixture for a unique twist. The warmth of spices pairs well with the coolness of chocolate, creating an interesting flavor dynamic.
- Creative toppings: Instead of nuts, try using dried cranberries, cherries, or even candy pieces like M&M’s for a pop of color and added flavor.
- Ingredient swaps: Experiment with different types of milk or chocolate for varying levels of sweetness and flavor intensity. Using white chocolate, for example, will give your fudge a sweeter and creamier taste.
Troubleshooting
- Texture problems: If your fudge turns out too soft, it may be due to overheating the chocolate or not letting it set long enough. Conversely, if it’s too hard, it could be because the chocolate was not melted sufficiently or too much sweetened condensed milk was added.
- Ingredient replacements: If you’re allergic to nuts, consider using seeds like pumpkin or sunflower seeds as a substitute. For dairy-free alternatives, look for non-dairy milks and chocolate options.
- Over/undercooking signs: The fudge should be set but still slightly tender to the touch. If it’s undercooked, it will be too soft and may not hold its shape well. Overcooking can make it too hard and dry.
FAQs
- Can I freeze it? Yes, you can freeze the fudge for up to 3 months. Wrap it tightly in plastic wrap or aluminum foil and place it in a freezer-safe bag. Let it thaw in the refrigerator overnight before serving.
- Is it gluten-free? Yes, this recipe is naturally gluten-free, making it suitable for those with gluten intolerance or sensitivity. However, always check the ingredients of your chocolate and sweetened condensed milk to ensure they are processed in a gluten-free environment.
- Can I double the recipe? Absolutely. Simply double all the ingredients and adjust the baking pan size accordingly. Keep in mind that larger batches may take longer to set.
Conclusion
Making several pieces of chocolate fudge stacked on top of each other with nuts and walnuts is a fun and rewarding dessert project that’s perfect for any chocolate lover. With its ease of preparation, versatility, and impressive presentation, it’s a great option for special occasions, gift-giving, or simply satisfying your sweet tooth. Don’t be afraid to experiment with different flavors and ingredients to make the recipe your own, and enjoy the process of creating something delicious and beautiful to share with others.