What’s the ultimate comfort food that combines meat and cheese in a crispy package? Cheesy tacosticks are stuffed with seasoned ground beef and melted cheese, perfect for a quick weeknight dinner that’s also a family favorite. Try baking them in the oven for a homemade twist. Save this idea for a delicious meal solution.
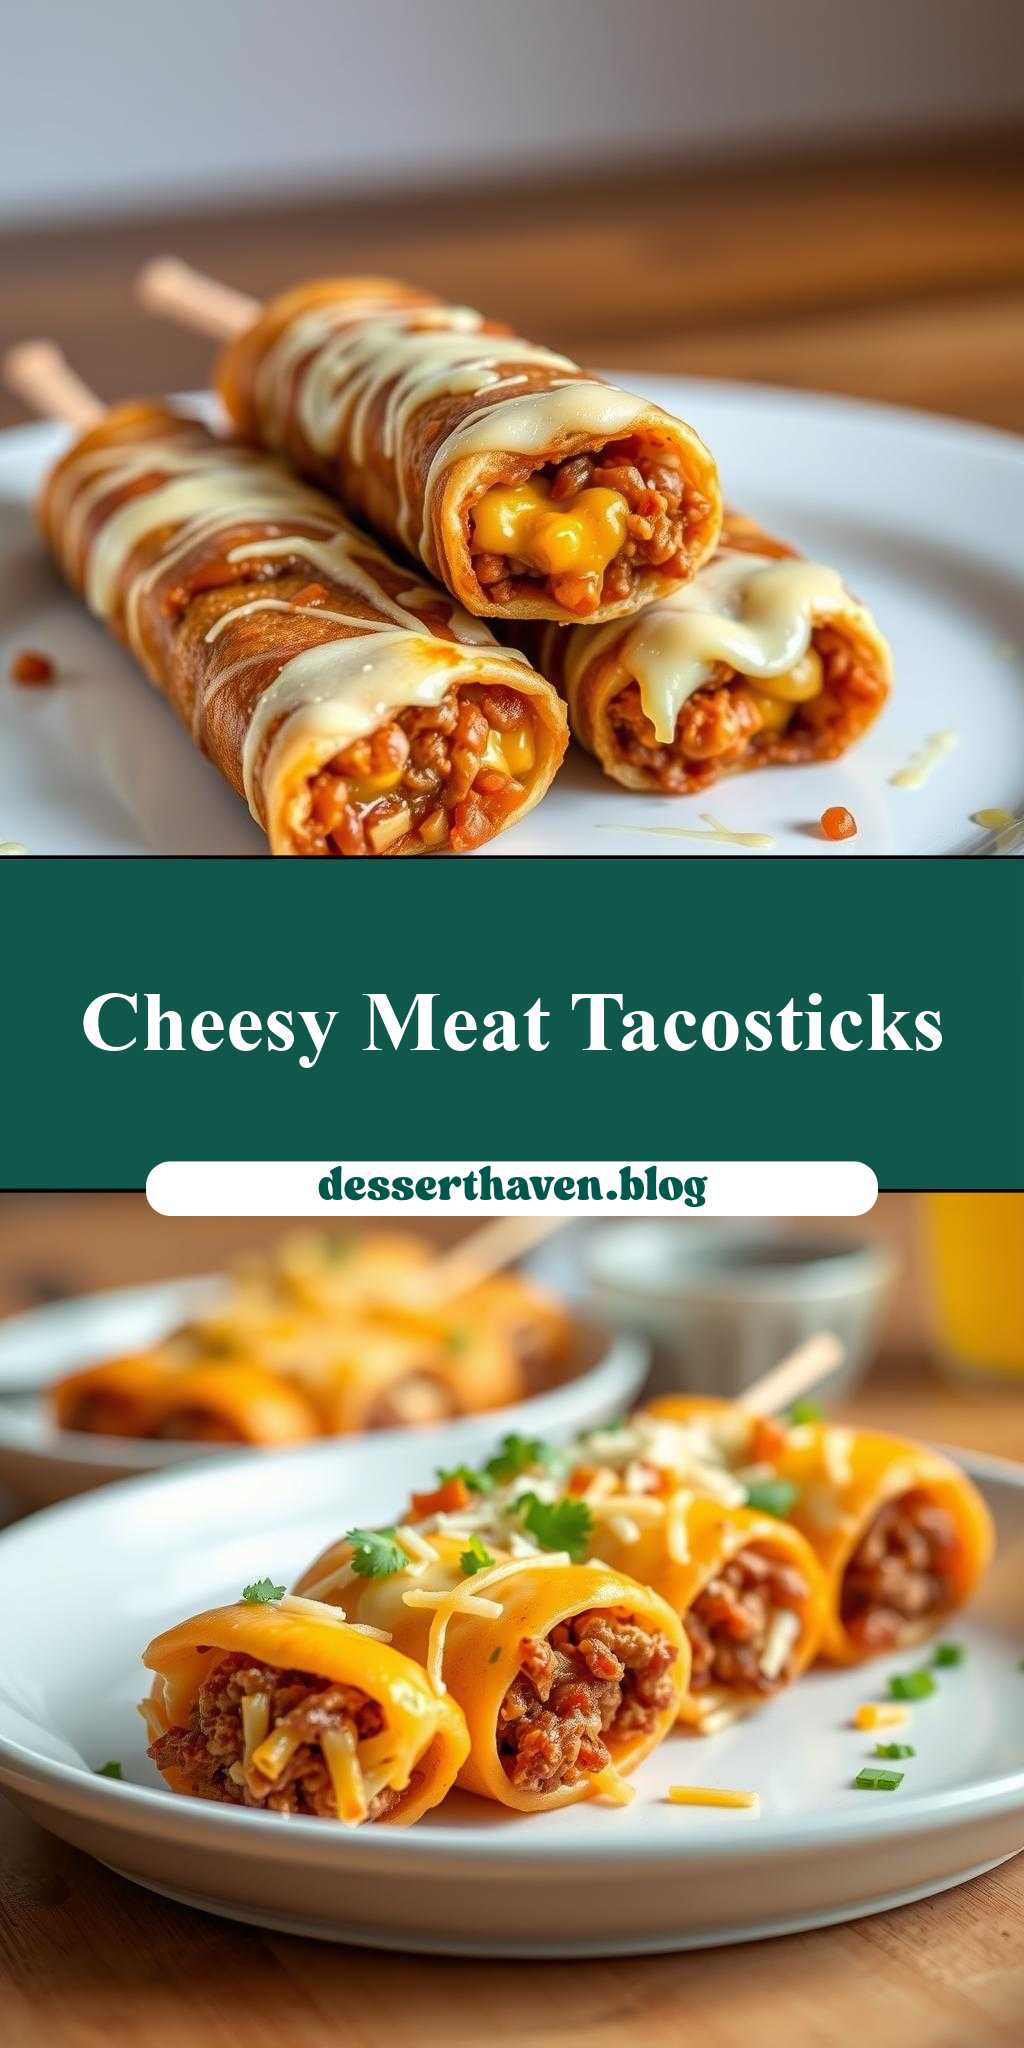
cheesy tacosticks are stuffed with meat and cheese
Introduction
Imagine a dish that combines the simplicity of everyday ingredients with the excitement of creative flavor combinations, all wrapped up in a crunchy, cheesy package. Cheesy tacosticks are stuffed with meat and cheese, offering a delightful twist on traditional tacos that’s both easy to make and impressive to serve. This recipe is perfect for those looking to spice up their meal routine without breaking the bank or spending hours in the kitchen. With its perfect balance of flavors and textures, it’s a dish that’s sure to become a favorite among both kids and adults alike.
Why This Works
- Flavor balance and ingredient accessibility: The combination of seasoned ground beef, melted cheese, and crunchy taco sticks creates a harmonious balance of flavors that’s hard to resist. Plus, all the ingredients are easily found in most supermarkets, making it a practical choice for a weeknight dinner.
- Ease of preparation: One of the best things about this recipe is how straightforward it is to prepare. With just a few simple steps, you can have a delicious, satisfying meal on the table in no time.
- Impressive results with minimal effort: Despite its simplicity, the end result is a dish that looks and tastes like it was made with much more effort, making it perfect for entertaining guests or special occasions.
Key Ingredients
The main ingredients for this recipe include ground beef, taco seasoning, cheese (such as cheddar or Monterey Jack), taco sticks or shells, lettuce, tomatoes, and any other desired toppings. For the ground beef, you can also use ground turkey or chicken as a substitute if you prefer. The taco seasoning can be adjusted to taste, and feel free to add other spices or herbs to give it your own unique twist. When it comes to cheese, the meltier the better, so consider using a blend of cheeses for the best results.
Instructions
- Step 1: Begin by preheating your oven to 400°F (200°C). While the oven is heating up, cook the ground beef in a large skillet over medium-high heat, breaking it up into small pieces as it cooks. Once the beef is browned, add the taco seasoning and follow the package instructions for the correct amount of water to add. Bring the mixture to a simmer and let it cook until the liquid has been absorbed and the flavors have melded together.
- Step 2: Prepare your taco sticks or shells according to the package instructions. Some may need to be baked for a few minutes to crisp them up, while others can be used straight from the package. While the taco sticks are baking, shred the cheese and prepare any toppings you plan to use.
- Step 3: To assemble the cheesy tacosticks, start by spooning some of the seasoned ground beef into each taco stick, followed by a sprinkle of shredded cheese. Place the filled taco sticks on a baking sheet lined with parchment paper and bake in the preheated oven for about 5-7 minutes, or until the cheese is melted and bubbly.
- Step 4: Remove the tacosticks from the oven and top each one with your desired toppings, such as diced tomatoes, shredded lettuce, sour cream, or salsa. Serve immediately and enjoy the ooey-gooey cheesy goodness.
Handy Tips
- One of the most important things to keep in mind when making cheesy tacosticks is to not overfill the taco sticks. This can make them difficult to handle and may cause the filling to spill out during baking. Start with a small amount of filling and add more as needed.
- Consider using a variety of cheeses for the best flavor. A mix of cheddar, Monterey Jack, and pepper jack can add a nice depth of flavor to the dish.
- Don’t be afraid to get creative with your toppings. Some other ideas might include diced onions, sliced black olives, or a sprinkle of cilantro.
Heat Control
When baking the cheesy tacosticks, it’s important to keep an eye on them to ensure the cheese doesn’t get too brown or the taco sticks become too crispy. The ideal temperature is 400°F (200°C), and the tacosticks should be baked for 5-7 minutes, or until the cheese is melted and bubbly. You can check for doneness by looking for a golden brown color on the cheese and a crispy texture on the taco sticks.
Crunch Factor
The crunch factor in this dish comes from the taco sticks themselves, as well as any crunchy toppings you might choose to add, such as diced onions or sliced black olives. To achieve the perfect crunch, make sure to bake the taco sticks until they’re crispy, and don’t overfill them with filling, as this can make them soggy. You can also try baking the tacosticks for an extra minute or two to get them even crisper, just be careful not to burn them.
Pro Kitchen Tricks
- One pro kitchen trick for making cheesy tacosticks is to use a mixture of cheeses for the best flavor. This can include a combination of cheddar, Monterey Jack, and pepper jack, or any other cheeses you like.
- Another trick is to add some diced onions or garlic to the ground beef as it’s cooking for extra flavor. This can add a depth of flavor to the dish that elevates it to the next level.
- Finally, consider using a pastry brush to brush the taco sticks with a little bit of oil before baking. This can help them brown more evenly and add a nice crunch to the outside.
Storage Tips
- If you have leftover cheesy tacosticks, you can store them in an airtight container in the refrigerator for up to 3 days. To reheat, simply bake them in the oven at 350°F (180°C) for a few minutes, or until the cheese is melted and bubbly again.
- It’s also possible to freeze the cheesy tacosticks for later use. Simply place them on a baking sheet lined with parchment paper and put them in the freezer until frozen solid. Then, transfer them to a freezer-safe bag or container and store them in the freezer for up to 2 months. To reheat, bake them in the oven at 400°F (200°C) for a few minutes, or until the cheese is melted and bubbly.
Gift Packaging Ideas
If you’re looking to give cheesy tacosticks as a gift, consider packaging them in a fun and creative way. One idea is to place the tacosticks in a decorative tin or container, along with some of your favorite toppings, such as salsa or sour cream. You could also include a few extra goodies, such as a bag of tortilla chips or a side of Mexican street corn. Whatever you choose, make sure to package the tacosticks in a way that keeps them fresh and easy to reheat.
Flavor Variations
- Different spices: Consider adding some different spices to the ground beef as it’s cooking, such as cumin or chili powder, to give it a unique flavor.
- Creative toppings: Don’t be afraid to get creative with your toppings. Some other ideas might include diced onions, sliced black olives, or a sprinkle of cilantro.
- Ingredient swaps: If you’re looking to mix things up, consider swapping out the ground beef for ground turkey or chicken, or using different types of cheese, such as pepper jack or colby jack.
Troubleshooting
- Texture problems: If your cheesy tacosticks are turning out too soggy or too dry, it may be due to the type of taco sticks you’re using or the amount of filling you’re adding. Try adjusting the amount of filling or using a different type of taco stick to see if that helps.
- Ingredient replacements: If you’re missing one of the ingredients, don’t worry. There are plenty of substitutions you can make. For example, you could use ground turkey or chicken instead of ground beef, or use different types of cheese, such as pepper jack or colby jack.
- Over/undercooking signs: To avoid over or undercooking your cheesy tacosticks, make sure to keep an eye on them as they’re baking. If the cheese is getting too brown or the taco sticks are becoming too crispy, it’s time to take them out of the oven.
FAQs
- Can I freeze it? Yes, you can freeze the cheesy tacosticks for later use. Simply place them on a baking sheet lined with parchment paper and put them in the freezer until frozen solid. Then, transfer them to a freezer-safe bag or container and store them in the freezer for up to 2 months.
- Is it gluten-free? The cheesy tacosticks are gluten-free, as long as you’re using gluten-free taco sticks and seasonings. Just be sure to check the ingredient labels to ensure that all of the ingredients are gluten-free.
- Can I double the recipe? Yes, you can easily double or triple the recipe if you’re looking to feed a larger crowd. Just be sure to adjust the cooking time accordingly, as the cheesy tacosticks may take a few minutes longer to bake if you’re making a larger batch.
Conclusion
Cheesy tacosticks are a fun and creative twist on traditional tacos that are perfect for a weeknight dinner or special occasion. With their perfect balance of flavors and textures, they’re sure to be a hit with both kids and adults alike. Whether you’re looking to spice up your meal routine or just want a delicious and easy meal to make, cheesy tacosticks are the perfect choice. So go ahead, get creative, and enjoy the ooey-gooey cheesy goodness of these delicious tacosticks.