What makes the perfect weekend breakfast? For me, it’s a stack of fluffy homemade waffles, infused with melted butter and topped with fresh blueberries and a drizzle of syrup. This easy recipe uses a simple batter and yields a deliciously crispy exterior, making it a family favorite. Try it soon and pin for later to impress your loved ones with a quick and satisfying meal.
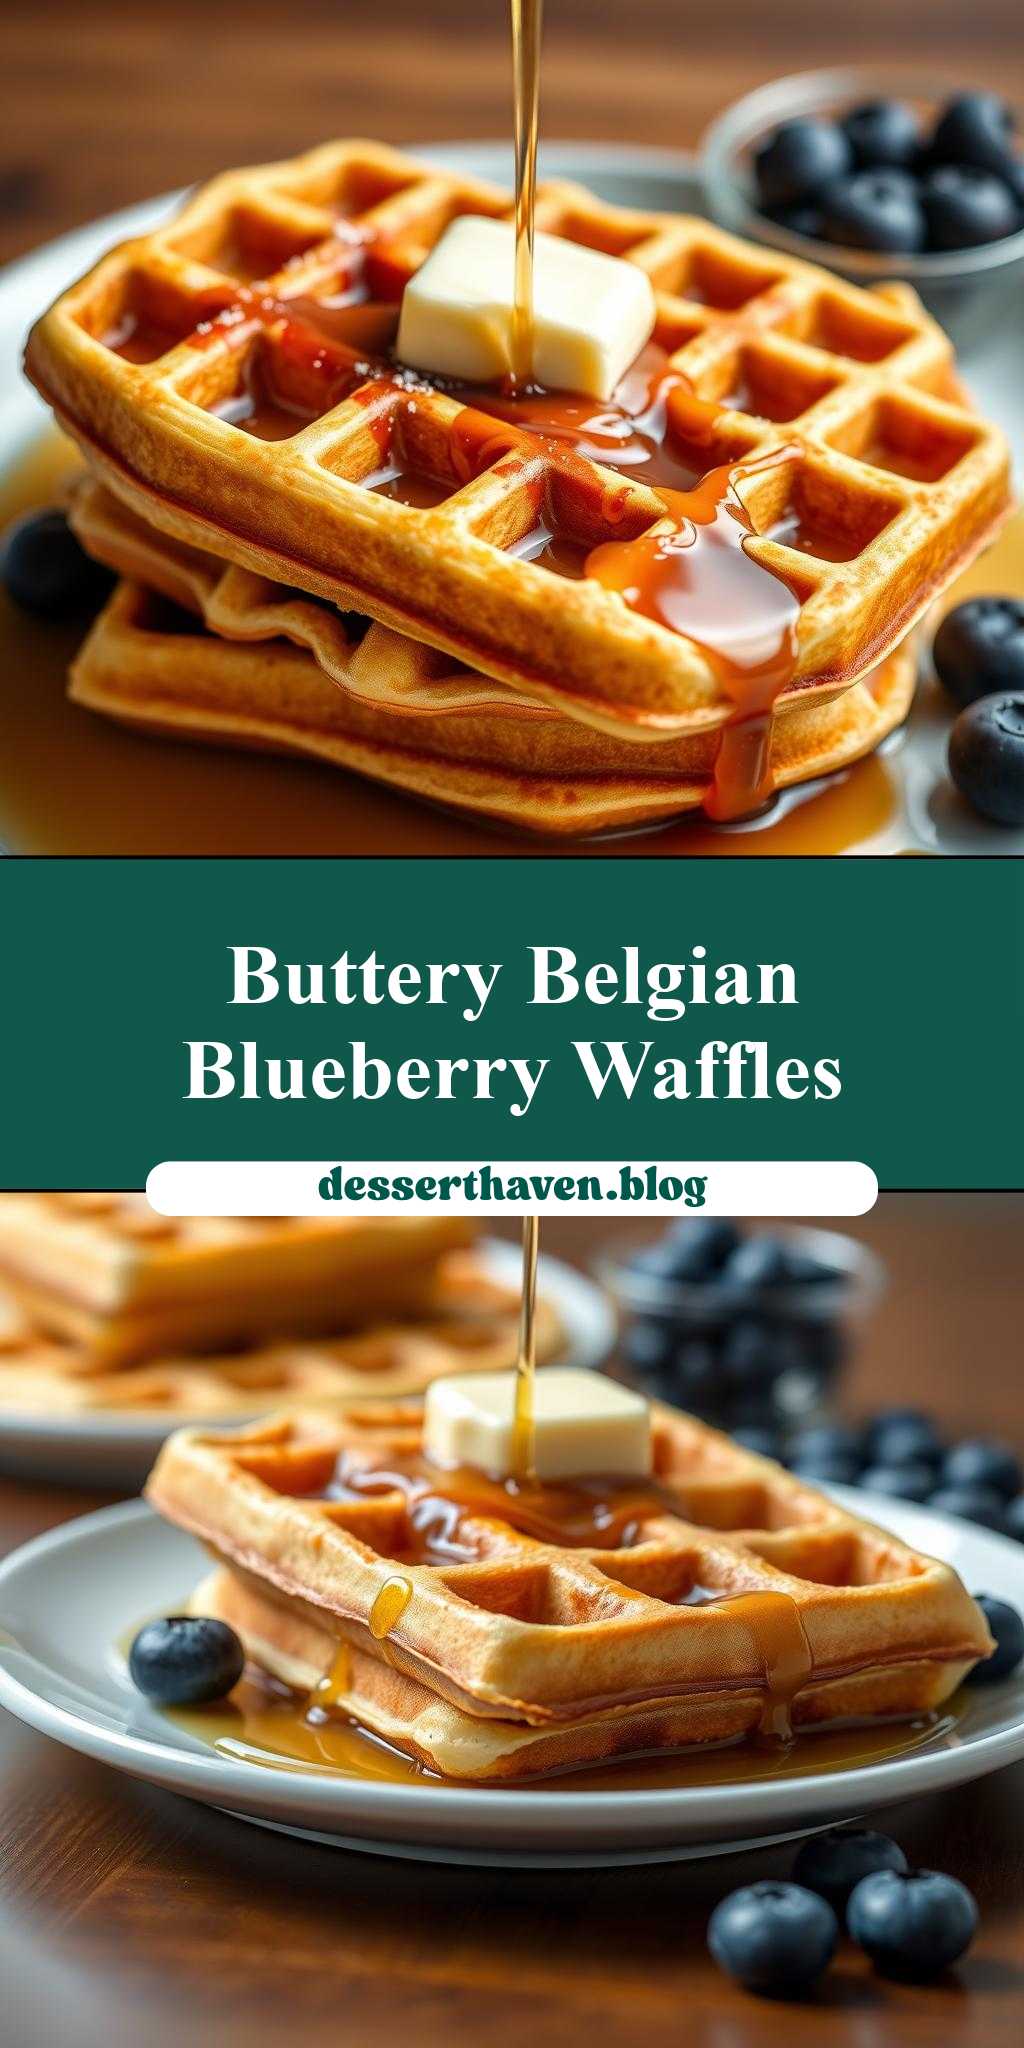
buttery belgian waffles on a plate with syrup and blueberries in the background
Introduction
Imagine waking up to the aromatic allure of buttermilk, the sweetness of melted butter, and the crunch of a perfectly cooked waffle, all in the comfort of your own home. This recipe for Buttery Belgian Waffles is not just a meal; it’s an experience that combines ease, flavor, and creativity, using everyday ingredients that you might already have in your pantry. The best part? It’s incredibly simple to make, requiring minimal effort for a dish that’s sure to impress both family and friends. Whether you’re a culinary newbie or a seasoned chef, this recipe is a must-try for anyone looking to elevate their breakfast or brunch game.
Why This Works
- Flavor balance and ingredient accessibility: The combination of buttermilk, melted butter, and a hint of vanilla creates a flavor profile that’s both rich and inviting. Plus, the ingredients are easily accessible in most supermarkets, making this dish a practical choice for any day of the week.
- Ease of preparation: Despite the impressive results, the preparation and cooking process is remarkably straightforward. With a few simple steps, you can have a plate of golden, crispy waffles that are sure to delight.
- Impressive results with minimal effort: The key to this recipe’s success lies in its ability to deliver restaurant-quality waffles with minimal fuss. Whether you’re cooking for one or a crowd, the outcome is consistently impressive, making it perfect for special occasions or casual mornings alike.
Key Ingredients
The magic of these Buttery Belgian Waffles lies in the quality and combination of the ingredients. You’ll need:
– 2 cups of all-purpose flour as the base
– 4 teaspoons of baking powder to give the waffles their signature lift
– 1 teaspoon of salt to balance the sweetness
– 1/4 cup of granulated sugar for a touch of sweetness
– 2 large eggs for moisture and richness
– 1 cup of buttermilk for tanginess and tenderness
– 4 tablespoons of melted butter for that unmistakable buttery flavor
– 1 teaspoon of pure vanilla extract for depth and warmth
For practical substitutions, you can use regular milk with a tablespoon of white vinegar or lemon juice as a buttermilk substitute, and coconut sugar or honey for a different sweetness profile.
Instructions
- Step 1: Begin by preheating your waffle iron according to the manufacturer’s instructions. While that’s heating up, whisk together the flour, baking powder, salt, and sugar in a large bowl.
- Step 2: In a separate bowl, whisk the eggs, buttermilk, melted butter, and vanilla extract until well combined. Pour the wet ingredients into the dry ingredients and stir until just combined; the batter should still be slightly lumpy.
- Step 3: The batter is now ready to be cooked. Pour about 1/4 cup of the batter onto the center of the waffle iron and spread it out to the edges. Cook until the waffles are golden and crisp, repeating with the remaining batter.
- Step 4: For the final touches, serve the waffles hot with your choice of toppings. A drizzle of syrup, a sprinkle of powdered sugar, or a handful of fresh blueberries can elevate the dish from simple to spectacular.
Handy Tips
- Avoid overmixing the batter, as this can lead to tough waffles. Stop mixing once the ingredients are just combined.
- For an extra crispy exterior and fluffy interior, make sure the waffle iron is hot before adding the batter. A good test is to flick a few drops of water onto the iron; if they sizzle and evaporate quickly, it’s ready.
- Don’t open the waffle iron too soon; let it cook for at least 3-5 minutes, depending on your iron’s heat. You’ll know it’s done when the steam has slowed, and the waffles are golden brown.
Heat Control
The ideal temperature for cooking waffles is medium-high heat. The waffle iron should be hot but not smoking. The timing will depend on the heat of your iron and the thickness of your batter, but generally, you’re looking at 3-5 minutes per waffle. The sign of doneness is a golden brown color and a crispy texture. If you prefer your waffles more toasted, you can cook them for an additional minute or until they reach your desired level of crispiness.
Crunch Factor
Achieving the perfect crunch on your waffles is all about the cooking time and temperature. For a crispy exterior, ensure your waffle iron is hot before adding the batter, and don’t be tempted to open it too soon. The initial steam will slowly decrease as the waffles cook, and when you see less steam escaping, it’s a good sign that they’re done. If you prefer a softer waffle, simply cook for a minute less.
Pro Kitchen Tricks
- For an extra fluffy interior, let the batter rest for 30 minutes before cooking. This allows the flour to absorb the liquid ingredients fully, resulting in a lighter waffle.
- Keep your waffles warm by placing them in a low-temperature oven (around 200°F) while you cook the remaining batter. This ensures everyone gets to enjoy their waffles at the same time, hot and fresh.
- Clean up as you go to avoid a messy kitchen. Immediately wiping down the waffle iron with a paper towel after each use can prevent batter from hardening and make the cleaning process much easier.
Storage Tips
- Leftover waffles can be stored in an airtight container in the fridge for up to 3 days. Simply reheat them in the toaster or oven until crispy.
- For longer storage, waffles can be frozen. Place them in a single layer in a freezer-safe bag or container and store for up to 2 months. Reheat frozen waffles in the toaster or oven until warmed through.
- The best containers for storing waffles are those that keep air out, such as glass containers with tight-fitting lids or ziplock bags. This helps maintain freshness and prevents the waffles from becoming soggy.
Gift Packaging Ideas
If you’re considering gifting these delicious waffles, there are several packaging ideas that can make them look and feel like a special treat. Consider placing a few waffles in a decorative tin or jar, wrapped in a ribbon or twine. You could also package them in paper bags with a clear window, allowing the recipient to see the delicious contents inside. Don’t forget to include a bottle of syrup, honey, or a bag of fresh fruit to complete the gift.
Flavor Variations
- Different spices: Add a pinch of cinnamon, nutmeg, or cardamom to the batter for a unique twist on the classic recipe.
- Creative toppings: Beyond the classic syrup and butter, consider topping your waffles with whipped cream, chocolate shavings, diced fruits, or even a scoop of ice cream for a decadent treat.
- Ingredient swaps: Use whole wheat flour for a nuttier flavor, or substitute the buttermilk with almond milk for a vegan version. You could also add diced nuts or chocolate chips to the batter for added texture and flavor.
Troubleshooting
- Texture problems: If your waffles turn out too dense, it might be due to overmixing the batter. Try mixing the wet and dry ingredients separately and gently folding them together for a lighter texture.
- Ingredient replacements: If you’re out of buttermilk, you can make a substitute by mixing 1 cup of milk with 1 tablespoon of white vinegar or lemon juice. Let it sit for 5-10 minutes to thicken before using.
- Over/undercooking signs: Keep an eye on the steam and the color of the waffles. If they’re not crispy and golden after the recommended time, give them a bit more time. Conversely, if they start to smell burnt or become too dark, they’re overcooked.
FAQs
- Can I freeze it? Yes, waffles can be frozen for up to 2 months. Simply place them in a single layer in a freezer-safe bag or container and reheat in the toaster or oven when needed.
- Is it gluten-free? The traditional recipe includes all-purpose flour, which contains gluten. However, you can make a gluten-free version by substituting the flour with a gluten-free flour blend.
- Can I double the recipe? Yes, the recipe can be easily doubled or tripled to feed a larger crowd. Just ensure you have enough batter for each waffle and adjust the cooking time as needed.
Conclusion
With its perfect balance of crunch and fluff, the Buttery Belgian Waffles recipe is a game-changer for anyone looking to elevate their breakfast or brunch. Whether you’re a fan of classic toppings or like to experiment with new flavors, this dish is incredibly versatile and sure to please even the pickiest of eaters. So go ahead, give it a try, and don’t be surprised when it becomes a staple in your household. Share your creations, experiment with new toppings, and most importantly, enjoy the process of cooking and sharing delicious meals with your loved ones.