What makes a perfect weeknight dinner? For me, it’s all about easy homemade recipes like this quesabirria tacos recipe, featuring tender beef and rich consommé, all made quick and simple for a family favorite meal, save this idea for your next quick dinner inspiration.
Quesabirria Tacos Recipe
Introduction
Imagine a fusion of flavors and textures that will elevate your taco game – that’s what our Quesabirria Tacos Recipe is all about. By combining the richness of birria with the comfort of a quesadilla, all wrapped in a crispy taco shell, we’re pushing the boundaries of traditional Mexican cuisine. The best part? It’s incredibly easy to make and requires ingredients you might already have in your pantry. This recipe is perfect for those who love to experiment with new flavors and textures without sacrificing the ease of preparation. So, let’s dive into the world of Quesabirria Tacos and discover why this dish is a must-try for any food enthusiast.
Why This Works
- Flavor balance and ingredient accessibility: The combination of birria’s deep, slightly spicy flavor and the melted cheese of a quesadilla creates a perfect harmony of tastes. Plus, the ingredients are easily accessible in most supermarkets, making this dish convenient for anyone to prepare.
- Ease of preparation: Despite its complex flavor profile, the Quesabirria Tacos Recipe is surprisingly straightforward. It involves cooking the birria, preparing the quesadilla, and then assembling the tacos, which requires minimal culinary expertise.
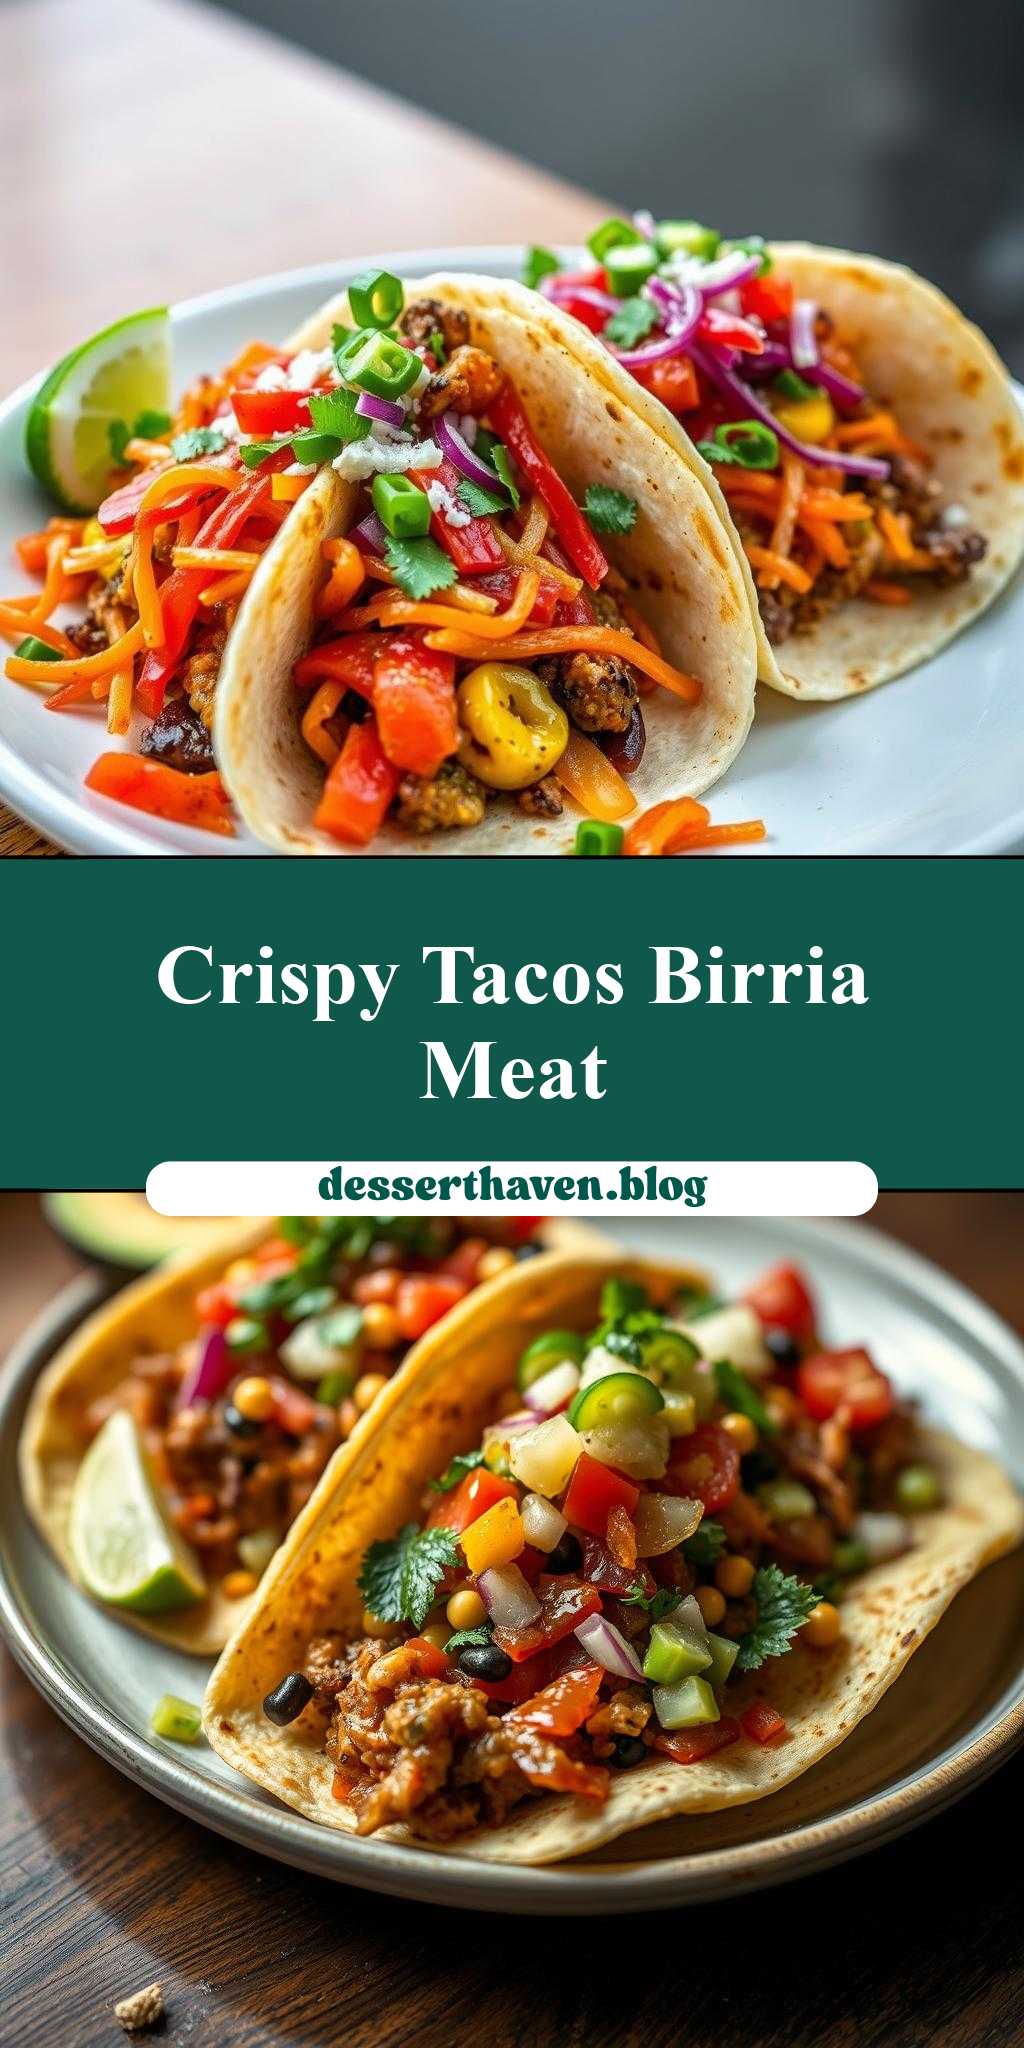
- Impressive results with minimal effort: The presentation of these tacos is almost as impressive as their taste. The vibrant colors and the combination of crunchy and soft textures make for a visually appealing dish that’s sure to impress your family and friends with minimal effort.
Key Ingredients
The main ingredients for our Quesabirria Tacos Recipe include beef or goat meat for the birria, which can be substituted with chicken or pork for a different twist. We’ll also need onions, garlic, dried arbol chilies, guajillo chilies, beef broth, tomato paste, vinegar, spices like cumin, oregano, and salt, and of course, cheese for the quesadilla. For the taco shells, you can use either store-bought shells or make your own. Practical substitutions include using different types of cheese or varying the spice level to your liking. Don’t forget the fresh cilantro, onion, and lime for garnish to add that extra layer of freshness and flavor.
Instructions
- Step 1: Begin by preparing the birria. Start with rehydrating the dried chilies in hot water, then blend them with onion, garlic, and spices to create a rich sauce. In a large pot, cook the meat in this sauce until it’s tender and falls apart easily.
- Step 2: While the birria is cooking, prepare the quesadilla filling. This involves shredding the cooked meat and mixing it with some of the birria sauce, then setting it aside. Next, heat a large skillet over medium heat and place a tortilla in it. Sprinkle cheese on half of the tortilla, add some of the meat mixture on top of the cheese, and fold the tortilla in half. Cook until the tortilla is crispy and the cheese is melted, flipping it halfway through.
- Step 3: Assemble the tacos by cutting the cooked quesadilla into wedges and placing them in a taco shell. Spoon some of the birria sauce over the quesadilla, followed by your choice of toppings such as diced onions, fresh cilantro, sour cream, or salsa.
- Step 4: For the final touches, serve the tacos hot. You can add a squeeze of lime juice and a dollop of sour cream on top. For an extra crunchy texture, consider adding some toasted pumpkin seeds or crispy tortilla strips.
Handy Tips
- When cooking the birria, make sure to simmer it slowly to develop the flavors fully. Also, don’t overfill the quesadilla, as it can be difficult to fold and cook evenly.
- For a vegetarian version, you can substitute the meat with roasted vegetables like zucchini, bell peppers, and onions, blended into the birria sauce for added texture and flavor.
- Experiment with different types of cheese for the quesadilla, such as Oaxaca cheese, Monterey Jack, or a blend, to find the one that melts the best and suits your taste preferences.
Heat Control
Heat control is crucial in this recipe, especially when cooking the birria and the quesadilla. For the birria, a low to medium heat is ideal to prevent the sauce from burning or the meat from becoming tough. When cooking the quesadilla, medium heat is best to achieve a crispy exterior and a melted, gooey interior without burning the tortilla. Keep an eye on the temperature and adjust as necessary to prevent overheating.
Crunch Factor
Achieving the right crunch factor in your Quesabirria Tacos is key to their appeal. The taco shell should be crunchy, providing a satisfying crunch when you bite into it. The quesadilla, too, should have a crispy exterior that contrasts beautifully with the soft, cheesy interior. To enhance the crunch, consider adding some crispy elements on top, like toasted nuts, crispy fried onions, or even some crunchy slaw made from red cabbage and carrots.
Pro Kitchen Tricks
- One of the best tricks for making Quesabirria Tacos like a pro is to use a cast-iron skillet for cooking the quesadilla. The even heat distribution and the ability to get a nice crust on the tortilla make it ideal for this task.
- For easier cleanup and to prevent the birria sauce from sticking to the pot, lightly oil the bottom of the pot before adding the sauce.
- Use a thermometer to ensure the meat is cooked to a safe internal temperature, especially if you’re using beef or goat meat, which can be dense and require thorough cooking.
Storage Tips
- The birria sauce and the cooked meat can be stored in the refrigerator for up to 3 days or frozen for up to 2 months. Reheat the sauce gently over low heat, whisking occasionally, until warmed through.
- Quesadillas are best made fresh, but you can store them in an airtight container in the refrigerator for a day. Reheat them in a skillet or oven until crispy and warm.
- For the taco shells, store them in an airtight container at room temperature for up to a week. You can also freeze them for longer storage.
Gift Packaging Ideas
If you’re considering gifting your Quesabirria Tacos, a thoughtful and visually appealing packaging can make all the difference. Consider placing the taco shells, birria sauce, and quesadilla filling in separate, decorative containers. Add some fresh cilantro, a lime wedge, and a small bag of crispy tortilla chips on the side. Wrap everything in a colorful towel or place it in a basket, and don’t forget to include a card with reheating instructions and a personal note.
Flavor Variations
- Different spices: Experiment with various spice blends to give your birria a unique twist. For example, adding some cayenne pepper can give it a spicy kick, while a sprinkle of smoked paprika can add a smoky depth.
- Creative toppings: Don’t be afraid to get creative with your toppings. Some ideas include pickled onions, sliced radishes, diced mango, or even a spoonful of spicy salsa.
- Ingredient swaps: Feel free to swap out ingredients to suit your dietary preferences or what’s available in your pantry. Using different types of meat or vegetables can completely change the flavor profile of your Quesabirria Tacos.
Troubleshooting
- Texture problems: If your birria sauce is too thick, whisk in a bit of broth or water. If it’s too thin, simmer it for a few minutes to reduce it. For the quesadilla, if it’s not crispy, try cooking it for a bit longer or at a slightly higher heat.
- Ingredient replacements: If you can’t find a specific ingredient, look for substitutes that offer similar flavors or textures. For example, if you can’t find guajillo chilies, you might use a combination of dried ancho and arbol chilies instead.
- Over/undercooking signs: Keep an eye on your meat and sauce. If the meat is tough, it might be undercooked. If the sauce is too dark or has a burnt smell, it’s likely overcooked. Adjust your cooking time and heat as needed.
FAQs
- Can I freeze it? Yes, you can freeze the birria sauce and the cooked meat for up to 2 months. Simply thaw and reheat when you’re ready to make your Quesabirria Tacos.
- Is it gluten-free? The recipe as described is gluten-free, but be cautious of the taco shells and any store-bought ingredients like broth or sauces that might contain gluten. Always check the labels.
- Can I double the recipe? Absolutely, this recipe can be easily doubled or even tripled if you’re serving a large crowd. Just remember to adjust the cooking time slightly for larger quantities.
Conclusion
With our Quesabirria Tacos Recipe, you’re not just making a meal, you’re creating an experience. The combination of rich birria sauce, crispy quesadilla, and fresh toppings all come together to make a truly unforgettable dish. Don’t be afraid to experiment and make it your own, whether that means adding your favorite spices, trying different cheeses, or coming up with unique toppings. The beauty of this recipe lies in its versatility and the joy it brings to those who taste it. So go ahead, share it with your loved ones, and enjoy the process of creating something truly special.