What’s the perfect treat to satisfy your peanut butter obsession? These no bake bars combine creamy peanut butter and chocolate for a quick and easy homemade dessert featuring Reese’s cups, perfect for a weeknight indulgence, save this idea
Reeses Peanut Butter No Bake Bars
Introduction
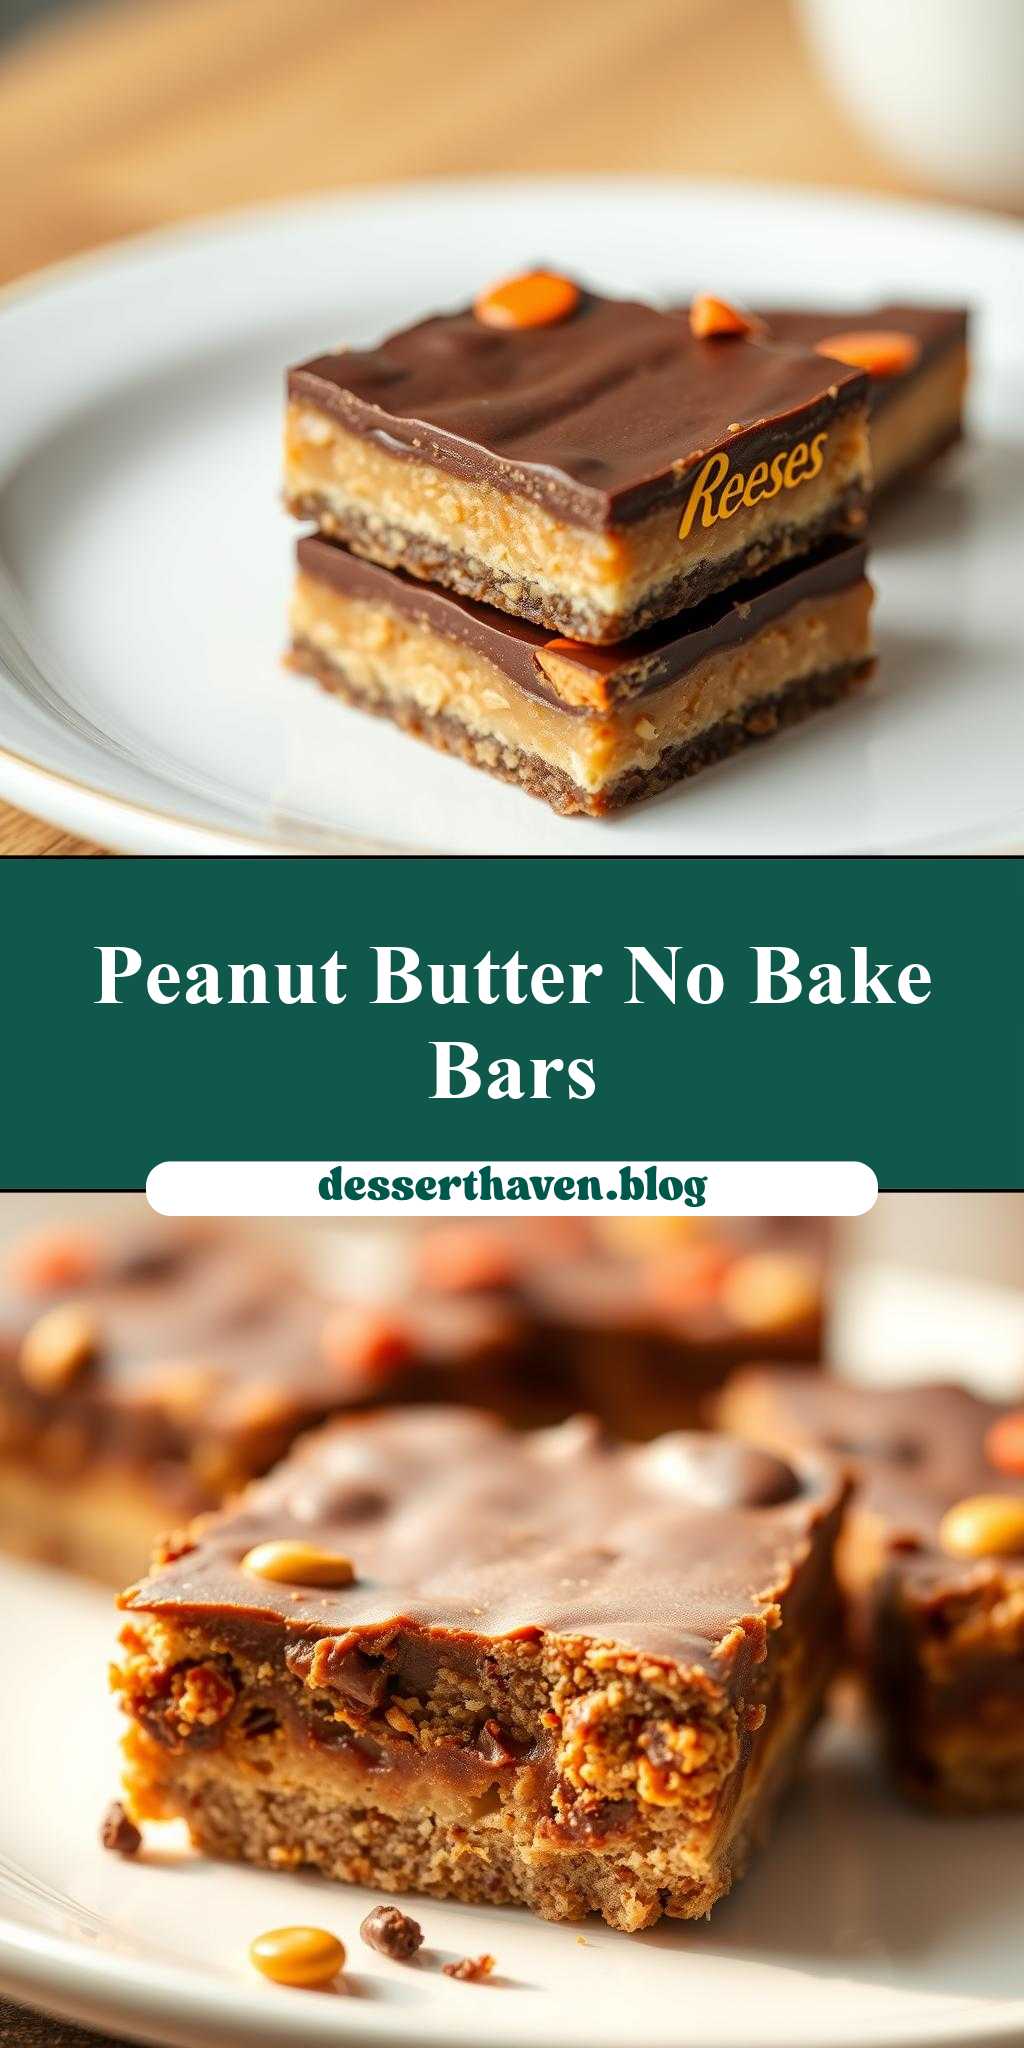
Imagine a dessert that combines the creamy richness of peanut butter with the indulgent taste of chocolate, all without the need for baking. The Reeses Peanut Butter No Bake Bars are a dream come true for anyone with a sweet tooth and a penchant for simplicity. These no-bake bars are incredibly easy to make, requiring just a few common ingredients and some basic kitchen tools. The best part? They’re ready in no time, perfect for satisfying your cravings or impressing your friends and family with a delicious homemade treat. The combination of peanut butter, graham cracker crumbs, and melted chocolate creates a flavor and texture that’s hard to resist, making these bars a perfect snack or dessert for any occasion.
Why This Works
- The balance of flavors in these bars, with the earthy taste of peanut butter complemented by the sweetness of chocolate, creates a delicious and addictive taste experience.
- The ease of preparation is a major advantage, as these bars require no baking and can be made with minimal kitchen equipment.
- The impressive results, with their layered textures and rich flavors, belie the simplicity of the recipe, making these bars a great choice for novice bakers or those short on time.
Key Ingredients
The main ingredients in these Reeses Peanut Butter No Bake Bars include graham cracker crumbs, which provide a crunchy base; creamy peanut butter, which adds richness and flavor; powdered sugar, which balances out the savory taste of the peanut butter; and melted chocolate, which binds everything together and adds a deep, velvety texture. For the chocolate layer, you can use chocolate chips or chopped chocolate bars, depending on your preference. If you’re looking for substitutions, you could try using different types of nut butter, such as almond or cashew butter, or adding in some extra mix-ins like chopped nuts or dried fruit to create a unique flavor combination.
Instructions
- Step 1: Begin by preparing your ingredients. Start by crushing your graham crackers into fine crumbs using a food processor or placing them in a plastic bag and crushing them with a rolling pin. Measure out your peanut butter, powdered sugar, and chocolate chips.
- Step 2: In a large mixing bowl, combine the graham cracker crumbs and melted butter. Mix until the crumbs are evenly moistened, then press the mixture into the bottom of a lined or greased 8×8 inch baking dish. Next, in another bowl, mix together the peanut butter and powdered sugar until smooth and creamy. Spread this mixture over the graham cracker crust.
- Step 3: Melt the chocolate chips in a double boiler or in the microwave in 30-second increments, stirring between each interval until smooth. Pour the melted chocolate over the peanut butter layer, spreading it out to cover the entire surface.
- Step 4: Refrigerate the bars for at least 30 minutes to allow the chocolate to set. Once set, remove the bars from the refrigerator and use a sharp knife to cut them into squares or bars. You can serve them chilled, straight from the fridge, or let them come to room temperature for a slightly softer texture.
Handy Tips
- To ensure your bars set properly, make sure to chill them in the refrigerator for the recommended time. If you’re in a hurry, you can speed up the process by placing them in the freezer for about 10-15 minutes.
- For an extra crunchy texture, consider adding some chopped nuts or peanut butter cups into the peanut butter mixture before spreading it over the crust.
- When cutting the bars, use a sharp knife to get clean edges. If the bars are too soft, refrigerate them for a few minutes to firm up before cutting.
Heat Control
Since these bars are no-bake, the only heat control you’ll need to worry about is when melting the chocolate. If using a double boiler, make sure the water doesn’t boil vigorously, as this can cause the chocolate to seize up. If melting in the microwave, be cautious not to overheat, as this can also cause the chocolate to become grainy or separate.
Crunch Factor
The crunch in these bars comes from the graham cracker crust and any additional nuts or mix-ins you might choose to add. To enhance the crunch, make sure your graham cracker crumbs are finely ground and evenly moistened with butter. You can also experiment with different types of crunchy ingredients, like chopped peanuts or peanut butter cookies, to add more texture to your bars.
Pro Kitchen Tricks
- For a more professional finish, consider topping your bars with a sprinkle of sea salt or a drizzle of melted chocolate before serving.
- To make cleanup easier, line your baking dish with parchment paper or aluminum foil before pressing in the graham cracker crust. This will allow you to lift the bars out of the dish once they’re set and cut them on a flat surface.
- Experiment with different flavor combinations by adding a teaspoon of vanilla extract to the peanut butter mixture or using different types of chocolate for the top layer.
Storage Tips
- These bars are best stored in an airtight container in the refrigerator for up to 5 days. You can also freeze them for up to 2 months, cutting them into bars before freezing for easier serving.
- When storing, make sure to keep the bars away from strong-smelling foods, as they can absorb odors easily.
- If you find your bars becoming too soft, you can refresh them by placing them in the freezer for a few minutes to firm up.
Gift Packaging Ideas
These Reeses Peanut Butter No Bake Bars make a wonderful gift for friends, family, or coworkers. Consider packaging them in decorative tins or jars, layered with parchment paper or wax paper to prevent sticking. You can also wrap individual bars in plastic wrap or aluminum foil and tie with a ribbon for a more personalized touch. Add a handwritten note or a sprinkle of decorative toppings, like chopped nuts or sprinkles, to make the gift even more special.
Flavor Variations
- Try adding different spices, like cinnamon or nutmeg, to the peanut butter mixture for a unique twist.
- Experiment with creative toppings, such as chopped nuts, dried fruit, or even candy pieces, to add more texture and flavor to your bars.
- Swap out the peanut butter for another type of nut butter, like almond or cashew butter, for a different flavor profile.
Troubleshooting
- If your bars are too soft, try refrigerating them for a longer period or freezing them for a few minutes to firm up.
- If your chocolate layer is too thick, you can thin it out with a little shortening or coconut oil. If it’s too thin, you can refrigerate it for a few minutes to set before spreading over the peanut butter layer.
- If you notice your bars becoming too crumbly, check that your graham cracker crust is evenly moistened and that you’re not overmixing the peanut butter mixture.
FAQs
- Can I freeze it? Yes, these bars can be frozen for up to 2 months. It’s best to cut them into bars before freezing for easier serving.
- Is it gluten-free? Depending on the type of graham crackers used, these bars may not be gluten-free. Look for gluten-free graham crackers to make a gluten-free version.
- Can I double the recipe? Yes, you can easily double the recipe to make a larger batch of bars. Just keep in mind that you’ll need a larger baking dish and possibly more refrigeration time to set the bars properly.
Conclusion
With their simplicity, delicious flavor, and versatility, the Reeses Peanut Butter No Bake Bars are a perfect addition to any dessert repertoire. Whether you’re a seasoned baker or a beginner in the kitchen, these bars are sure to impress and satisfy your sweet tooth. Feel free to experiment with different ingredients and flavor combinations to make the recipe your own, and don’t hesitate to reach out if you have any questions or need further assistance. Happy baking, and enjoy your delicious no-bake creations!