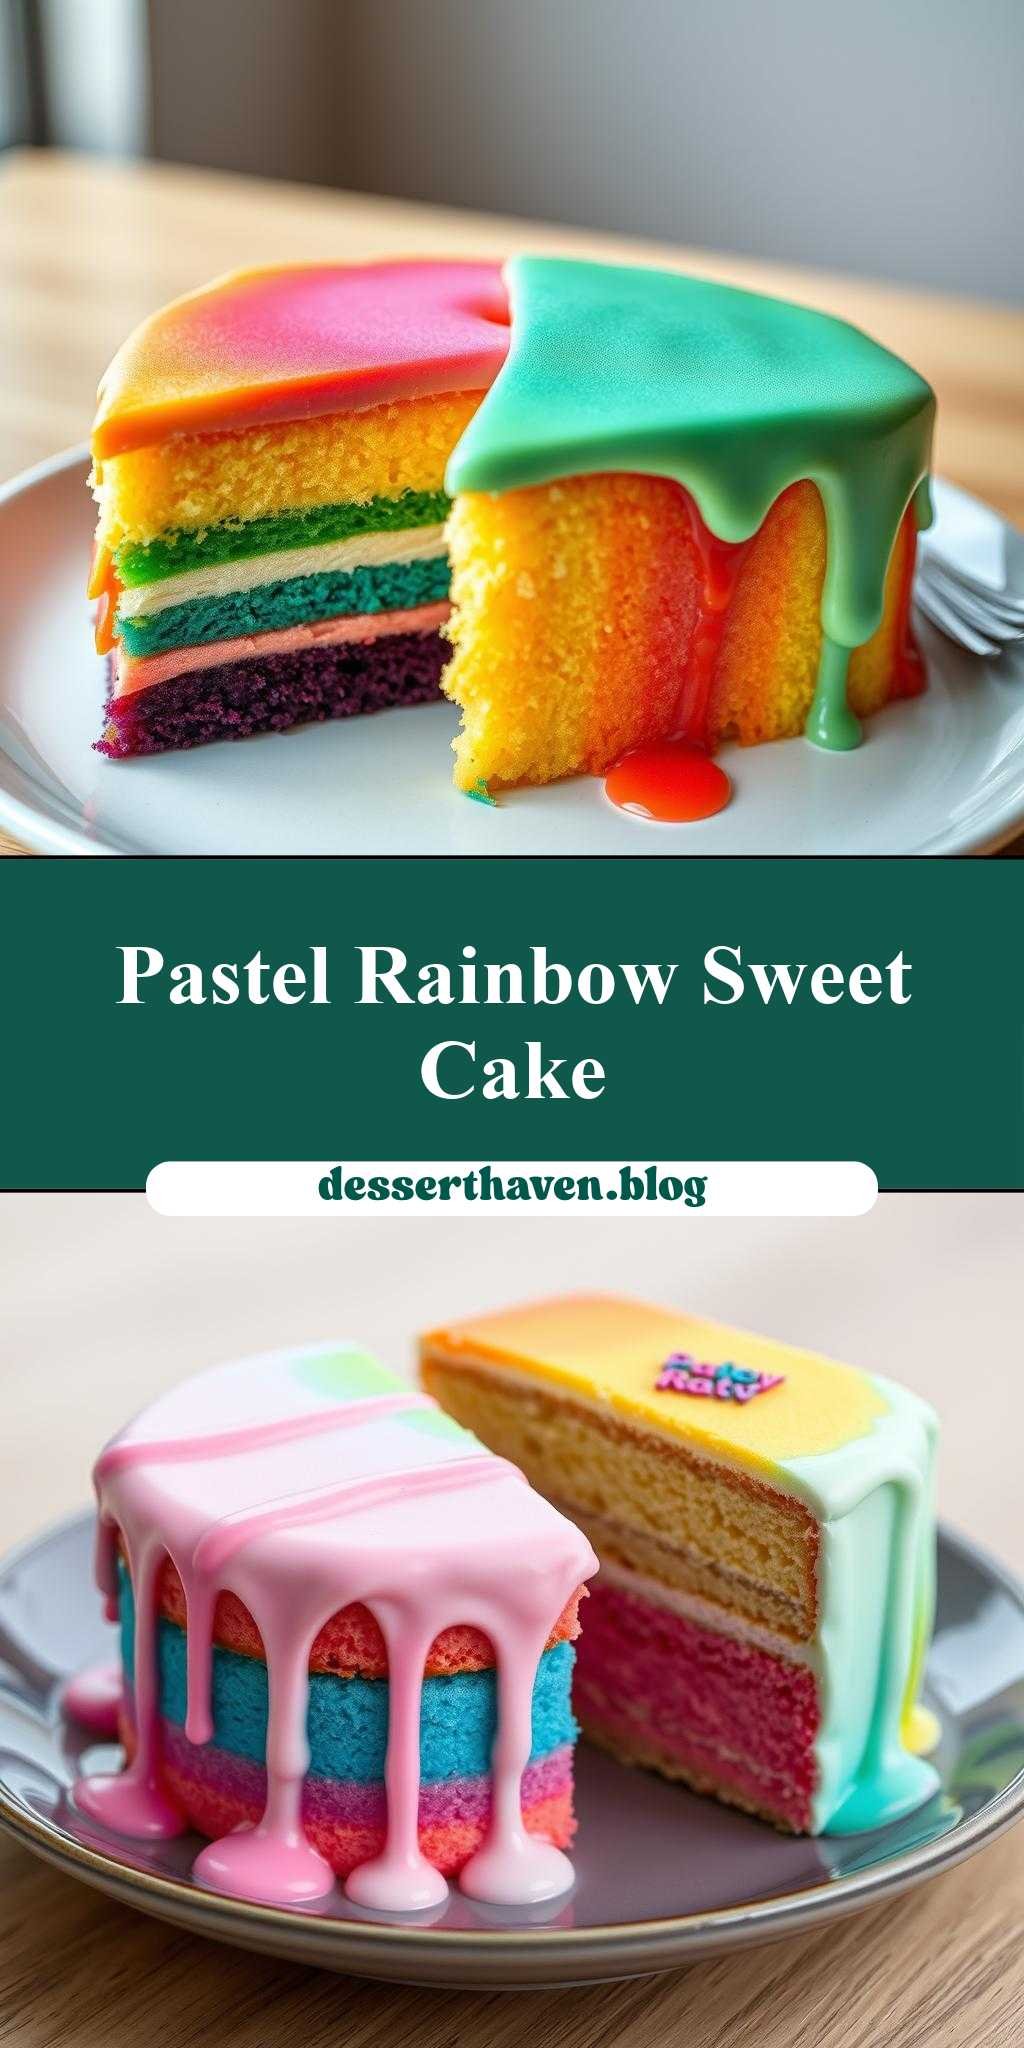
What makes a cake truly show-stopping? For me, it’s the perfect blend of pastel rainbow colors and velvety smooth frosting, like in these two stunning ombre drip cakes that are almost too beautiful to eat. With easy homemade cake recipes and simple decorating techniques, you can create these masterpieces using just a few key ingredients like buttercream and food coloring. Save this idea for your next special occasion dessert.
two different types of rainbow ombre drip cake with the words pastel rainbow on top
Introduction
Imagine a cake that is not just a delight to the taste buds but a feast for the eyes as well. The two different types of rainbow ombre drip cake with the words pastel rainbow on top are a masterpiece of culinary art, combining the simplicity of everyday ingredients with the creativity of a professional baker. These cakes are perfect for any occasion, whether it’s a birthday, anniversary, or just a Tuesday, because who doesn’t love a good cake? The best part? They’re easier to make than you think, requiring minimal effort for a maximum wow factor. So, let’s dive into the world of colorful cakes and explore how to bring these stunning desserts to life.
Why This Works
- Flavor balance and ingredient accessibility: The beauty of these rainbow ombre drip cakes lies in their balance of flavors and the ease of finding the necessary ingredients. Most of what you need can be found in your local grocery store, making this a project that’s accessible to bakers of all levels.
- Ease of preparation: Despite their impressive appearance, these cakes are relatively simple to prepare. The layering process might seem intimidating, but with the right guidance, it becomes a fun and creative process rather than a daunting task.
- Impressive results with minimal effort: The real magic happens when you see the finished product. The ombre effect, combined with the pastel rainbow colors and the dramatic drip, creates a cake that looks like it was plucked straight from a bakery window. The best part? It requires minimal effort compared to the impact it makes.
Key Ingredients
To make these stunning rainbow ombre drip cakes, you’ll need a few key ingredients. First, you’ll need cake mix or the ingredients to make a cake from scratch, including flour, sugar, eggs, and butter. For the ombre effect, you’ll need food coloring in pastel shades of red, orange, yellow, green, blue, and purple. The drip effect is achieved with melted chocolate or candy melts, and to write “pastel rainbow on top,” you can use piping chocolate or edible markers. Don’t forget the frosting, which can be made from butter, cream cheese, or a store-bought alternative. Practical substitutions include using different types of milk or flavor extracts to give your cake a unique twist.
Instructions
- Step 1: Begin by prepping your ingredients. If you’re making your cake from scratch, measure out your flour, sugar, and other dry ingredients. Chop any nuts or fruit you plan to add. If using a mix, follow the instructions for preparation.
- Step 2: Mix your cake batter according to your recipe or the instructions on the box. Divide the batter into six portions for the different colors of the rainbow. Add a few drops of food coloring to each portion, mixing well to achieve the pastel shades you desire. Pour each colored batter into a prepared pan and bake until a toothpick comes out clean.
- Step 3: Once your cakes are baked and cooled, it’s time to layer them. Place the first cake on a serving plate or cake stand and spread a layer of frosting on top. Repeat this process with the remaining cakes, creating a stack. Frost the outside of the cake as well, to create a smooth surface for the drip effect.
- Step 4: For the drip effect, melt your chocolate or candy melts in a double boiler or in the microwave in short increments, stirring between each heating. Drizzle the melted chocolate over the top of the cake, allowing it to drip down the sides. Finally, use piping chocolate or an edible marker to write “pastel rainbow on top” of your cake, adding a personal touch to this already impressive dessert.
Handy Tips
- When coloring your batter, start with a small amount of dye and add more as needed. It’s easier to add more color than it is to remove excess. Also, consider using gel or paste food coloring for more vibrant colors.
- For a sharper drip effect, make sure your cake is completely cooled and your frosting is set. This will prevent the chocolate from melting the frosting and creating a mess.
- Experiment with different flavors of cake and frosting to find your perfect combination. Vanilla and cream cheese frosting is a classic, but feel free to get creative with red velvet, carrot, or lemon flavors.
Heat Control
If you’re baking your cakes from scratch, heat control is crucial. Preheat your oven to 350°F (175°C) and bake for about 25-30 minutes, or until a toothpick inserted into the center of each cake comes out clean. Keep an eye on your cakes, as oven temperatures can vary. For the chocolate drip, melt your chocolate in short increments in the microwave, stirring between each heating to avoid burning the chocolate.
Crunch Factor
The texture of your cake should be moist and tender, with a smooth frosting. The drip effect adds a nice contrast in texture, with the hard, cooled chocolate against the soft cake and frosting. To achieve the right texture, don’t overmix your batter, and make sure your cakes are completely cooled before frosting and decorating.
Pro Kitchen Tricks
- Use a turntable to display your cake, making it easier to access all sides for decorating and serving.
- For a more dramatic drip effect, chill your cake in the refrigerator for about 10 minutes before applying the melted chocolate. This will help the chocolate set faster and create a cleaner line.
- Consider using a cake leveler to ensure your cakes are even, especially if you’re stacking multiple layers. This will prevent your cake from leaning to one side and make it easier to frost and decorate.
Storage Tips
- Store your cake in an airtight container at room temperature for up to 3 days. If you won’t be serving it within that time, consider freezing it. Wrap the cake tightly in plastic wrap or aluminum foil and place it in a freezer-safe bag.
- When reheating, let the cake come to room temperature or warm it up in the microwave in short increments, checking until it’s warmed through.
- For the best flavor and texture, consume your cake within a week of baking. However, frozen cakes can last for months when stored properly.
Gift Packaging Ideas
If you’re planning to give your rainbow ombre drip cake as a gift, consider how you can make the packaging as special as the cake itself. Wrap the cake in a decorative box or bag, and add a ribbon or gift tag with a personal message. You could also include a card with the recipe or baking tips, making the gift even more thoughtful and unique.
Flavor Variations
- Different spices: Add a pinch of cinnamon, nutmeg, or cardamom to your cake batter for a unique twist on the classic recipe.
- Creative toppings: Instead of the traditional chocolate drip, consider using caramel, nuts, or even fresh fruit to top your cake.
- Ingredient swaps: Substitute almond milk for regular milk or use gluten-free flours to make your cake more accessible to guests with dietary restrictions.
Troubleshooting
- Texture problems: If your cake turns out too dense, it might be due to overmixing the batter. Try mixing your ingredients just until they come together, then stop.
- Ingredient replacements: If you’re missing an ingredient, don’t be afraid to get creative with substitutions. For example, you can use applesauce instead of oil in some recipes.
- Over/undercooking signs: Keep an eye on your cakes while they’re baking. If they’re undercooked, they might sink in the center. If they’re overcooked, they’ll be dry and crumbly.
FAQs
- Can I freeze it? Yes, you can freeze your cake for up to 3 months. Wrap it tightly and store it in a freezer-safe bag.
- Is it gluten-free? Not unless you use gluten-free flours. However, this is a great option for making the cake more accessible to guests with gluten intolerance.
- Can I double the recipe? Absolutely. Just remember to adjust the baking time accordingly if you’re making larger cakes.
Conclusion
Making two different types of rainbow ombre drip cake with the words pastel rainbow on top is a fun and rewarding project that’s sure to impress your friends and family. With these simple steps and handy tips, you’ll be well on your way to creating a dessert that’s as beautiful as it is delicious. Don’t be afraid to experiment and make the recipe your own, whether that means trying new flavors, decorations, or presentation ideas. Happy baking, and enjoy the joy of sharing your creations with others!