What’s the secret to making meringue that’s as airy as a mountain peak? This easy homemade dessert features individual meringue kisses toasted to perfection and nestled on a bed of fresh fruit, perfect for a quick weeknight treat. Save this idea for a family favorite dessert to try soon
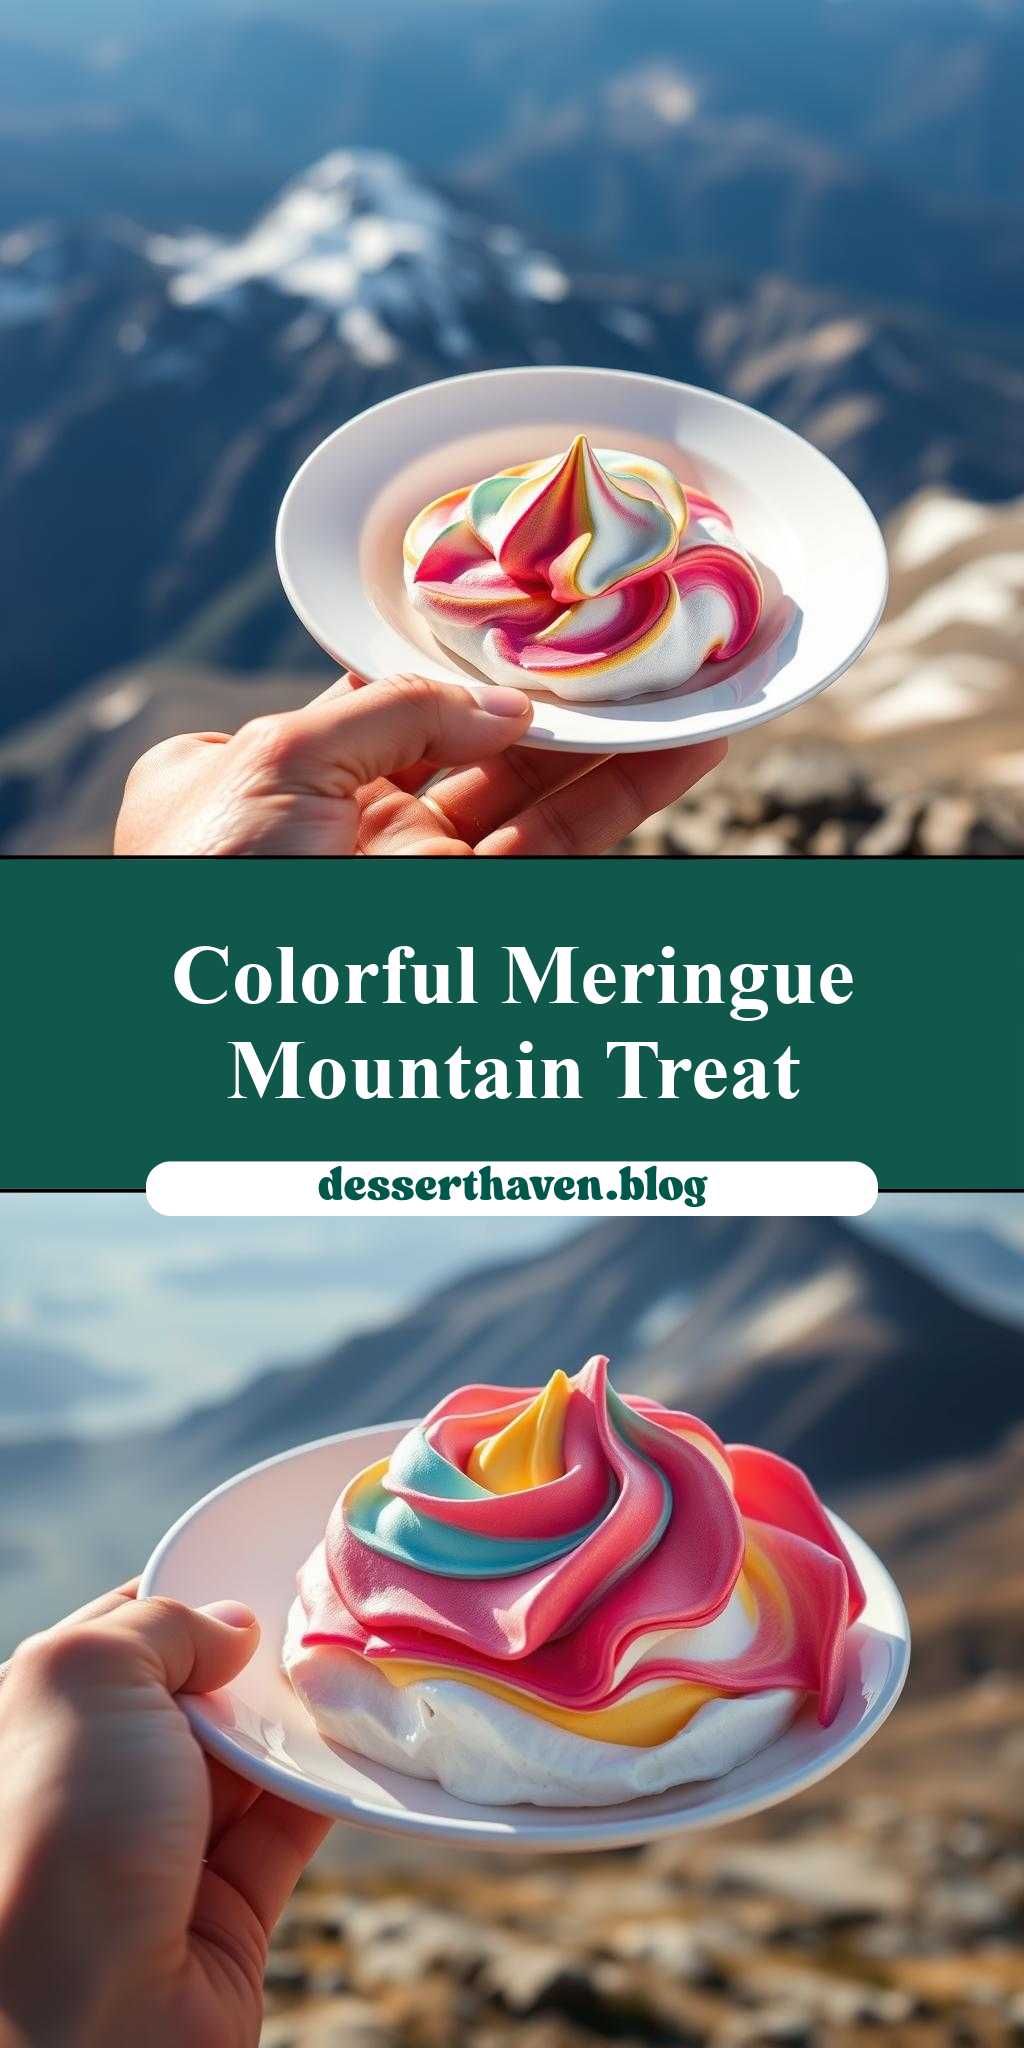
a hand holding a white plate filled with colorful meringue on top of a mountain
Introduction
Imagine a scene where a hand holds a pristine white plate, atop which rests a majestic mountain of colorful meringue, set against the breathtaking backdrop of a mountain range. This visual masterpiece is not just a feast for the eyes but also a treat for the taste buds. The combination of crunchy meringue, potentially flavored with various extracts or zests, and the simplicity of its presentation on a white plate, offers a delightful contrast of textures and flavors. This recipe is all about embracing the ease of creating something visually stunning and delicious using everyday ingredients. With minimal effort, you can achieve impressive results that are perfect for special occasions or everyday desserts. The beauty of this dish lies in its customization; you can tailor the flavors and colors of the meringue to suit any theme or preference, making it a versatile dessert option.
Why This Works
- Flavor balance and ingredient accessibility: The meringue’s sweetness can be balanced with a touch of salt or flavored extracts, making it appealing to a wide range of tastes. Moreover, the ingredients required are readily available in most supermarkets.
- Ease of preparation: Despite its impressive appearance, the meringue is relatively simple to make. It requires just a few ingredients and some basic kitchen equipment.
- Impressive results with minimal effort: The presentation of colorful meringue on a white plate is inherently visually appealing. The contrast between the white plate and the vibrant colors of the meringue creates a stunning effect that suggests much more effort than is actually required.
Key Ingredients
The main ingredients for this colorful meringue dessert include egg whites, granulated sugar, cream of tartar, and food coloring. The egg whites provide the structure, while the sugar adds sweetness and helps stabilize the meringue. A pinch of cream of tartar can help in stabilizing the egg whites, making them easier to whip. Food coloring allows for the customization of the meringue’s color, enabling you to match it with your desired theme or occasion. Practical substitutions could include using caster sugar for a smoother meringue or adding a teaspoon of flavoured extract (like almond or lemon) to the egg mixture for added depth of flavor.
Instructions
- Step 1: Begin by preheating your oven to a low temperature setting (usually around 200°F or 90°C). Line a baking sheet with parchment paper to prevent the meringue from sticking. In a large mixing bowl, combine the egg whites and cream of tartar. Whip the mixture until it becomes frothy.
- Step 2: Gradually add the granulated sugar to the egg white mixture while continuously whipping. The mixture will start to thicken and become glossy. This process should take about 5 minutes with an electric mixer or longer if doing it manually.
- Step 3: Once the meringue mixture is stiff and holds its shape, divide it into portions depending on how many colors you wish to create. Add a few drops of food coloring to each portion and gently fold the color into the meringue until it’s evenly distributed. Be careful not to overmix.
- Step 4: Spoon the colored meringue onto the prepared baking sheet. You can create shapes or simply dollop the meringue to create a mountainous effect on the plate later. Place the baking sheet in the oven and dehydrate the meringue for about 1.5 to 2 hours, or until it’s crisp and dry. Allow the meringue to cool completely on the baking sheet before handling.
Handy Tips
- Ensure your bowl and utensils are completely clean and dry before starting, as any trace of oil or moisture can prevent the egg whites from whipping properly.
- Don’t overbake the meringue. It should be crisp and dry but not browned.
- For a more stable meringue, especially in humid environments, consider adding a stabilizer like cornstarch or using a higher ratio of sugar to egg whites.
Heat Control
Heat control is crucial when making meringue. The oven should be set to a low temperature to slowly dehydrate the meringue without browning it. Ideally, the temperature should not exceed 200°F (90°C). The meringue is done when it feels crisp and dry to the touch. If you’re unsure, you can try taking one piece out of the oven and letting it cool. If it doesn’t become chewy or sticky, it’s ready.
Crunch Factor
The desired texture of the meringue is crisp on the outside and possibly chewy on the inside, depending on personal preference. To achieve this, it’s essential to not overbake the meringue. The low and slow method of drying the meringue in the oven helps preserve its structure and texture. If you prefer a chewier center, you might reduce the baking time slightly, but be cautious not to underbake, as this can lead to a meringue that’s too soft or sticky.
Pro Kitchen Tricks
- Use aged egg whites for better stability and volume when whipping.
- Adding a small amount of sugar at the beginning of the whipping process can help stabilize the egg whites.
- For an extra crunchy exterior, you can try baking the meringue at a slightly higher temperature for the first 10 minutes, then reducing the heat to finish drying it out.
Storage Tips
- Meringues are best stored in a cool, dry place. Avoid humid environments, as they can cause the meringue to become sticky or soft.
- Place the meringues in an airtight container to preserve their crunchiness.
- Avoid storing meringues in the refrigerator, as the moisture can affect their texture. However, if you must store them for an extended period, an airtight container in the fridge can help, but they’re best consumed fresh.
Gift Packaging Ideas
If you’re considering gifting these colorful meringues, presentation is key. Place the meringues in decorative jars or bags and tie them with a ribbon. You could also arrange the meringues on a platter or individual plates and wrap them in cellophane or plastic wrap for a more immediate and visually appealing gift. Adding a personal touch, like a handwritten note or a small themed decoration, can make the gift even more special.
Flavor Variations
- Different spices: Consider adding a pinch of cinnamon, nutmeg, or cardamom to the meringue mixture for unique flavor profiles.
- Creative toppings: Once the meringues are baked and cooled, you can decorate them with melted chocolate, sprinkles, or chopped nuts for added flavor and texture.
- Ingredient swaps: For a different twist, you could use brown sugar instead of granulated sugar for a richer flavor or add a teaspoon of espresso powder for a mocha flavor.
Troubleshooting
- Texture problems: If your meringues are too chewy, they might not have been baked long enough. If they’re too crispy, they might have been overbaked.
- Ingredient replacements: If you don’t have cream of tartar, you can omit it or substitute it with a pinch of salt or lemon juice, though the stabilizing effect might be slightly different.
- Over/undercooking signs: Overcooked meringues will be brown or cracked, while undercooked ones will be soft or sticky to the touch.
FAQs
- Can I freeze it? Yes, meringues can be frozen. Place them in an airtight container or freezer bag to preserve freshness. However, freezing can affect their texture slightly, making them less crunchy.
- Is it gluten-free? Yes, the basic meringue recipe is gluten-free, making it a great option for those with gluten intolerance or sensitivity, provided that the ingredients and environment are free from cross-contamination.
- Can I double the recipe? Yes, you can easily double or triple the recipe if you’re making meringues for a larger crowd. Just ensure you have enough baking sheets and oven space to accommodate the increased quantity.
Conclusion
Creating a hand holding a white plate filled with colorful meringue on top of a mountain is a fun and creative project that combines culinary skill with visual artistry. With its ease of preparation, impressive presentation, and versatility in flavor and color, this dessert is perfect for any occasion. Whether you’re a seasoned baker or a beginner in the kitchen, this recipe offers a great way to express your creativity and enjoy a delicious treat.