What’s the secret to making Christmas cookies truly unforgettable? It starts with a simple sugar cookie recipe, fresh butter, and a dash of festive fun. These decorated treats are a homemade holiday favorite that’s easy to make and perfect for a weeknight baking session. Save this idea for your next family baking day.
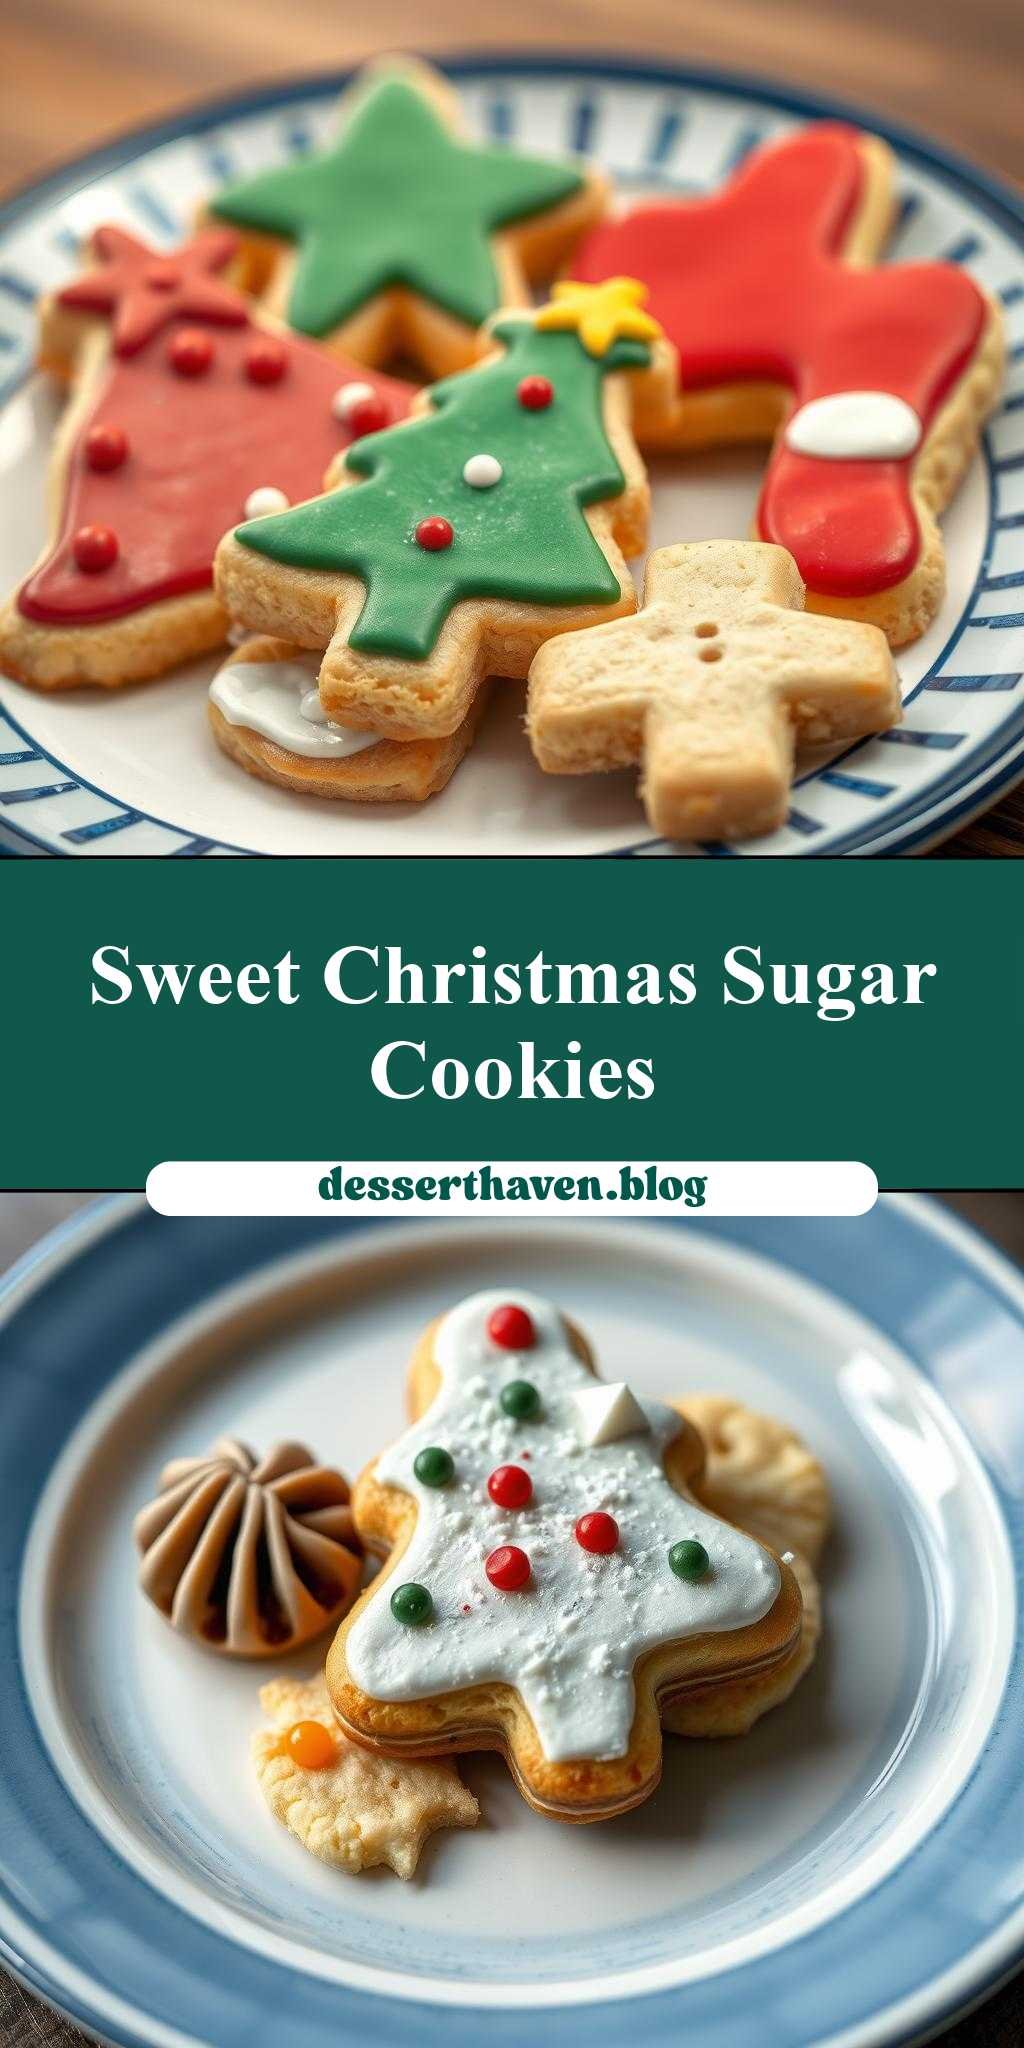
Decorated Christmas Cookies on a Blue and White Plate
Introduction
Baking and decorating Christmas cookies is a beloved holiday tradition that brings joy and warmth to our homes. With this simple and creative recipe, you can create beautifully decorated Christmas cookies on a stunning blue and white plate, perfect for gift-giving, holiday parties, or enjoying with your loved ones. Using everyday ingredients and basic baking skills, you’ll be amazed at how easily you can achieve professional-looking results that are both delicious and visually appealing. Whether you’re a seasoned baker or a beginner, this recipe is designed to inspire your creativity and make your holiday season a little sweeter.
Why This Works
- Flavor balance and ingredient accessibility: This recipe combines classic Christmas flavors with easily accessible ingredients, ensuring that your cookies taste as good as they look.
- Ease of preparation: With a simple dough recipe and straightforward decorating instructions, you’ll be able to create stunning cookies without spending hours in the kitchen.
- Impressive results with minimal effort: The key to this recipe’s success lies in its simplicity, allowing you to focus on the fun part – decorating! With a few basic techniques and tools, you’ll be able to create intricate designs and patterns that will impress friends and family.
Key Ingredients
To make these beautiful decorated Christmas cookies, you’ll need the following main ingredients: all-purpose flour, baking powder, salt, unsalted butter, granulated sugar, eggs, vanilla extract, and festive sprinkles or decorations of your choice. For the royal icing, you’ll need powdered sugar, meringue powder, and water. Practical substitutions include using salted butter and omitting the added salt, or replacing the vanilla extract with almond extract for a different flavor profile.
Instructions
- Step 1: Begin by preheating your oven to 375°F (190°C). In a medium-sized bowl, whisk together the flour, baking powder, and salt. Set aside. In a large bowl, use an electric mixer to cream together the butter and sugar until light and fluffy. Beat in the eggs one at a time, followed by the vanilla extract.
- Step 2: Gradually mix in the dry ingredients until a dough forms. Wrap the dough in plastic wrap and refrigerate for at least 30 minutes. On a lightly floured surface, roll out the dough to about 1/4 inch thickness. Use your favorite Christmas cookie cutters to cut out shapes.
- Step 3: Place the cut-out cookies on a baking sheet lined with parchment paper, leaving about 1 inch of space between each cookie. Bake for 10-12 minutes, or until the edges are lightly golden. Allow the cookies to cool on the baking sheet for 5 minutes before transferring them to a wire rack to cool completely.
- Step 4: To make the royal icing, whisk together the powdered sugar, meringue powder, and water until smooth. Divide the icing into smaller bowls and add a few drops of food coloring to each bowl to create different colors. Use piping bags and tips to decorate the cooled cookies. Arrange the decorated cookies on a beautiful blue and white plate to serve.
Handy Tips
- To ensure that your cookies retain their shape, make sure to chill the dough thoroughly before rolling it out. If you find that your cookies are spreading too much during baking, try chilling the cut-out cookies on the baking sheet for 10-15 minutes before baking.
Heat Control
When baking the cookies, it’s essential to keep an eye on the temperature and timing to avoid overcooking. The ideal temperature is 375°F (190°C), and the cookies should be baked for 10-12 minutes, or until the edges are lightly golden. To check for doneness, look for a firm edge and a lightly golden color. If you prefer a crisper cookie, bake for an additional 1-2 minutes.
Crunch Factor
The crunch factor of your cookies will depend on your personal preference. If you like a softer cookie, bake for 8-10 minutes. If you prefer a crisper cookie, bake for 12-14 minutes. To achieve the perfect crunch, make sure to not overbake the cookies, as this can cause them to become too hard.
Pro Kitchen Tricks
- To make your royal icing more stable and easier to work with, try adding a small amount of corn syrup to the mixture. This will help to prevent the icing from becoming too thin or too thick.
- Use a turntable or a rotating cake stand to display your decorated cookies, making it easier to access and admire each cookie from different angles.
Storage Tips
- Store your decorated cookies in an airtight container at room temperature for up to 5 days. If you need to store them for a longer period, consider freezing the undecorated cookies and decorating them just before serving.
- When storing the cookies, make sure to place a sheet of parchment paper or wax paper between each layer to prevent them from sticking together.
Gift Packaging Ideas
These beautifully decorated Christmas cookies make perfect gifts for friends, family, and coworkers. Consider packaging them in decorative tins, jars, or gift boxes, or wrapping them individually in cellophane bags and tying with a ribbon. You can also add a personal touch by including a handwritten note or a small gift card.
Flavor Variations
- Try adding different spices, such as cinnamon, nutmeg, or ginger, to the dough for a unique flavor profile.
- Experiment with creative toppings, such as chopped nuts, sprinkles, or shredded coconut, to add texture and visual interest to your cookies.
- Swap out the vanilla extract for almond extract or use a different type of sugar, such as brown sugar or turbinado sugar, to create a distinct flavor.
Troubleshooting
- If your cookies are too hard or too soft, adjust the baking time and temperature accordingly. Keep in mind that the cookies will continue to bake a bit after they’re removed from the oven, so it’s better to err on the side of underbaking.
- If your royal icing is too thin or too thick, adjust the consistency by adding more powdered sugar or water. If the icing is too thin, it may not hold its shape, while icing that’s too thick may be difficult to pipe.
FAQs
- Can I freeze the cookies? Yes, you can freeze the undecorated cookies for up to 2 months. Simply place them in a single layer on a baking sheet, and then transfer them to a freezer-safe bag or container.
- Is this recipe gluten-free? No, this recipe contains all-purpose flour, which contains gluten. However, you can try substituting the flour with a gluten-free flour blend to make the cookies gluten-free.
- Can I double the recipe? Yes, you can easily double or triple the recipe to make more cookies. Just keep in mind that you may need to adjust the baking time slightly, depending on the size of your cookies.
Conclusion
With this recipe, you’ll be able to create beautifully decorated Christmas cookies on a stunning blue and white plate that are sure to impress your friends and family. Remember to have fun and be creative with the decorating process, and don’t be afraid to experiment with different flavors and toppings. Whether you’re a seasoned baker or a beginner, this recipe is perfect for anyone looking to add a little extra joy and magic to their holiday season. So go ahead, get baking, and make this holiday season one to remember!