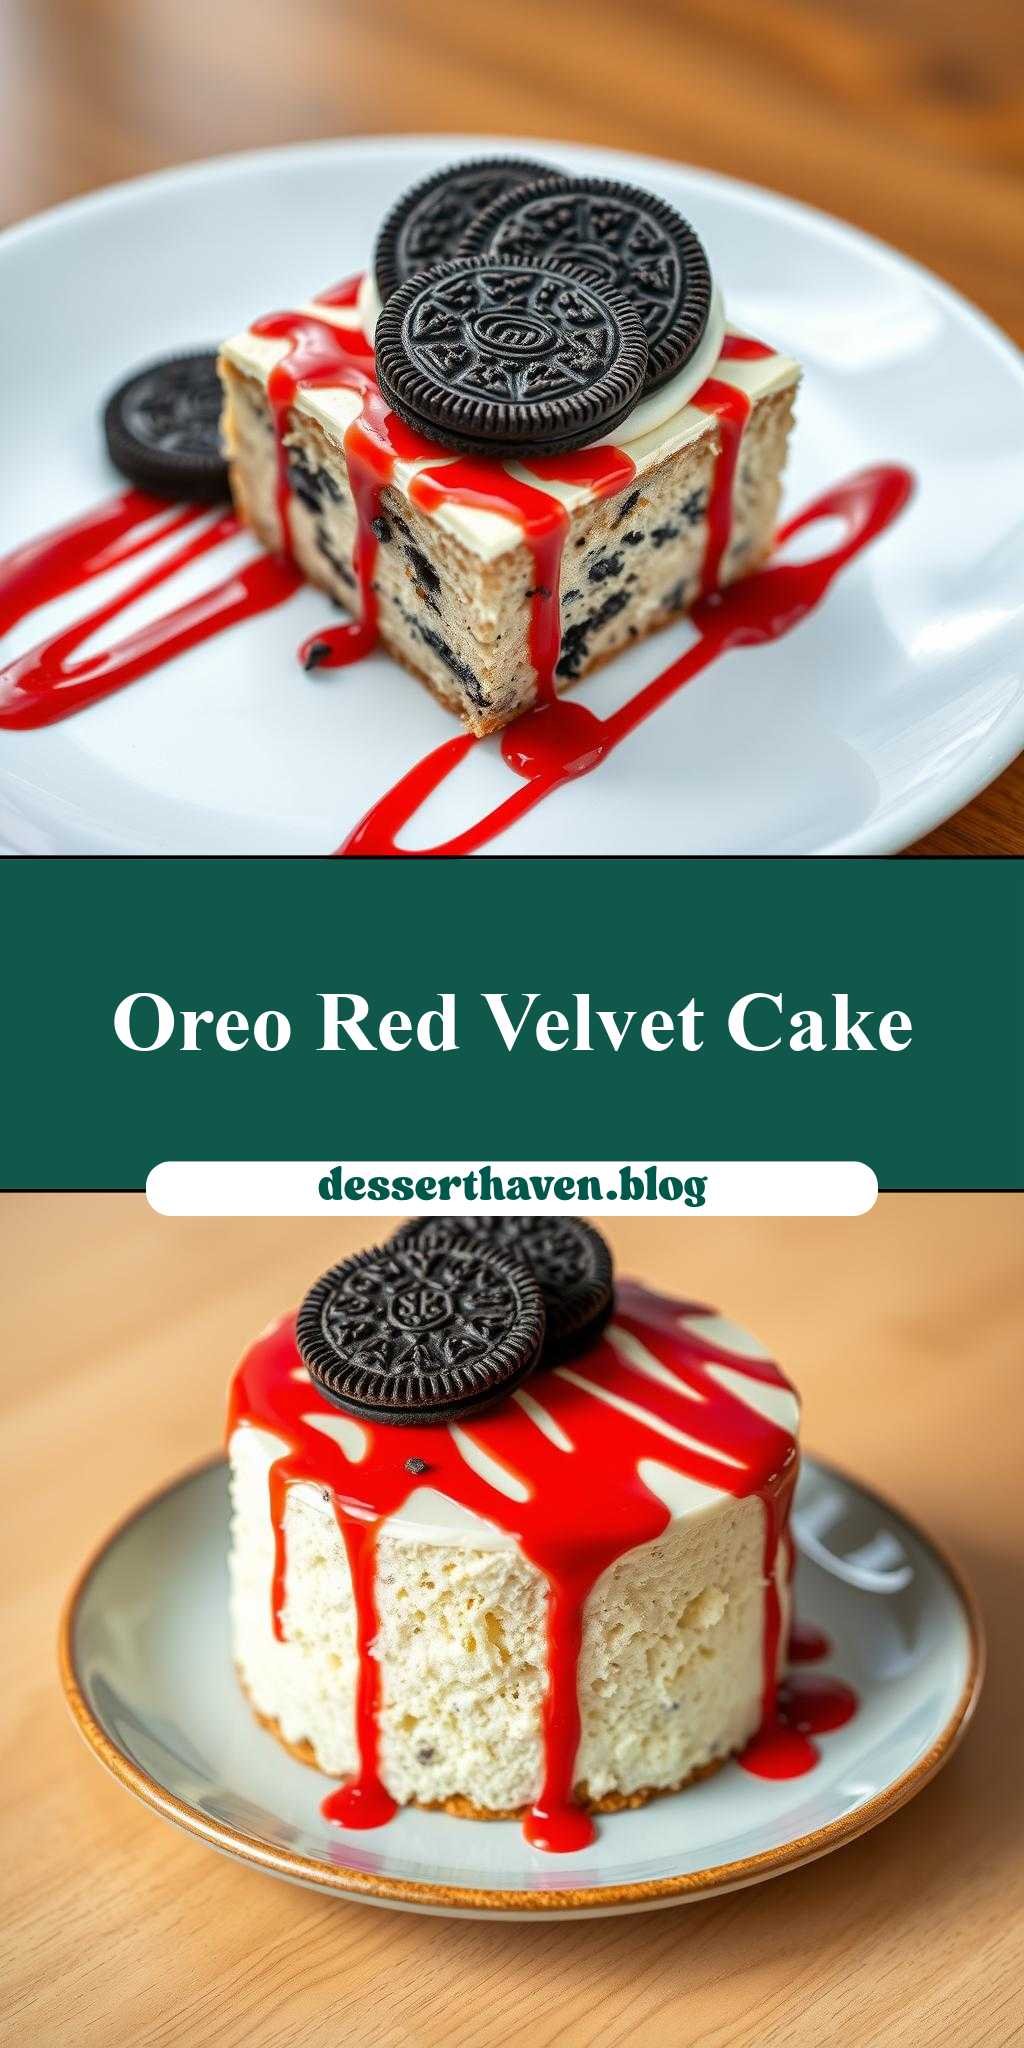
Can you resist a moist homemade cake loaded with Oreo cookies and topped with a rich red icing drizzle? This easy dessert is perfect for a quick weeknight treat, featuring a simple yet decadent combination of crushed cookies and creamy icing. Save this idea for your next family favorite dessert.
A Cake with Oreo Cookies on Top and Red Icing Drizzled Over It
Introduction
Imagine a moist and decadent cake, topped with the unmistakable crunch of Oreo cookies and finished with a drizzle of vibrant red icing – a perfect blend of textures and flavors that will elevate any dessert table. This recipe is not just about creating a stunning dessert; it’s about combining everyday ingredients in a way that’s both easy to execute and creatively impressive. Whether you’re a seasoned baker or just starting to explore the world of desserts, this cake is sure to delight with its simplicity and visual appeal.
Why This Works
- Flavor balance and ingredient accessibility: The combination of a classic cake recipe with the twist of Oreo cookies and red icing creates a unique yet familiar flavor profile that’s easy to achieve with commonly found ingredients.
- Ease of preparation: The steps involved in making this cake are straightforward, making it accessible to bakers of all skill levels. The use of store-bought Oreos simplifies the process, eliminating the need for complex cookie recipes.
- Impressive results with minimal effort: Despite its simplicity, the end result is visually stunning and sure to impress. The contrast between the cake, Oreos, and red icing creates a dessert that looks like it was made by a professional, with minimal fuss.
Key Ingredients
The main ingredients for this cake include all-purpose flour, granulated sugar, unsalted butter, eggs, vanilla extract for the cake itself, and of course, Oreo cookies and red icing for the topping. Practical substitutions can be made, such as using gluten-free flour for those with dietary restrictions or opting for a different type of cookie if Oreos aren’t available. The red icing can also be homemade by mixing powdered sugar with a few drops of red food coloring and a small amount of milk or water to achieve the desired consistency.
Instructions
- Step 1: Begin by preheating your oven to 350°F (180°C). Prepare two 9-inch round cake pans by greasing them and lining the bottoms with parchment paper. In a medium bowl, whisk together flour, sugar, and a pinch of salt. In a large bowl, using an electric mixer, beat the butter until creamy, then add eggs one at a time, followed by vanilla extract.
- Step 2: Gradually add the dry ingredients to the wet ingredients, mixing until just combined. Divide the batter evenly between the prepared pans and smooth the tops. Bake for about 25-30 minutes or until a toothpick inserted in the center comes out clean. Let the cakes cool in the pans for 5 minutes before transferring them to a wire rack to cool completely.
- Step 3: Once the cakes are cool, you can start assembling the dessert. Place one cake layer on a serving plate or cake stand. If desired, you can add a thin layer of icing or jam to the top of this layer before adding the second cake on top. However, for this recipe, we’re focusing on the Oreo and red icing topping, so you can skip this step if you prefer a less sweet cake.
- Step 4: For the final touches, arrange Oreo cookies on top of the cake. You can leave them whole for a more rustic look or crush them slightly for better adhesion. Drizzle red icing over the Oreos and the cake. This can be done by placing the icing in a piping bag or a ziplock bag with a corner cut off, allowing for a controlled drizzle pattern.
Handy Tips
- Ensure your ingredients, especially the butter and eggs, are at room temperature before starting to mix the cake batter. This will help in achieving a smooth and even texture.
- Don’t overmix the batter, as this can lead to a dense cake. Mix wet and dry ingredients separately and fold them together gently until just combined.
- For the red icing, start with a small amount of milk or water and add more as needed to achieve the right consistency. You want the icing to be thin enough to drizzle but not so thin that it becomes too runny.
Heat Control
When baking the cake, it’s crucial to maintain the right oven temperature. An oven that’s too hot can lead to the outside of the cake cooking too quickly before the inside is fully baked, resulting in an uneven texture. Keep an eye on your cakes after the 20-minute mark, as oven times can vary. The cakes are done when they’re lightly golden on top and a toothpick inserted into the center of each cake comes out clean.
Crunch Factor
The crunch factor in this dessert comes from the Oreo cookies on top. To enhance this texture, you can slightly crush the Oreos before placing them on the cake, allowing them to adhere better to the icing or cake surface. This also distributes the crunch more evenly across the top of the dessert.
Pro Kitchen Tricks
- Use a turntable to display your cake, especially if you’re planning to serve it at a gathering. This allows everyone to see the cake from all angles and can make serving easier.
- Invest in a good quality piping bag and tips for drizzling the icing. This gives you more control over the pattern and flow of the icing, allowing for a more professional finish.
- For cleanup, have a damp cloth ready to wipe down surfaces immediately after drizzling the icing. Red food coloring can stain, so acting quickly can prevent stubborn stains.
Storage Tips
- Store the cake in an airtight container at room temperature for up to 3 days. Ifyou live in a humid climate, consider storing it in the refrigerator to keep it fresh for longer.
- Refrain from refrigerating the cake if possible, as the moisture can affect the texture of the cake and the crunch of the Oreos. However, if you must, bring the cake to room temperature before serving for the best flavor and texture.
- For leftovers, consider freezing the cake without the Oreo topping and icing. When you’re ready to serve, thaw the cake, prepare the icing, and assemble the dessert as instructed.
Gift Packaging Ideas
If you’re planning to gift this cake, consider placing it in a large, sturdy cake box to protect it during transport. You can decorate the box with ribbons or gift tags to match the occasion. For a more rustic or homemade look, wrap the cake in plastic wrap or aluminum foil and then in a decorative towel or cloth, securing it with twine or a ribbon. This not only protects the cake but also adds a charming, homemade touch to the gift.
Flavor Variations
- Different spices: Try adding a pinch of cinnamon, nutmeg, or cardamom to the cake batter for a unique twist on the classic flavor.
- Creative toppings: Instead of Oreos, consider using other types of cookies, chopped nuts, or even candy pieces for a varied texture and flavor.
- Ingredient swaps: For a gluten-free version, replace the all-purpose flour with a gluten-free flour blend. You can also use dairy-free milk and vegan butter substitutes for those with dietary restrictions.
Troubleshooting
- Texture problems: If your cake turns out too dense, it might be due to overmixing the batter. Try folding the ingredients together more gently in future attempts.
- Ingredient replacements: Always read the labels of substitute ingredients to ensure they won’t alter the flavor or texture of the cake significantly. Some replacements, like almond milk for regular milk, can affect the consistency of the batter.
- Over/undercooking signs: Keep an eye on your cakes while they’re baking. If they’re undercooked, they might sink in the center. If overcooked, they can become dry and crumbly.
FAQs
- Can I freeze it? Yes, you can freeze the cake, but it’s best to do so without the Oreo topping and icing. Freeze the baked and cooled cake layers, then thaw and assemble when needed.
- Is it gluten-free? Not in its basic form, but you can make it gluten-free by substituting the all-purpose flour with a gluten-free flour blend.
- Can I double the recipe? Yes, you can double the recipe to make a larger cake. Just ensure you have enough pans and adjust the baking time as needed, keeping a close eye on the cakes to prevent overcooking.
Conclusion
Making a cake with Oreo cookies on top and red icing drizzled over it is a fun and rewarding baking project that combines simplicity with impressive results. Whether you’re baking for a special occasion or just a weekend treat, this cake is sure to delight both kids and adults alike. Feel free to experiment with different flavors and toppings to make the recipe your own, and don’t hesitate to reach out if you have any questions or need further substitutions or variations. Happy baking, and enjoy sharing your creations with friends and family!