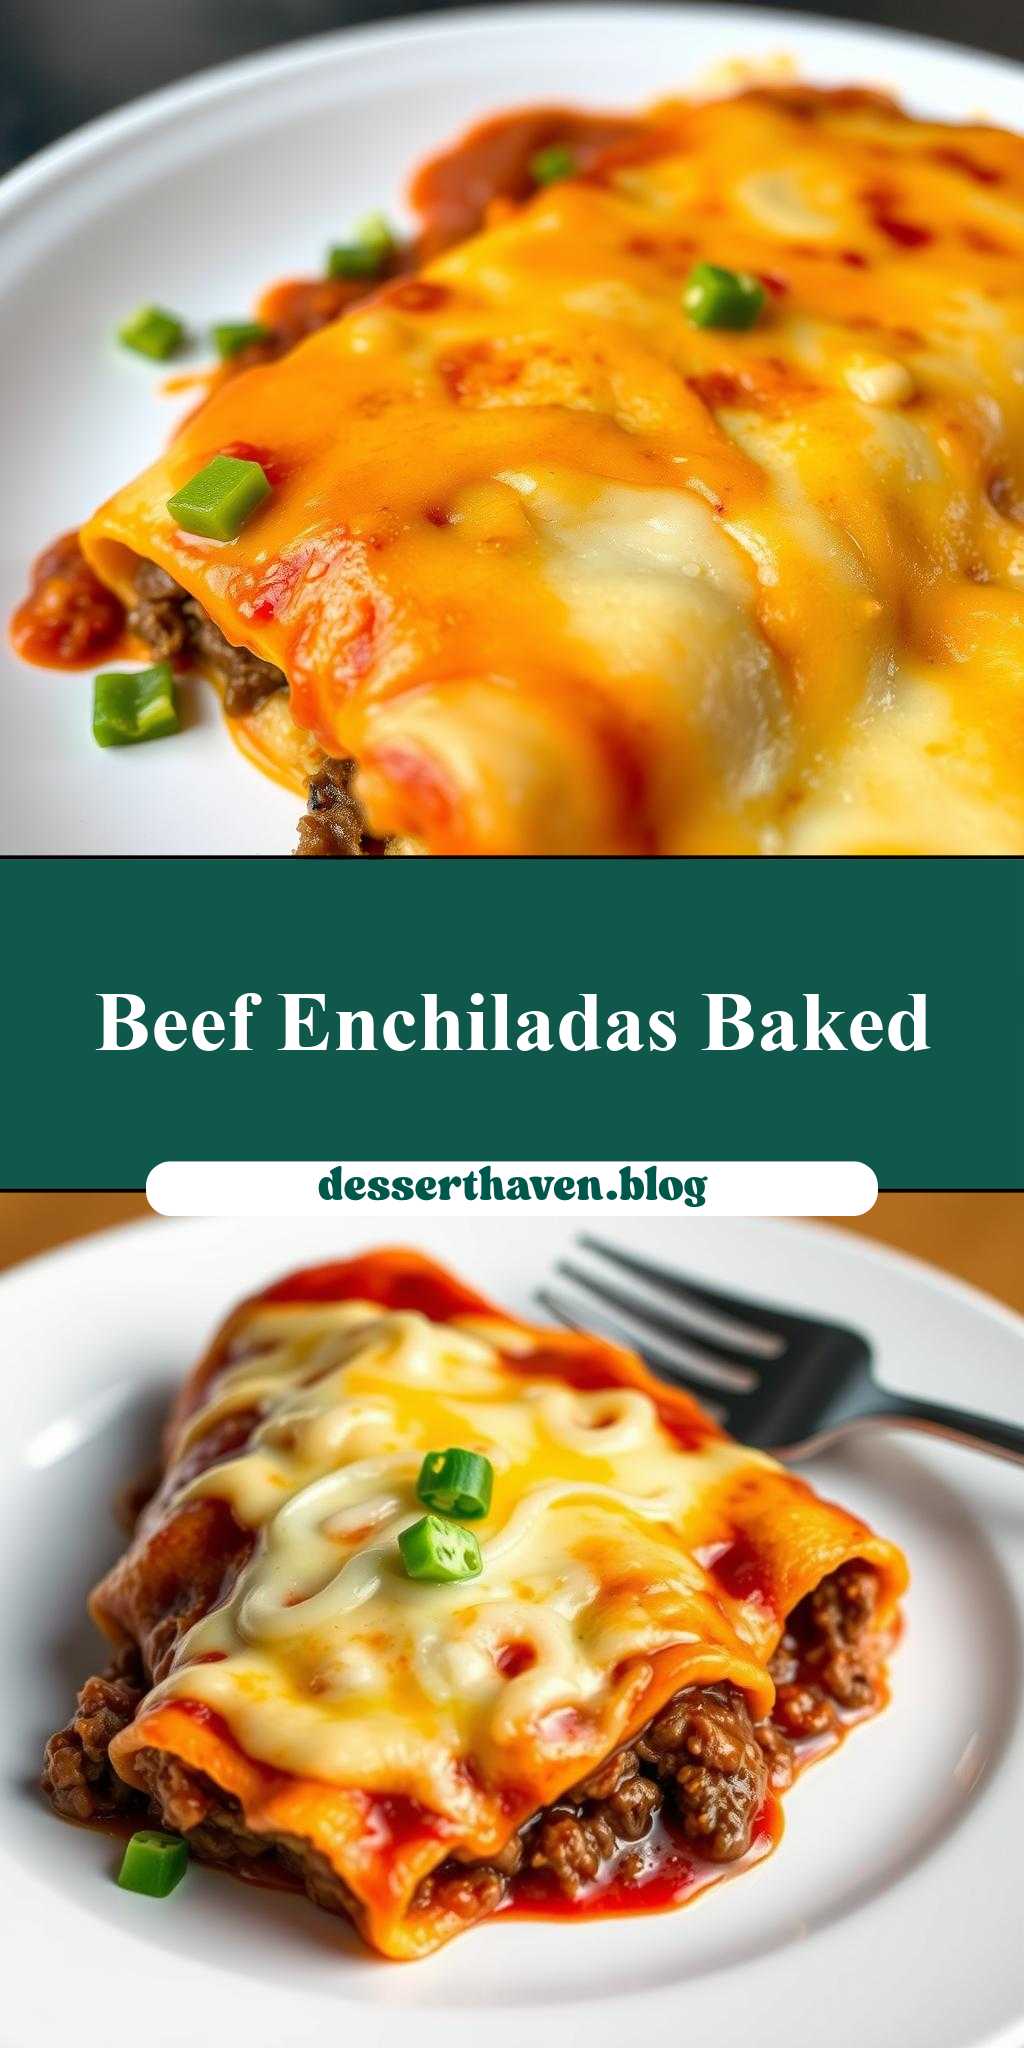
What makes the perfect weeknight dinner? For me, it’s a homemade dish that’s both easy and flavorful, like these delicious beef enchiladas made with tender ground beef and melted cheese. This quick family favorite is a staple in our house, and I love that it’s ready in no time. Save this idea for a stress-free meal solution that’s sure to please everyone.
Delicious Beef Enchiladas Recipe
Introduction
Imagine a dish that combines the richness of beef, the comfort of tortillas, and the bold flavors of Mexican cuisine, all in one delicious package. Our Delicious Beef Enchiladas Recipe is a masterpiece of simplicity and flavor, using everyday ingredients to create a meal that’s both impressive and easy to make. Whether you’re a seasoned chef or a beginner in the kitchen, this recipe is a must-try for anyone looking to spice up their meal routine. With its perfect balance of spices, tender beef, and creamy sauce, this dish is sure to become a family favorite. So, let’s dive into the world of enchiladas and explore what makes this recipe so special.
Why This Works
- Flavor balance and ingredient accessibility: This recipe strikes a perfect balance between the richness of the beef, the tanginess of the tomatoes, and the creaminess of the cheese, making it a dish that everyone will love. Plus, all the ingredients are easily accessible in most supermarkets.
- Ease of preparation: Despite its complex flavors, this recipe is surprisingly easy to prepare. With a few simple steps, you can have a delicious, restaurant-quality meal on the table in no time.
- Impressive results with minimal effort: The best part about this recipe is that it looks and tastes like a lot of work went into it, but in reality, it’s quite straightforward. Perfect for impressing dinner guests or a quick weeknight meal.
Key Ingredients
The key to a great beef enchilada recipe lies in the quality of its ingredients. For this recipe, you’ll need:
– 1 pound of ground beef: You can also use shredded beef or a combination of beef and pork for added flavor.
– 1 medium onion, diced: Onions add a sweetness and depth to the dish that’s hard to replicate with other ingredients.
– 2 cloves of garlic, minced: Because everything is better with garlic, right?
– 1 can of diced tomatoes: Fresh or canned, tomatoes are the backbone of a great enchilada sauce.
– 1 packet of taco seasoning: Store-bought or homemade, taco seasoning adds a blend of spices that’s quintessentially Mexican.
– 8-10 corn tortillas: These are the traditional choice for enchiladas, but you can also use flour tortillas if that’s what you prefer.
– 1 cup of shredded cheese: A blend of cheddar, Monterey Jack, or Pepper Jack works beautifully.
– 1/4 cup of chopped fresh cilantro: For garnish and a burst of freshness.
Practical substitutions include using different types of cheese, adding beans for extra protein, or using leftover roast beef for a shortcut.
Instructions
- Step 1: Begin by preheating your oven to 375°F (190°C). While that’s warming up, cook the ground beef in a large skillet over medium-high heat, breaking it up into small pieces as it cooks. Once browned, drain the excess fat and add the diced onion and minced garlic. Cook until the onion is translucent.
- Step 2: Add the diced tomatoes, taco seasoning, and a pinch of salt and pepper to the skillet. Stir well to combine and let simmer for about 10 minutes, allowing the flavors to meld together.
- Step 3: In a large bowl, combine the shredded cheese and a sprinkle of cilantro. This will be the filling for your enchiladas. To assemble, lay a tortilla flat, spoon some of the beef mixture onto the center of the tortilla, and top with a sprinkle of the cheese mixture. Roll the tortilla up and place it seam-side down in a baking dish. Repeat with the remaining tortillas and filling.
- Step 4: Pour the remaining beef and tomato mixture over the rolled enchiladas and top with any remaining cheese. Cover the dish with aluminum foil and bake for 25 minutes. Remove the foil and continue baking for an additional 10-15 minutes, or until the cheese is melted and bubbly. Remove from the oven and let cool for a few minutes before serving.
Handy Tips
- To prevent the tortillas from tearing, warm them up by wrapping them in a damp paper towel and microwaving for 20-30 seconds.
- Don’t overfill the enchiladas, as this can make them difficult to roll and may cause them to fall apart during baking.
- For an extra crispy top, broil the enchiladas for 1-2 minutes after removing the foil. Keep an eye on them to avoid burning.
Heat Control
Temperature control is crucial when baking enchiladas. The ideal temperature is 375°F (190°C), and the dish should be baked for about 35-40 minutes, or until the cheese is melted and the sauce is bubbly. To check for doneness, remove the foil and look for a golden-brown top and a sauce that’s simmering gently.
Crunch Factor
The texture of enchiladas can vary, but ideally, you’re looking for a dish that’s tender, with a creamy sauce and a crunchy top from the melted cheese. To achieve this, make sure not to overbake, as this can dry out the tortillas and the filling. A light crunch from some toasted tortilla strips or crispy tortilla chips on top can also add a nice textural element.
Pro Kitchen Tricks
- Use high-quality cheese for the best flavor. A mix of cheddar and Monterey Jack provides a nice balance of sharpness and creaminess.
- For a shortcut, use leftover beef or roast chicken to fill your enchiladas. This can save time and add variety to the dish.
- Experiment with different types of peppers or spices to give your enchiladas a unique flavor profile. Chipotle peppers in adobo sauce can add a smoky heat, while diced jalapeños can provide a fresh, spicy kick.
Storage Tips
- Leftover enchiladas can be stored in the refrigerator for up to 3 days. Reheat them in the oven or microwave until hot and bubbly.
- For longer storage, enchiladas can be frozen for up to 2 months. Assemble the dish without the top layer of cheese, cover with foil, and freeze. To reheat, thaw overnight in the fridge, top with cheese, and bake as instructed.
- The best containers for storing enchiladas are shallow, airtight dishes that can be easily reheated in the oven or microwave.
Gift Packaging Ideas
If you’re looking to share your delicious beef enchiladas with friends and family, consider packaging them in individual portions in microwave-safe containers. Add a sprinkle of fresh cilantro, a dollop of sour cream, and a side of warm tortilla chips for a thoughtful and satisfying gift. You can also include a small jar of homemade salsa or a bag of Mexican spices to complement the dish.
Flavor Variations
- Different spices: Try adding a pinch of cumin, a sprinkle of smoked paprika, or a dash of cayenne pepper to give your enchiladas a unique flavor.
- Creative toppings: Experiment with different toppings such as diced avocado, sour cream, shredded lettuce, or diced tomatoes to add freshness and texture.
- Ingredient swaps: Substitute the ground beef with shredded chicken, carnitas, or roasted vegetables for a vegetarian option. You can also use different types of cheese, such as Queso Fresco or Oaxaca cheese, for a more authentic flavor.
Troubleshooting
- Texture problems: If your enchiladas are too dry, try adding a bit more sauce or covering the dish with foil during baking. If they’re too soggy, reduce the amount of sauce or bake for a few minutes longer.
- Ingredient replacements: If you can’t find a specific ingredient, don’t be afraid to substitute with something similar. For example, you can use ground turkey or pork instead of beef, or substitute the taco seasoning with a blend of chili powder, cumin, and paprika.
- Over/undercooking signs: Keep an eye on your enchiladas while they’re baking, and check for doneness by looking for a golden-brown top and a sauce that’s simmering gently. If they’re undercooked, the tortillas may be soft and pliable, while overcooked enchiladas may be dry and brittle.
FAQs
- Can I freeze it? Yes, enchiladas can be frozen for up to 2 months. Assemble the dish without the top layer of cheese, cover with foil, and freeze. To reheat, thaw overnight in the fridge, top with cheese, and bake as instructed.
- Is it gluten-free? This recipe is gluten-free, making it a great option for those with dietary restrictions. However, be sure to check the ingredients of your taco seasoning and cheese to ensure they are gluten-free.
- Can I double the recipe? Yes, this recipe can be easily doubled or tripled to feed a larger crowd. Just be sure to adjust the cooking time accordingly, and consider using a larger baking dish to accommodate the extra enchiladas.
Conclusion
And there you have it – a delicious beef enchiladas recipe that’s sure to become a staple in your kitchen. With its rich flavors, tender beef, and creamy sauce, this dish is perfect for any occasion. Whether you’re a seasoned chef or a beginner in the kitchen, this recipe is easy to follow and requires minimal effort. So go ahead, give it a try, and don’t be afraid to experiment with different ingredients and toppings to make it your own. Happy cooking, and don’t forget to share your creations with friends and family!