What’s the secret to making store-bought pastry dough into a show-stopping dessert? It starts with mini cannoli cups filled with sweetened cream and dark chocolate chips, then baked to a golden brown perfection for an easy homemade treat. Save this idea for a quick weeknight dessert to impress your family and friends, Try it soon to satisfy your sweet tooth.
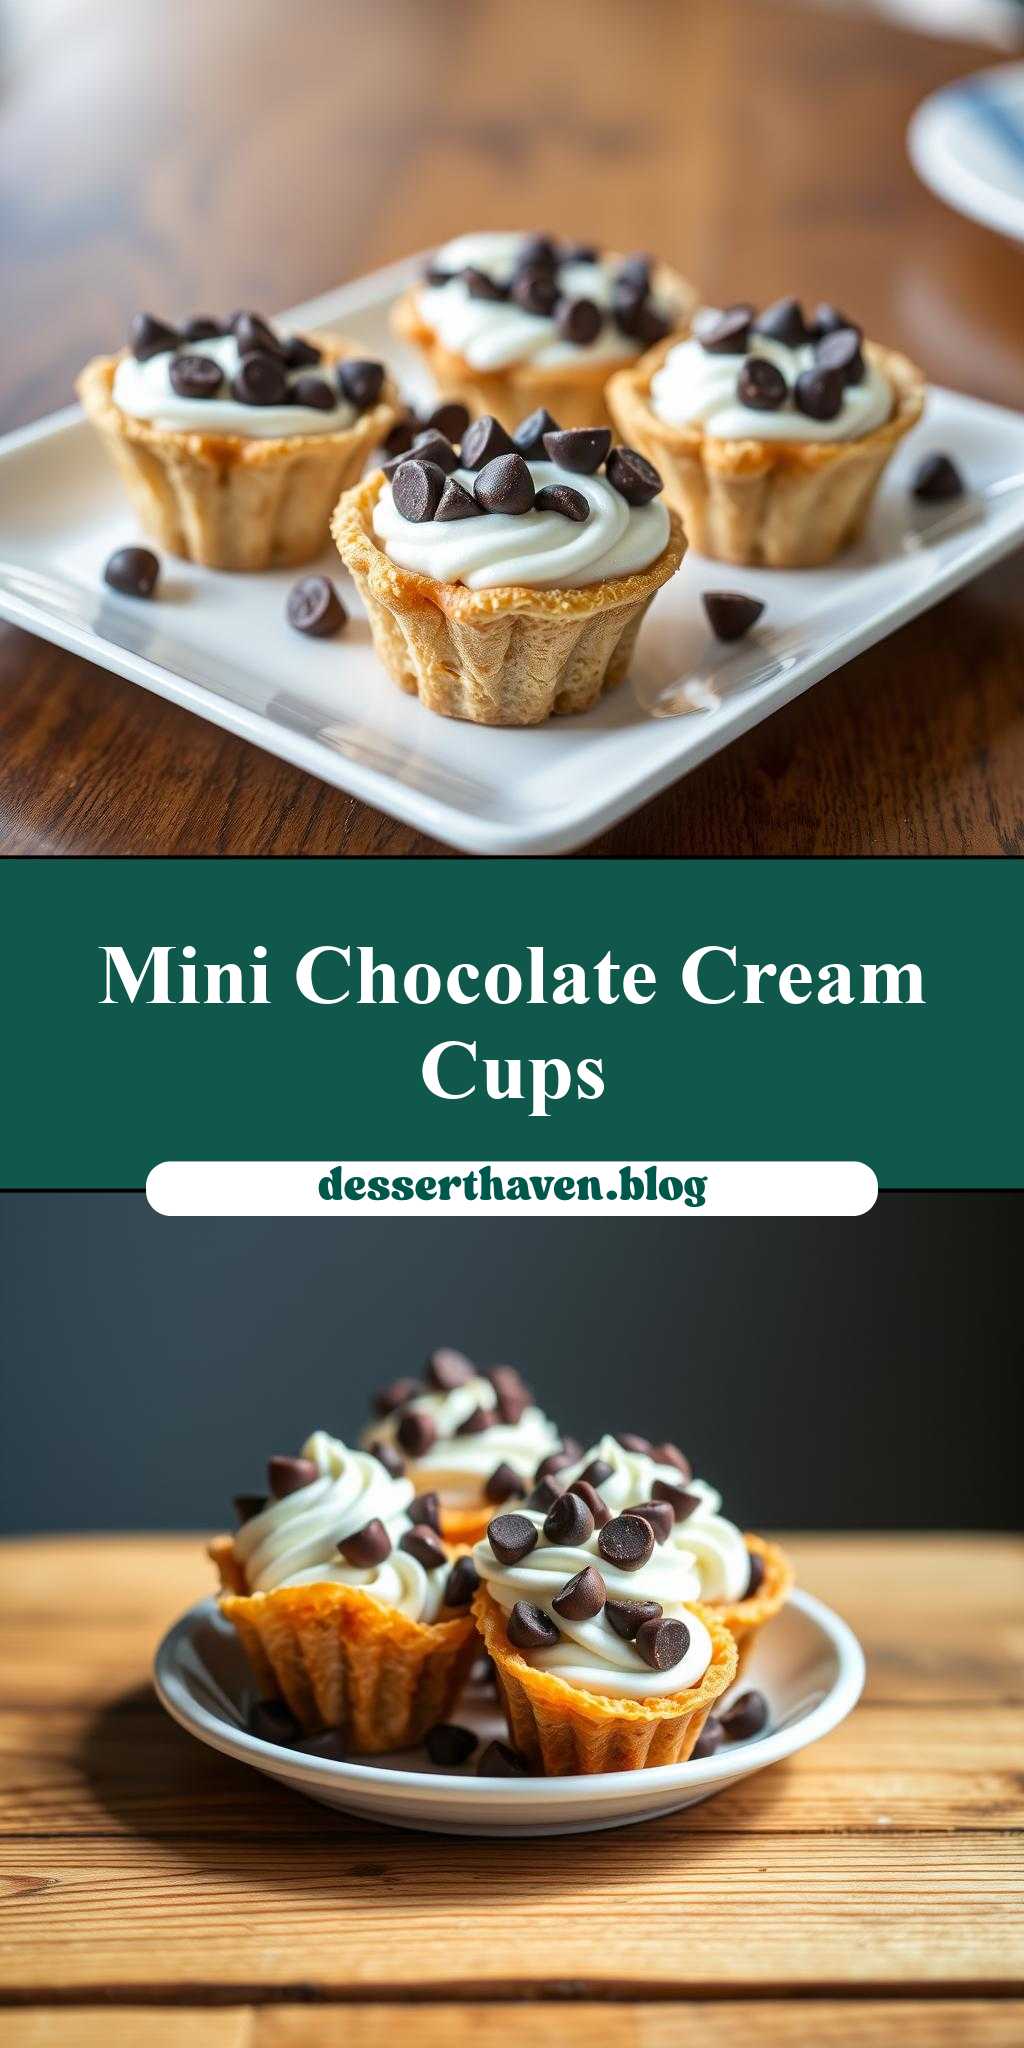
mini cannoli cups with chocolate chips and cream on top, sitting on a wooden table
Introduction
Imagine indulging in the classic Italian dessert, cannoli, but with a modern twist that’s both easy to make and visually stunning. Mini cannoli cups with chocolate chips and cream on top are the perfect treat for any occasion, from casual gatherings to special celebrations. The best part? They’re incredibly simple to prepare using everyday ingredients, allowing your creativity to shine without requiring extensive culinary expertise. With each bite, you’ll experience a delightful balance of crispy, creamy, and sweet flavors that will leave you and your guests wanting more. In this article, we’ll guide you through the process of creating these adorable and delicious mini cannoli cups, complete with practical tips and variations to make them truly yours.
Why This Works
- Flavor balance and ingredient accessibility: The combination of cannoli shells, creamy filling, chocolate chips, and whipped cream offers a well-rounded flavor profile that’s easy to achieve with readily available ingredients.
- Ease of preparation: Despite their elegant appearance, mini cannoli cups are surprisingly straightforward to prepare, requiring minimal cooking and effort.
- Impressive results with minimal effort: The presentation of these mini desserts is sure to impress, making them perfect for potlucks, dinner parties, or as a special treat for your family.
Key Ingredients
To make these delightful mini cannoli cups, you’ll need a few key ingredients. First, you’ll require mini cannoli shells, which can be found in most Italian grocery stores or online. For the filling, you’ll need sweetened ricotta cheese, which provides the creamy base. Adding chocolate chips gives a nice texture and flavor contrast. Whipped cream is used for topping, along with additional chocolate chips for garnish. If you’re looking for a substitute for cannoli shells, you could consider using mini pastry cups or even making your own shells from scratch if you’re feeling adventurous. For the filling, you can adjust the sweetness to your taste by adding more or less sugar, and feel free to add other mix-ins like candied fruit or nuts for added flavor and texture.
Instructions
- Step 1: Begin by preparing your filling. In a medium bowl, combine the sweetened ricotta cheese, vanilla extract, and a pinch of salt. Mix well until smooth and creamy. If using, add your preferred mix-ins (like chocolate chips, nuts, or candied fruit) and fold them into the ricotta mixture.
- Step 2: Next, prepare your whipped cream. In a separate bowl, whip heavy cream until it begins to thicken. Add a bit of sugar to taste and continue whipping until stiff peaks form. Set aside.
- Step 3: Now, it’s time to assemble your mini cannoli cups. Fill each cannoli shell with the ricotta mixture, dividing it evenly among the shells. You can use a piping bag for a neater fill, or simply spoon it in.
- Step 4: Top each filled cannoli shell with a dollop of whipped cream and sprinkle with additional chocolate chips. This not only adds flavor but also provides a visually appealing contrast. Your mini cannoli cups are now ready to serve!
Handy Tips
- For an extra crispy shell, consider baking your cannoli shells in a preheated oven at 350°F (175°C) for about 5 minutes. Watch them closely to avoid burning.
- If you find your ricotta mixture too thick, you can thin it out with a bit of milk or cream. Conversely, if it’s too thin, refrigerate it for about 30 minutes to firm up before filling the shells.
- Experiment with different types of chocolate chips or add-ins for the filling to create unique flavor combinations. For example, mint chocolate chips can give a refreshing twist, while nuts provide a satisfying crunch.
Heat Control
If you decide to bake your cannoli shells for extra crispiness, make sure to keep a close eye on them. The ideal temperature is 350°F (175°C), and you’re aiming for a lightly golden color. This should take about 5 minutes, but oven times can vary. It’s also important to note that overbaking can lead to burnt shells, so it’s better to err on the side of underbaking if you’re unsure.
Crunch Factor
Achieving the right crunch factor is key to these mini cannoli cups. The shells should be crispy, providing a satisfying snap when you bite into them. If you’re baking the shells, this crunch will come from the baking process. Additionally, any nuts or chocolate chips you add to the filling will contribute to the texture, offering a pleasant contrast to the creamy ricotta and whipped cream.
Pro Kitchen Tricks
- To prevent your whipped cream from weeping or becoming too runny, make sure to whip it just until stiff peaks form, and then stop. Over-whipping can lead to butter, which is not what you want for this dessert.
- For easier filling, consider using a piping bag without a tip. This allows for a smooth, even fill without the hassle of pressing the mixture through a small opening.
- Keep your filled cannoli cups chilled until serving to prevent the shells from becoming soggy. If you’re not serving immediately, you can prepare the components ahead of time and assemble just before serving.
Storage Tips
- Leftover mini cannoli cups can be stored in an airtight container in the refrigerator for up to 24 hours. It’s best to assemble them just before serving to maintain the crunch of the shells.
- If you’ve prepared the components (ricotta mixture, whipped cream, etc.) ahead of time, store each in separate airtight containers in the fridge until you’re ready to assemble.
- Unfortunately, these desserts do not freeze well due to the dairy content and the texture of the shells, so it’s best to consume them fresh.
Gift Packaging Ideas
If you’re considering gifting these mini cannoli cups, presentation is key. You can arrange them in a decorative tin or box, separated by layers of parchment paper to prevent sticking. Alternatively, place each cup in a small cellophane bag and tie the bag with a ribbon for an adorable and easy-to-grab treat. Adding a personal touch, like a handwritten note or a sprinkle of powdered sugar on top, can make the gift even more special.
Flavor Variations
- Different spices: Consider adding a pinch of cinnamon, nutmeg, or lemon zest to your ricotta mixture for a unique twist.
- Creative toppings: Instead of chocolate chips, try using chopped nuts, shredded coconut, or even caramel sauce for a different flavor profile.
- Ingredient swaps: For a lighter version, you could use a mixture of cream cheese and whipped cream instead of ricotta. Alternatively, use different types of milk or cream to change the flavor and texture of the filling.
Troubleshooting
- Texture problems: If your filling is too runny, refrigerate it for a bit to firm up. If it’s too thick, add a small amount of milk or cream to thin it out.
- Ingredient replacements: If you can’t find cannoli shells, look for mini pastry cups or consider making your own shells from scratch.
- Over/undercooking signs: If baking your shells, watch for a lightly golden color. Overbaking will result in burnt shells, while underbaking might leave them too soft.
FAQs
- Can I freeze it? Unfortunately, due to the dairy and shell texture, it’s not recommended to freeze these mini cannoli cups. They’re best consumed fresh.
- Is it gluten-free? This depends on the type of cannoli shells you use. If you’re using traditional shells, they likely contain gluten. However, you can find gluten-free alternatives or make your own gluten-free shells from scratch.
- Can I double the recipe? Absolutely! Simply double all the ingredients and follow the same instructions. Keep in mind that you might need to adjust the baking time slightly if you’re baking a larger batch of shells.
Conclusion
With these mini cannoli cups, you’re not just making a dessert; you’re creating an experience. The combination of crispy shells, creamy filling, and the sweetness of chocolate chips and whipped cream is sure to delight both kids and adults. Whether you’re a seasoned baker or a beginner in the kitchen, this recipe is accessible and rewarding. Don’t be afraid to experiment with different flavors and toppings to make it your own. Share your creations with friends and family, and enjoy the joy of giving and receiving such a thoughtful and delicious treat. Happy baking, and remember, the most important ingredient in any recipe is love!