What makes an icebox cake so irresistible? This oreo icebox cake is a quick and easy homemade dessert made with velvety cream and crunchy cookies. Save this idea for your next family favorite treat to serve on a weeknight dinner. Try it soon and enjoy the simplicity of a no-bake dessert that is perfect for any occasion, Pin for later
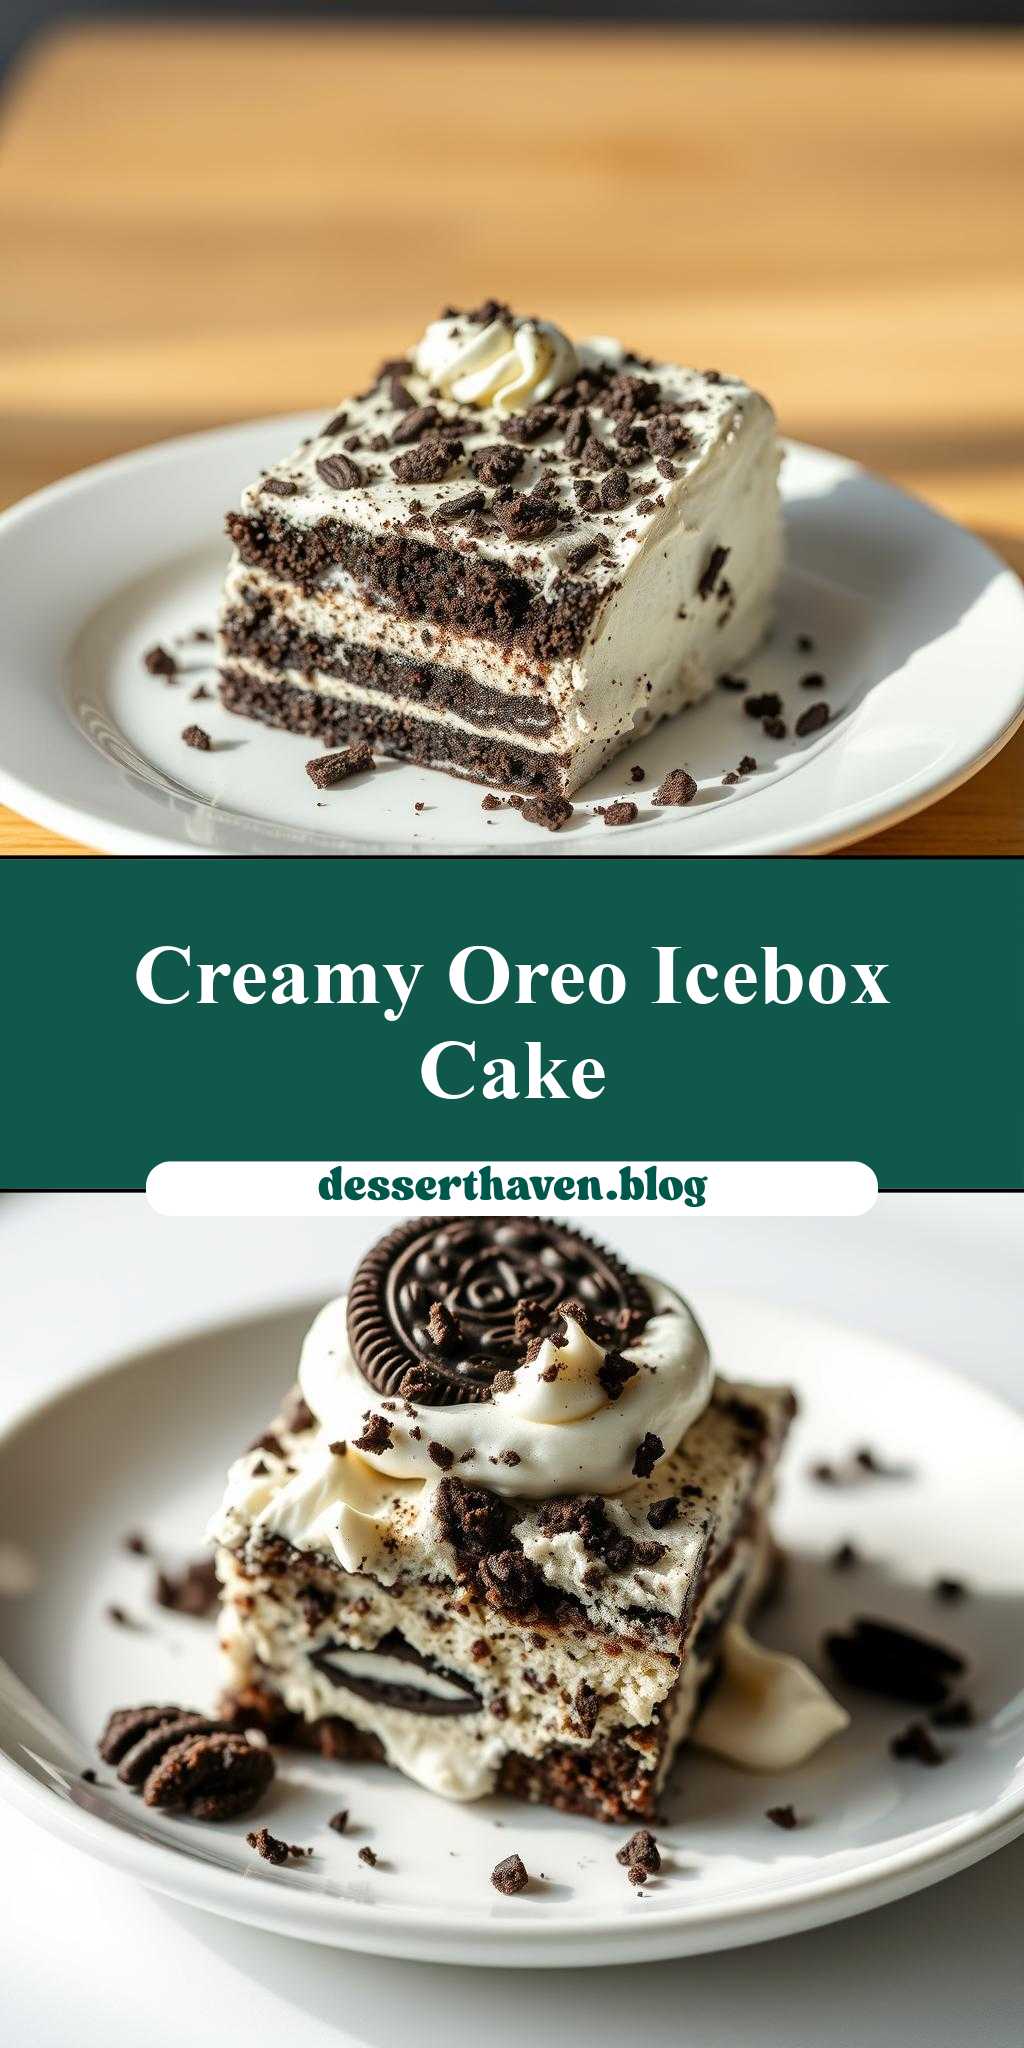
oreo icebox cake on a white plate
Introduction
Imagine a dessert that’s as easy to make as it is impressive: the Oreo icebox cake. This no-bake wonder is a masterclass in simplicity, requiring just a few ingredients and no cooking skills whatsoever. The result is a creamy, dreamy, and indulgently chocolatey treat that’s sure to delight both kids and adults alike. With its elegant presentation on a white plate, this Oreo icebox cake is perfect for special occasions, potlucks, or even just a Tuesday. The best part? It’s made with everyday ingredients that you might already have in your pantry, making it a creative and accessible dessert solution for anyone with a sweet tooth.
Why This Works
- Flavor balance and ingredient accessibility: The combination of Oreo cookies, cream cheese, and whipped cream creates a perfectly balanced flavor profile that’s both rich and refreshing. Plus, these ingredients are readily available in most supermarkets, making this dessert a practical choice.
- Ease of preparation: This cake requires no baking, which means no fuss with the oven, no risk of overcooking, and no complicated cooking techniques. It’s as simple as mixing, layering, and chilling.
- Impressive results with minimal effort: Despite its simplicity, the Oreo icebox cake presents beautifully, especially when served on a crisp white plate. The layers of cookies, cream, and whipped topping create a visually appealing dessert that’s sure to impress your guests.
Key Ingredients
The magic of the Oreo icebox cake lies in its few but well-chosen ingredients. You’ll need a package of Oreo cookies, a block of cream cheese, a can of condensed milk, a cup of heavy whipping cream, and a teaspoon of vanilla extract. For practical substitutions, you can use other types of chocolate sandwich cookies if Oreos aren’t available, though keep in mind the flavor might vary slightly. Similarly, if you prefer a lighter dessert, you can substitute the heavy whipping cream with half-and-half or a non-dairy whipped topping alternative.
Instructions
- Step 1: Begin by preparing your ingredients. Crush a third of the Oreo cookies in a food processor or place them in a plastic bag and crush them with a rolling pin to create the crust. Mix the crushed cookies with a little melted butter to help them stick together, then press this mixture into the bottom of a 9×13 inch dish.
- Step 2: In a large mixing bowl, beat the cream cheese until it’s smooth, then gradually add the condensed milk, beating until well combined. Stir in the vanilla extract for added depth of flavor.
- Step 3: Whip the heavy whipping cream in a separate bowl until it forms stiff peaks. Fold the whipped cream into the cream cheese mixture until no white streaks remain, being careful not to overmix.
- Step 4: It’s time to assemble the cake. Spread half of the cream cheese mixture over the Oreo crust, followed by a layer of whole Oreo cookies. Repeat this process, ending with a layer of whipped cream on top. Decorate with additional Oreo cookies or crushed Oreos, if desired. Refrigerate for at least 4 hours or overnight to allow the flavors to meld and the cake to set.
Handy Tips
- For a cleaner presentation, dip the Oreo cookies in milk for a few seconds before placing them in the cake to help them soften slightly and adhere to the cream better.
- Avoid overmixing the cream cheese and whipped cream mixture, as this can result in a dense cake.
- Consider using a springform pan for easier removal and slicing of the cake.
Heat Control
Since this is a no-bake dessert, heat control is not a concern. However, chilling the cake in the refrigerator is crucial for allowing the flavors to meld together and the textures to set properly. Aim for at least 4 hours of chilling time, but overnight is even better.
Crunch Factor
The crunch in this dessert comes from the Oreo cookies, both in the crust and the layers throughout the cake. To maintain this crunch, it’s essential not to over-soak the cookies in milk and to handle them gently when placing them in the dish. The contrast between the crunchy cookies and the creamy filling is part of what makes this dessert so appealing.
Pro Kitchen Tricks
- To ensure the whipped cream holds its shape and doesn’t weep or collapse, make sure to chill the bowl and beaters in the freezer for about 10 minutes before whipping the cream.
- For a more intense chocolate flavor, you can drizzle the top of the cake with melted chocolate or chocolate syrup before serving.
Storage Tips
- Store the Oreo icebox cake in the refrigerator, covered with plastic wrap or aluminum foil, for up to 3 days.
- Freezing is not recommended as it can affect the texture of the whipped cream and the overall structure of the cake.
- When serving, slice the cake while it’s still chilled, and let it come to room temperature for about 15-20 minutes for the best flavor and texture experience.
Gift Packaging Ideas
If you’re considering gifting this dessert, it’s best to present it in its serving dish, covered and chilled. You can add a decorative touch with a ribbon around the dish or a handwritten note with serving instructions. For a more personal touch, consider serving slices in individual dessert cups or ramekins, making it easy for the recipient to enjoy immediately or store for later.
Flavor Variations
- Different spices: Consider adding a pinch of salt or a teaspoon of instant coffee powder to the cream cheese mixture for a unique twist.
- Creative toppings: In addition to Oreos, you can top the cake with chopped nuts, shaved chocolate, or even fresh fruits like strawberries or blueberries.
- Ingredient swaps: For a lighter version, you can substitute the condensed milk with a mixture of Greek yogurt and honey, or use different types of cookies for the crust and layers.
Troubleshooting
- Texture problems: If the cake becomes too soggy, it might be due to over-soaking the cookies or not chilling the cake long enough. Conversely, if it’s too dry, the whipped cream might have been over-whipped.
- Ingredient replacements: Always consider the flavor and texture profile when substituting ingredients. For example, using a different type of cookie can significantly alter the cake’s character.
- Over/undercooking signs: Since this is a no-bake dessert, the concern is more about the chilling time. Under-chilling can result in a cake that doesn’t set properly, while over-chilling can make it too hard.
FAQs
- Can I freeze it? It’s not recommended to freeze the Oreo icebox cake, as the texture of the whipped cream can become icy and separate, affecting the overall quality of the dessert.
- Is it gluten-free? Depending on the brand of Oreos used, this cake might not be gluten-free. Look for gluten-free alternatives if this is a concern.
- Can I double the recipe? Yes, you can double the recipe, but keep in mind you’ll need a larger dish and possibly more chilling time to ensure the cake sets properly.
Conclusion
In conclusion, the Oreo icebox cake on a white plate is a testament to the magic that can happen with just a few, well-chosen ingredients and some patience. It’s a dessert that’s perfect for any occasion, whether you’re a seasoned baker or a beginner in the kitchen. With its elegant presentation, rich flavors, and ease of preparation, this cake is sure to become a favorite. So go ahead, give it a try, and don’t hesitate to experiment with your own flavor variations and creative twists. Happy baking – or should we say, happy chilling!