What makes a perfect dessert even better – a cookies and cream surprise in the middle. This easy homemade oreo dump cake is a game changer for any weeknight dinner, made with crushed oreos and a simple baking method. Save this idea for your next family favorite treat.
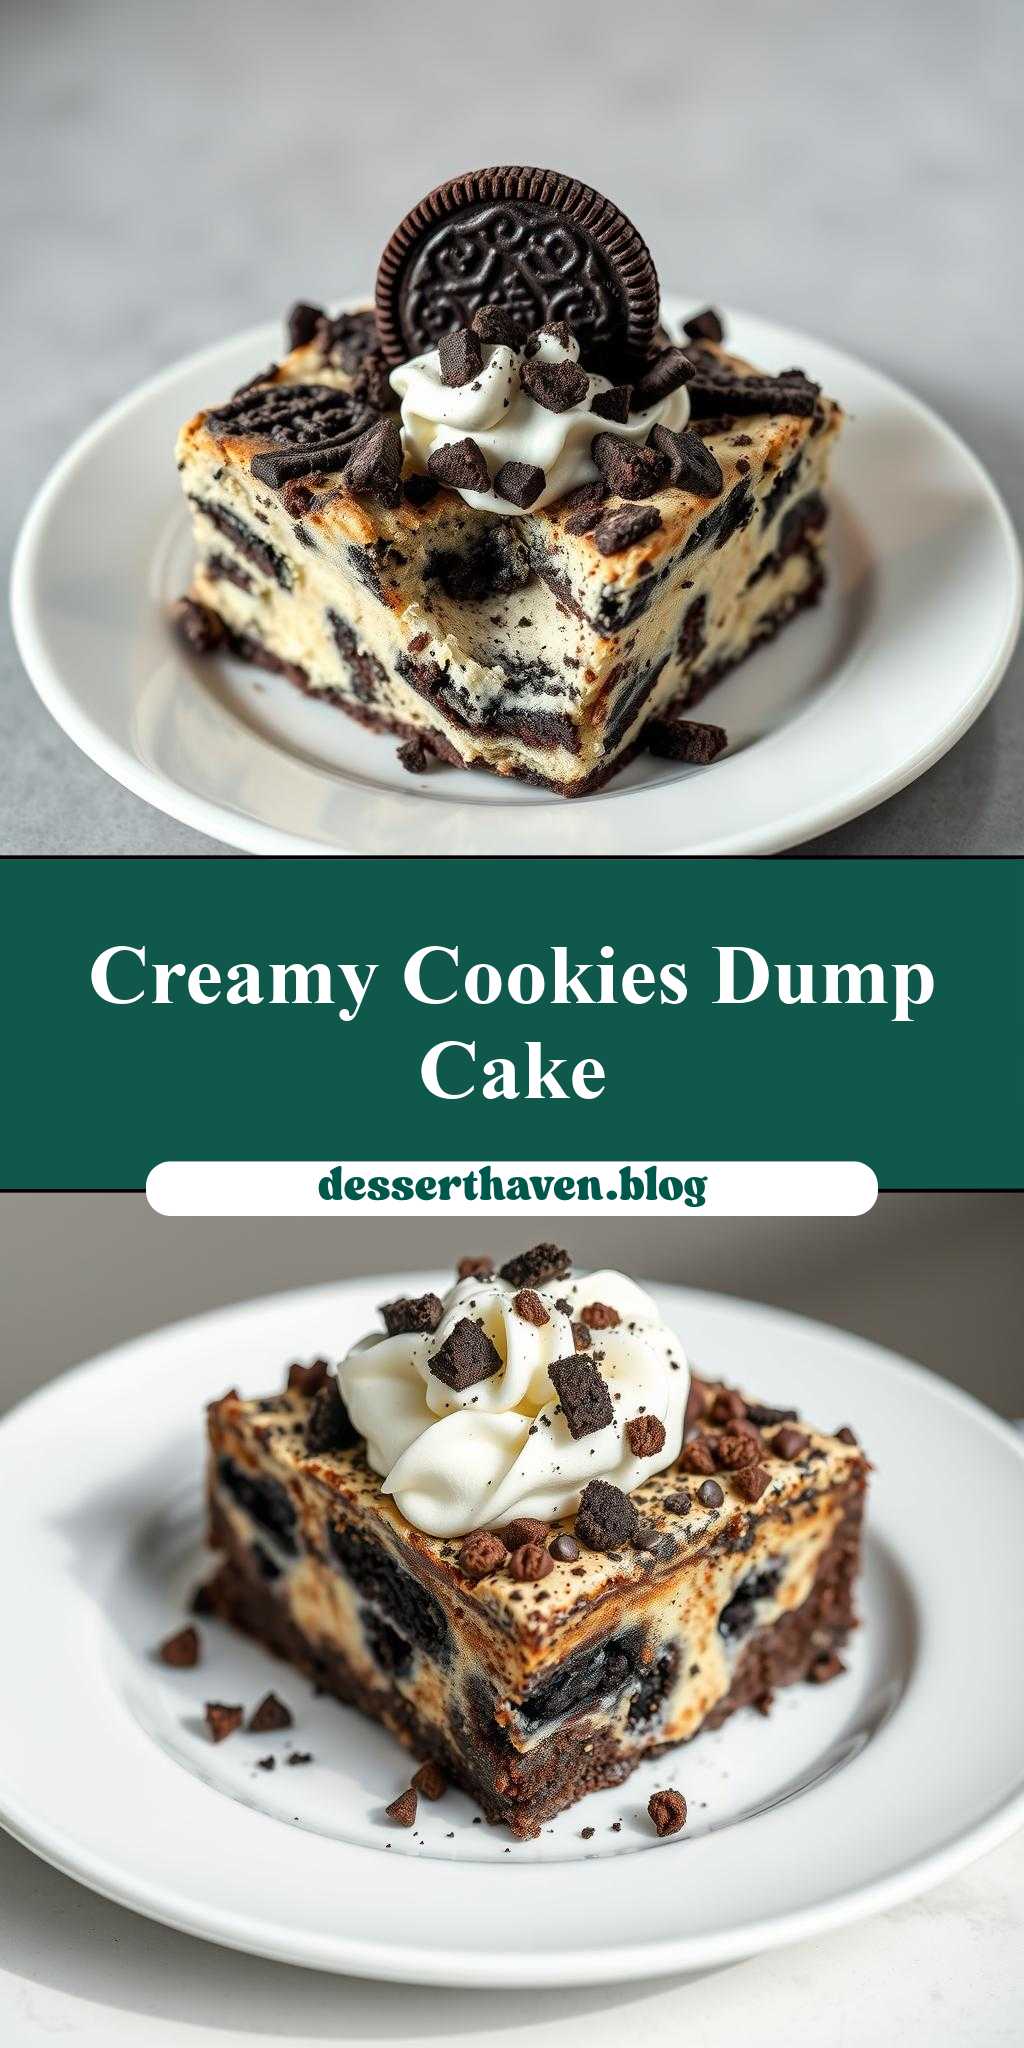
an oreo dump cake on a white plate with cookies and cream in the middle
Introduction
Get ready to indulge in a delightful dessert that combines the richness of chocolate, the crunch of cookies, and the simplicity of a dump cake. This Oreo dump cake is a game-changer for anyone with a sweet tooth, requiring minimal effort but yielding impressive results. The best part? It’s made with everyday ingredients, making it accessible to anyone who wants to satisfy their dessert cravings without breaking a sweat. Imagine a moist cake loaded with the unmistakable flavor of Oreos, nestled in a bed of creamy goodness, all presented on a pristine white plate. It’s a treat that’s sure to impress both in terms of taste and visual appeal, perfect for family gatherings, parties, or even a cozy night in.
Why This Works
- Flavor balance and ingredient accessibility: The combination of Oreos, cake mix, and cream creates a well-balanced flavor profile that’s both familiar and exciting. Plus, using readily available ingredients like store-bought cake mix and Oreos makes it incredibly easy to assemble.
- Ease of preparation: The dump cake method is famously simple, requiring you to essentially dump all your ingredients into a baking dish and let the oven do the work. This makes it perfect for beginners or those short on time.
- Impressive results with minimal effort: Despite its simplicity, the end result is a visually appealing and delicious dessert that’s sure to impress. The contrast between the dark Oreos and the white cream, atop a moist cake, creates a stunning presentation that belies the ease of preparation.
Key Ingredients
To make this Oreo dump cake, you’ll need a few key ingredients. First, a package of chocolate cake mix serves as the base, providing the structure and much of the flavor. A dozen or so Oreos, crushed, will be spread throughout the cake, adding texture and that unmistakable cookies and cream flavor. You’ll also need a can of condensed milk for moisture and sweetness, and a container of whipped cream or vanilla ice cream for the creamy topping. If you’re feeling fancy, some extra Oreos for garnish can add a nice touch. For practical substitutions, you could use different types of cake mix or cookies, but Oreos are what give this dessert its signature flavor.
Instructions
- Step 1: Begin by preheating your oven to 350°F (175°C). While that’s warming up, prepare your ingredients. Crush the Oreos in a bag with a rolling pin or in a food processor until they’re finely ground. Open your can of condensed milk and have your cake mix ready.
- Step 2: In a large mixing bowl, combine the cake mix, crushed Oreos, and a bit of melted butter. Mix until the Oreos are evenly distributed and the mixture resembles wet sand. Pour this mixture into a 9×13 inch baking dish.
- Step 3: Drizzle the condensed milk over the top of the cake mixture. You can use the entire can, depending on how moist you like your cake. Then, if using, sprinkle some additional crushed Oreos on top for extra flavor and texture.
- Step 4: Bake the cake in the preheated oven for about 35-40 minutes, or until a toothpick inserted into the center comes out clean. The top might be a bit golden, and the cake will be moist but not soggy. Once it’s done, let it cool for a bit before topping with whipped cream or a scoop of vanilla ice cream and some extra Oreos for garnish.
Handy Tips
- Make sure to not overmix the cake and Oreo mixture, as this can lead to a dense cake. Stop mixing once the ingredients are just combined.
- If you find the cake too sweet, you can reduce the amount of condensed milk used. Conversely, if you prefer it sweeter, you could drizzle a bit of honey or chocolate syrup on top of the whipped cream.
- Experiment with different types of cookies or even candy pieces in place of Oreos for a unique twist. M&M’s, chopped peanut butter cups, or even crushed wafers could add interesting flavors and textures.
Heat Control
For this recipe, maintaining the right oven temperature is crucial. Ensure your oven is at 350°F (175°C) for the entire baking time. If you’re unsure, consider investing in an oven thermometer to get an accurate reading. The cake is done when it’s lightly golden on top and a toothpick inserted into the center comes out clean. Avoid overbaking, as this can dry out the cake.
Crunch Factor
The crunch in this dessert comes from the Oreos, both those mixed into the cake and any used for garnish. To maintain this texture, avoid overmixing the cake batter, which can break down the cookies and make the cake dense. When serving, top with additional crushed Oreos or even a sprinkle of cookie crumbs for an extra crunchy element.
Pro Kitchen Tricks
- To ensure the cake releases easily from the pan, grease it lightly with butter or cooking spray before adding the cake mixture.
- For a more golden top, you can broil the cake for a minute or two after baking. Keep a close eye to avoid burning.
- Consider making individual servings of the cake in ramekins for a fun and easy dessert to serve at parties or gatherings.
Storage Tips
- Leftover cake can be stored in an airtight container in the refrigerator for up to 3 days. Let it come to room temperature before serving for the best flavor and texture.
- Freezing is also an option; wrap the cooled cake tightly in plastic wrap and then aluminum foil. Freeze for up to 2 months and thaw overnight in the fridge before serving.
- When reheating, a short stint in the microwave (about 10-15 seconds) can warm the cake without making it soggy. Be cautious not to overheat.
Gift Packaging Ideas
If you’re looking to give this Oreo dump cake as a gift, consider packaging it in a decorative tin or airtight container. You could also wrap individual servings in plastic wrap or aluminum foil and place them in a gift basket filled with other sweet treats. Adding a ribbon or a handwritten note can make the gift even more special. For a more rustic look, use a mason jar and top it with a piece of fabric and a twine ribbon.
Flavor Variations
- Different spices: Add a pinch of cinnamon, nutmeg, or cardamom to the cake mix for a unique twist on the traditional flavor.
- Creative toppings: Instead of whipped cream, try using a scoop of your favorite ice cream, caramel sauce, or even a drizzle of chocolate syrup.
- Ingredient swaps: Use different types of cookies, like peanut butter cookies or chocolate sandwich cookies, for a different flavor profile. You could also substitute the condensed milk with a similar sweetened condensed creamer for a lighter version.
Troubleshooting
- Texture problems: If the cake turns out too dense, it might be due to overmixing. If it’s too dry, it could be overbaked. Adjust your mixing and baking time accordingly for the next attempt.
- Ingredient replacements: If you’re out of a particular ingredient, don’t be afraid to get creative with substitutions. Just remember, the flavor and texture might vary slightly.
- Over/undercooking signs: Keep an eye on the cake while it’s baking. If the top is golden brown too quickly, cover it with foil to prevent burning. If it’s not done after the recommended time, check every 5 minutes thereafter until a toothpick comes out clean.
FAQs
- Can I freeze it? Yes, you can freeze the cake for up to 2 months. Wrap it tightly and thaw overnight in the fridge when you’re ready to serve.
- Is it gluten-free? Depending on the cake mix used, it might not be gluten-free. Look for a gluten-free cake mix to make this dessert accessible to those with gluten intolerance.
- Can I double the recipe? Absolutely. Just keep in mind you’ll need a larger baking dish and possibly a bit more baking time. Check the cake frequently to avoid overbaking.
Conclusion
This Oreo dump cake is a testament to the magic that happens when simple ingredients come together in a creative way. With its ease of preparation, impressive presentation, and undeniable flavor, it’s a dessert that’s sure to become a favorite. Whether you’re a seasoned baker or a beginner in the kitchen, this recipe is accessible and forgiving, allowing you to experiment and make it your own. So go ahead, give it a try, and enjoy the ooohs and ahhhs as you present this stunning dessert on a white plate, complete with cookies and cream in the middle.