What makes a president’s family recipe so special? Jimmy Carter’s grandmother’s peanut butter cookies are a classic homemade treat that combines rich peanut butter with simple ingredients for an easy and delicious family favorite. Made with creamy peanut butter and baked to perfection, these cookies are perfect for a weeknight dessert. Save this idea for your next baking session.
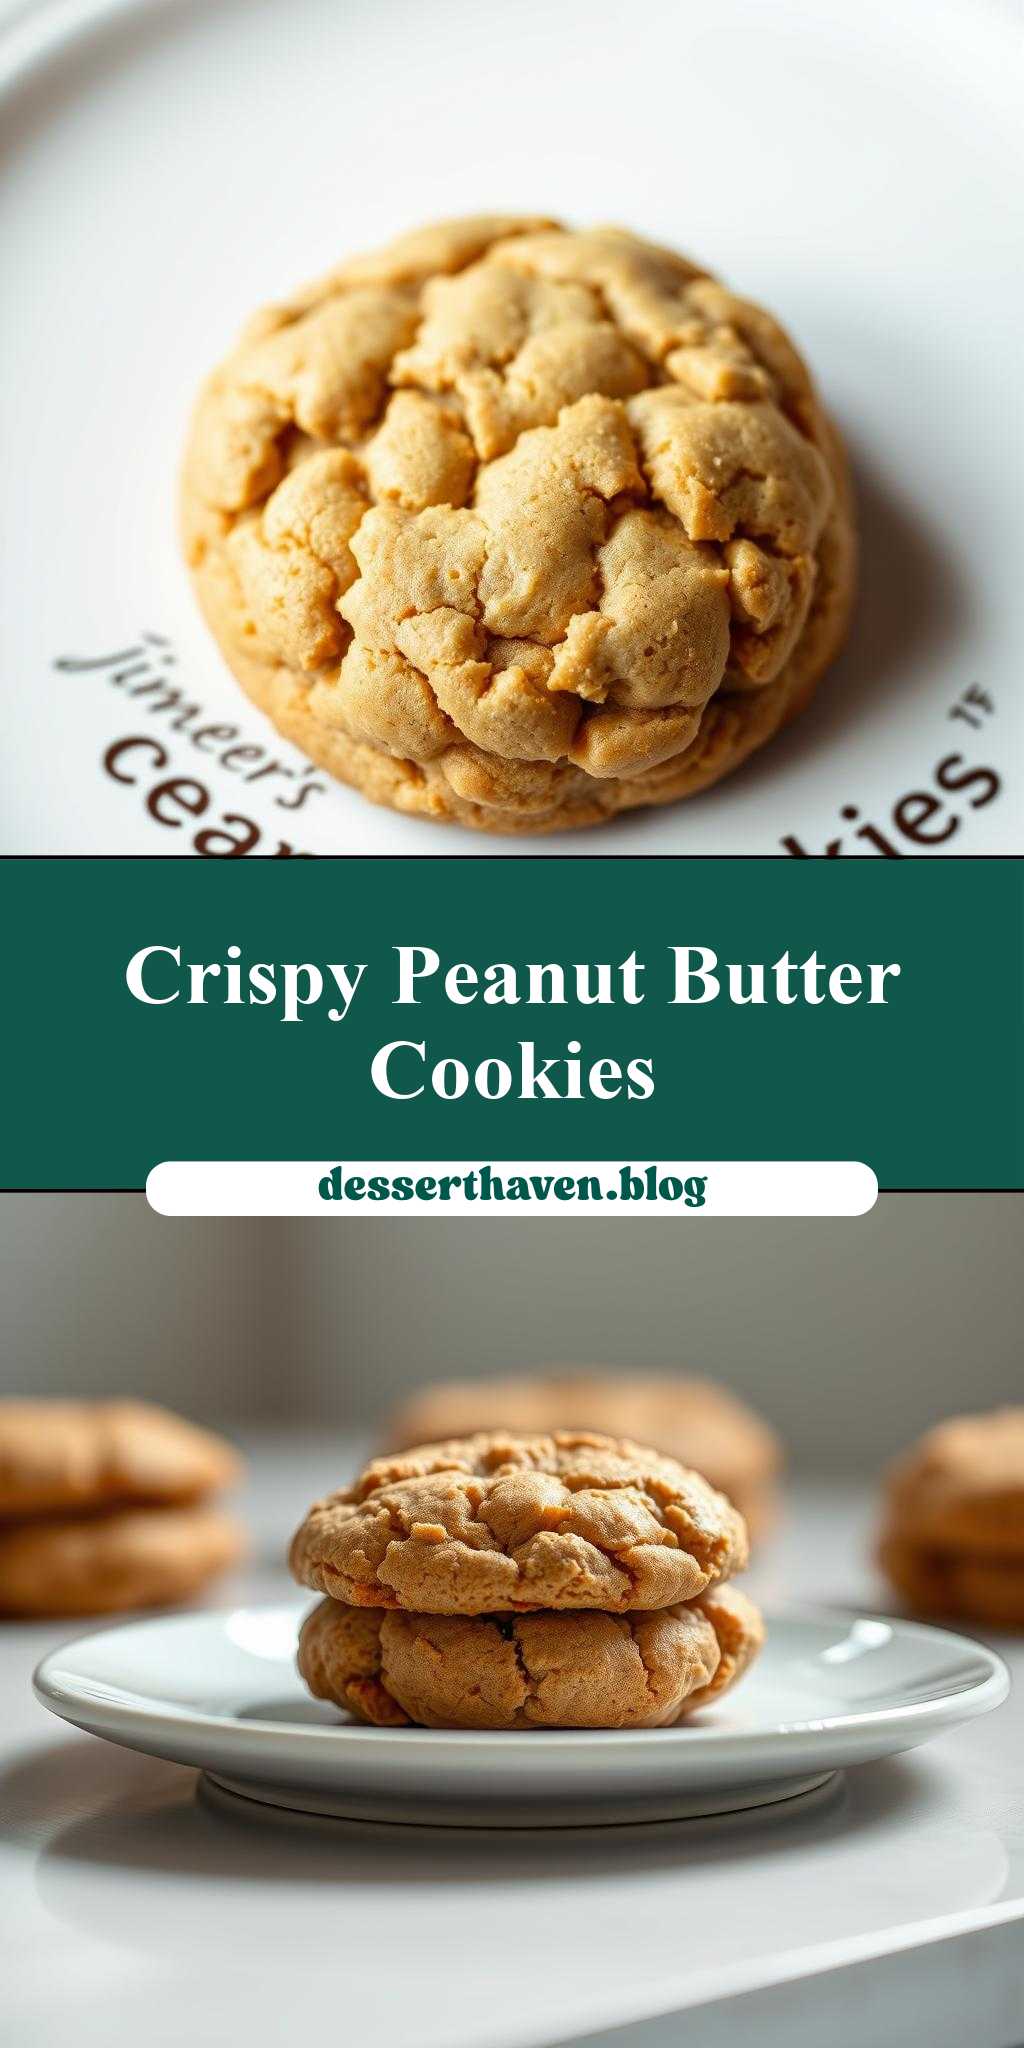
peanut butter cookies on a plate with the words jimmy carter’s grandmother’s peanut butter cookies
Introduction
Indulge in the rich, velvety goodness of peanut butter cookies, a classic treat that never fails to delight both kids and adults alike. The story goes that these delectable cookies were a favorite of Jimmy Carter, and the recipe was lovingly passed down from his grandmother. What makes these cookies truly special is their perfect balance of flavors, achieved with everyday ingredients that are easily accessible in most kitchens. The best part? They’re incredibly easy to make, requiring minimal effort for a result that’s nothing short of impressive. Whether you’re a seasoned baker or a beginner in the kitchen, these peanut butter cookies are sure to become a staple in your household.
Why This Works
- Flavor balance and ingredient accessibility: The combination of peanut butter, sugar, eggs, and flour creates a cookie that is both savory and sweet, with a texture that’s soft and chewy on the inside and crispy on the outside. All the ingredients are readily available, making it easy to whip up a batch at any time.
- Ease of preparation: The preparation process is straightforward and simple, involving basic mixing and baking steps that don’t require any special equipment or culinary skills.
- Impressive results with minimal effort: Despite the simplicity of the recipe, the end result is a batch of cookies that look and taste like they were made in a professional bakery, perfect for impressing friends and family or satisfying your own sweet tooth.
Key Ingredients
The key to making these delicious peanut butter cookies lies in the quality and combination of the ingredients. You will need 2 1/4 cups of all-purpose flour, 1 teaspoon of baking soda, 1 teaspoon of salt, 1 cup of peanut butter (creamy or crunchy, whichever you prefer), 1/2 cup of unsalted butter, softened, 1/2 cup of granulated sugar, 1/4 cup of brown sugar, 2 large eggs, and 1 teaspoon of vanilla extract. For an extra crunch, you can also add in some chopped peanuts or chocolate chips. Practical substitutions can be made for some ingredients, such as using margarine instead of butter or opting for a sugar substitute for health reasons. However, keep in mind that these substitutions might slightly alter the flavor and texture of the cookies.
Instructions
- Step 1: Begin by preheating your oven to 375°F (190°C). Line a baking sheet with parchment paper or a silicone mat to ensure easy cookie removal. In a medium-sized bowl, whisk together the flour, baking soda, and salt. Set aside.
- Step 2: In a large bowl, use an electric mixer to cream together the peanut butter and butter until smooth and well combined. Gradually add the granulated and brown sugars, beating until the mixture is light and fluffy. Beat in the eggs one at a time, followed by the vanilla extract.
- Step 3: Gradually mix in the flour mixture until just combined, being careful not to overmix. If using, fold in the chopped peanuts or chocolate chips to add an extra layer of flavor and texture.
- Step 4: Scoop tablespoon-sized balls of dough onto the prepared baking sheet, leaving about 2 inches of space between each cookie to allow for spreading. Flatten the dough balls slightly with a fork or your fingers. Bake for 10-12 minutes or until the edges are lightly golden. Remove from the oven and let cool on the baking sheet for 5 minutes before transferring to a wire rack to cool completely.
Handy Tips
- For the best results, make sure your butter and peanut butter are at room temperature before starting. This will ensure they mix smoothly and evenly.
- If you find the dough too sticky, you can refrigerate it for about 30 minutes to firm it up before scooping onto the baking sheet.
- Avoid overbaking, as this can make the cookies dry and hard. They should be lightly golden and still slightly soft to the touch when removed from the oven.
Heat Control
Heat control is crucial when baking these peanut butter cookies. The ideal temperature is 375°F (190°C), and the baking time should be around 10-12 minutes. It’s essential to keep an eye on the cookies during the last few minutes of baking, as oven temperatures can vary. Look for the edges to be lightly golden; this is a good sign that the cookies are done. If you prefer a chewier cookie, bake for 8-10 minutes, and for a crisper cookie, bake for 12-14 minutes.
Crunch Factor
The crunch factor in these peanut butter cookies can be adjusted based on personal preference. If you like a crunchier cookie, you can bake them for a few minutes longer or add some chopped nuts to the dough. For a chewier cookie, bake for a shorter time or press the cookies down slightly with a fork before baking to create a crisscross pattern. This pattern not only adds visual appeal but also helps the cookies bake more evenly.
Pro Kitchen Tricks
- Use parchment paper or a silicone mat on your baking sheet to prevent the cookies from sticking and to make cleanup easier.
- Chill the dough for 30 minutes to an hour before baking to help the cookies retain their shape better and bake up with a nicer texture.
- Don’t overmix the dough, as this can lead to tough cookies. Stop mixing as soon as the ingredients come together in a cohesive ball.
Storage Tips
- Store the cookies in an airtight container at room temperature for up to 5 days. This will help keep them fresh and prevent them from becoming stale.
- For longer storage, consider freezing the cookies. Place them in a single layer in a freezer-safe bag or container and store in the freezer for up to 2 months. To thaw, simply leave at room temperature or reheat in the microwave for a few seconds.
- When packaging the cookies for gifts, consider using decorative tins, jars, or bags. You can also add a personal touch with ribbons or gift tags.
Gift Packaging Ideas
These peanut butter cookies make excellent gifts for friends, family, or coworkers. Consider packaging them in decorative jars or tins, wrapped in colorful paper or bags, and tied with ribbons or bows. You can also include a personal touch with a handwritten note or card. For a more rustic look, fill a mason jar with the cookies and tie a piece of twine around the lid. This not only looks charming but also keeps the cookies fresh.
Flavor Variations
- Different spices: Add a pinch of cinnamon, nutmeg, or ginger to the dough for a unique twist on the classic peanut butter flavor.
- Creative toppings: Press a Hershey’s Kiss into the center of each cookie immediately after baking for a peanut butter blossom cookie, or sprinkle with sea salt for a salty-sweet combination.
- Ingredient swaps: Use almond butter or cashew butter instead of peanut butter for a different nutty flavor, or substitute some of the sugar with honey or maple syrup for a slightly different sweetness profile.
Troubleshooting
- Texture problems: If your cookies turn out too hard, they may have been overbaked. Try reducing the baking time. If they’re too soft, they may have been underbaked. Try baking for a minute or two longer.
- Ingredient replacements: If you’re allergic to peanuts, consider using sunflower seed butter as a substitute. If you’re out of eggs, flax eggs can be used as a replacement.
- Over/undercooking signs: Keep an eye on your cookies during the baking time. They should be lightly golden around the edges and still slightly soft to the touch when done. If they’re too dark, they’re overcooked. If they’re too pale, they may be undercooked.
FAQs
- Can I freeze it? Yes, these cookies can be frozen for up to 2 months. Simply place them in a single layer in a freezer-safe bag or container and store in the freezer. To thaw, leave at room temperature or reheat in the microwave for a few seconds.
- Is it gluten-free? The traditional recipe includes wheat flour, making it not gluten-free. However, you can experiment with gluten-free flours as a substitute, though this may alter the texture and flavor slightly.
- Can I double the recipe? Yes, you can easily double or even triple the recipe if you’re making the cookies for a large group. Just ensure you have enough baking sheets and space in your oven to accommodate the increased number of cookies.
Conclusion
Making Jimmy Carter’s grandmother’s peanut butter cookies is a delightful experience that combines simplicity with richness of flavor. Whether you’re baking for yourself, your family, or as a gift for someone special, these cookies are sure to bring joy and satisfaction. Feel free to experiment with the recipe, trying out different flavor combinations and toppings to make it your own. The beauty of baking lies not just in the end result but in the journey itself—the process of creating something delicious and sharing it with others. So, go ahead, give this recipe a try, and enjoy the warm, fuzzy feeling that comes with baking and sharing love, one cookie at a time.