What’s the perfect treat to make over a campfire? Campfire Cones are a quick and easy homemade dessert featuring gooey marshmallows and melted chocolate. Try filling waffle cones with your favorite ingredients for a fun family favorite weeknight dinner dessert. Save this idea for your next outdoor gathering.
Campfire Cones
Introduction
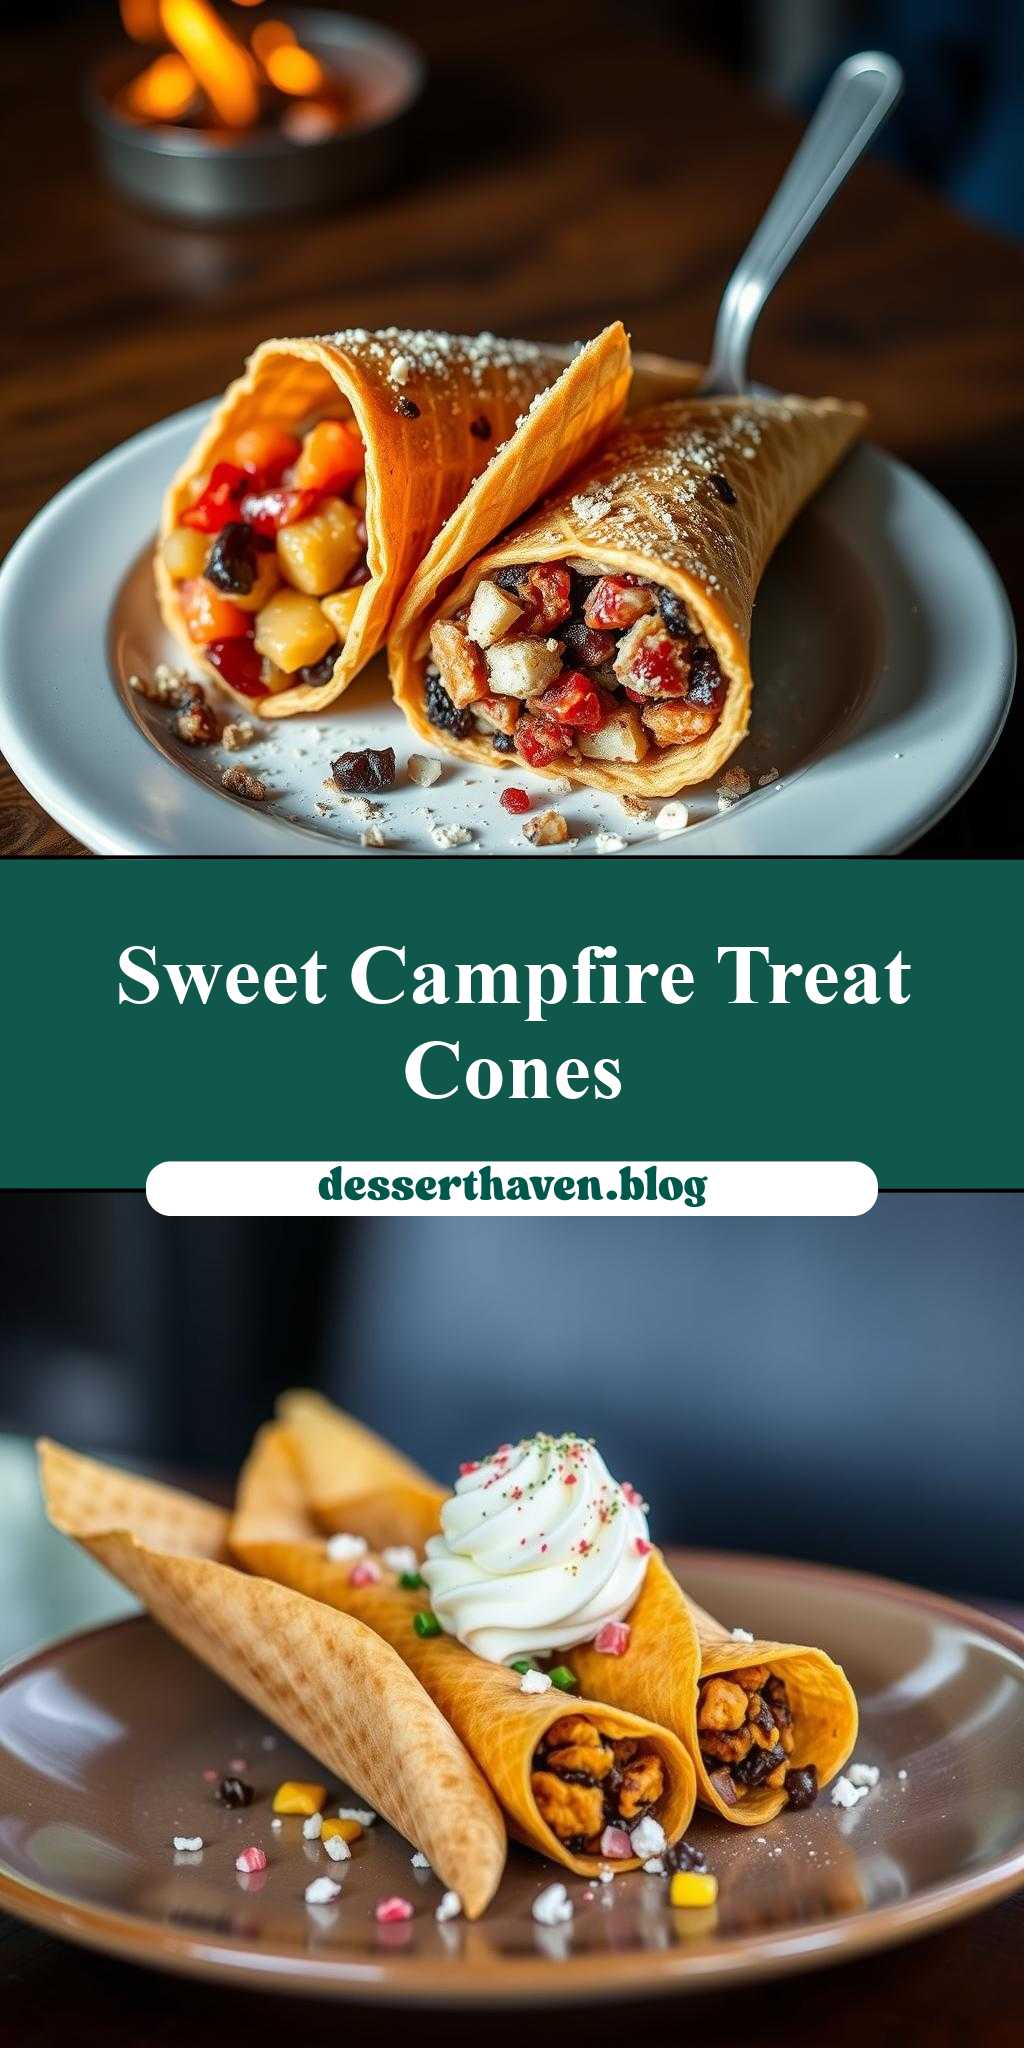
Campfire Cones are a delightful, easy-to-make treat that combines the warmth of a campfire with the joy of s’mores and the convenience of a cone. This creative dessert is perfect for outdoor enthusiasts, campers, and anyone looking to spice up their usual s’mores routine. Using everyday ingredients like waffle cones, chocolate, marshmallows, and fruit, you can create a unique dessert experience that’s both fun and delicious. The best part? It’s incredibly easy to make and requires minimal preparation, making it an ideal treat for any occasion.
Why This Works
- Flavor balance and ingredient accessibility: The combination of sweet chocolate, gooey marshmallows, and crunchy fruit creates a perfectly balanced flavor profile that’s easy to achieve with readily available ingredients.
- Ease of preparation: Campfire Cones require minimal preparation and cooking time, making them a great option for busy campers or those looking for a quick dessert fix.
- Impressive results with minimal effort: Despite the simplicity of the ingredients and preparation, Campfire Cones are sure to impress your friends and family with their unique presentation and delicious flavor combination.
Key Ingredients
The main ingredients for Campfire Cones include waffle cones, chocolate chips or bars, marshmallows, and your choice of fruit such as strawberries, blueberries! or bananas. You can also customize your cones with other toppings like nuts, caramel sauce, or sprinkles. When it comes to chocolate, you can use milk chocolate, dark chocolate, or even white chocolate, depending on your preference. For marshmallows, you can use the classic large marshmallows or minis for a different texture. Feel free to get creative with your ingredient choices to make your Campfire Cones truly unique.
Instructions
- Step 1: Begin by preparing your ingredients. Chop your fruit into bite-sized pieces and have your chocolate and marshmallows ready. If using nuts or other toppings, have those ready as well.
- Step 2: Roast your marshmallows over the campfire using a roasting stick or skewer. You can also use a kitchen torch if you’re making these at home. Once your marshmallows are toasted to your liking, set them aside.
- Step 3: Melt your chocolate. You can do this by placing the chocolate in a heat-safe bowl over a pot of boiling water or by using a microwave-safe bowl in short increments, stirring between each heating. Be careful not to burn the chocolate.
- Step 4: Assemble your Campfire Cones. Dip the top of each waffle cone into the melted chocolate, then immediately roll the chocolate-covered part in your chosen toppings, if using. Next, place a few pieces of fruit into the cone, followed by a toasted marshmallow. You can also drizzle a bit of caramel or honey into the cone for extra flavor.
Handy Tips
- To avoid making a mess, have a piece of parchment paper or a silicone mat under your work area when assembling the cones.
- Experiment with different types of chocolate and toppings to find your favorite combinations.
- Consider using a variety of fruits to add natural sweetness and texture to your cones.
Heat Control
When toasting marshmallows, it’s essential to control the heat to achieve the perfect level of toastiness. Hold the marshmallow about 5-7 inches away from the flames and rotate it every 10-15 seconds to ensure even toasting. If you’re using a kitchen torch, move the flame slowly back and forth over the marshmallow until it’s toasted to your liking.
Crunch Factor
The crunch factor in Campfire Cones comes from the waffle cone itself and any additional toppings like nuts. To maintain the crunch, it’s best to assemble the cones just before serving. If you’re preparing them ahead of time, consider keeping the components separate until serving to prevent the cones from getting soggy.
Pro Kitchen Tricks
- To melt chocolate smoothly, avoid overheating it. Instead, heat it in short increments, stirring well between each heating.
- For an extra crunchy cone, sprinkle a few chopped nuts or cookies into the melted chocolate before it hardens.
- Keep your workspace clean and organized by having all your ingredients and tools ready before starting to assemble the cones.
Storage Tips
- It’s best to assemble and serve Campfire Cones immediately to maintain their texture and freshness.
- If you need to store them for a short period, keep the components separate (cones, chocolate, marshmallows, fruit) and assemble just before serving.
- Consider storing leftover components in airtight containers to keep them fresh for future use.
Gift Packaging Ideas
Campfire Cones can be a thoughtful and unique gift for friends and family who love the outdoors or s’mores. Consider packaging the components separately in a gift basket or bag, complete with a roasting stick and instructions for assembly. You could also pre-assemble the cones and package them in airtight containers or bags for a more straightforward gift. Add a personal touch with a handwritten note or a small memento related to camping or the outdoors.
Flavor Variations
- Different spices: Try adding a pinch of cinnamon or nutmeg to your chocolate for a unique twist.
- Creative toppings: Experiment with different nuts, like almonds or pecans, or try using candy pieces like M&M’s or chopped peanut butter cups.
- Ingredient swaps: Use different types of milk or flavorings in your chocolate for a creamier or more exotic taste.
Troubleshooting
- Texture problems: If your cones become soggy, it might be due to humidity or assembling them too far in advance. Try to assemble just before serving or store components separately.
- Ingredient replacements: If you don’t have a particular ingredient, feel free to substitute with something similar. For example, you could use caramel sauce instead of chocolate or try different types of fruit.
- Over/undercooking signs: For marshmallows, watch for them to puff up and turn golden brown. If they start to smell burnt or turn too dark, they’re overcooked. For chocolate, avoid overheating, as it can become grainy or separate.
FAQs
- Can I freeze it? It’s not recommended to freeze assembled Campfire Cones due to the texture changes in the cone and marshmallow. However, you can freeze the components separately for future use.
- Is it gluten-free? Depending on the brand of waffle cones you use, Campfire Cones can be gluten-free. Always check the ingredient label to ensure the cones meet your dietary needs.
- Can I double the recipe? Yes, you can easily double or triple the recipe for Campfire Cones. Just ensure you have enough of each ingredient and assemble the cones in batches if necessary to maintain freshness and texture.
Conclusion
Campfire Cones are a fun, creative, and delicious dessert perfect for any occasion, whether you’re camping under the stars or just looking for a unique treat to enjoy at home. With their ease of preparation, flexibility in ingredients, and impressive presentation, they’re sure to become a favorite among both kids and adults. Don’t be afraid to experiment with different flavors and toppings to make your Campfire Cones truly special. Share your creations with friends and family, and enjoy the joy of making something wonderful together.