What makes a classic Rice Krispie treat even better? Adding candy corn, of course. These easy homemade goodies are perfect for a quick weeknight dessert or family gathering, made with simple ingredients like marshmallows and cereal. Save this idea for a fun twist on a childhood favorite.
Candy Corn Rice Krispie Treats
Introduction
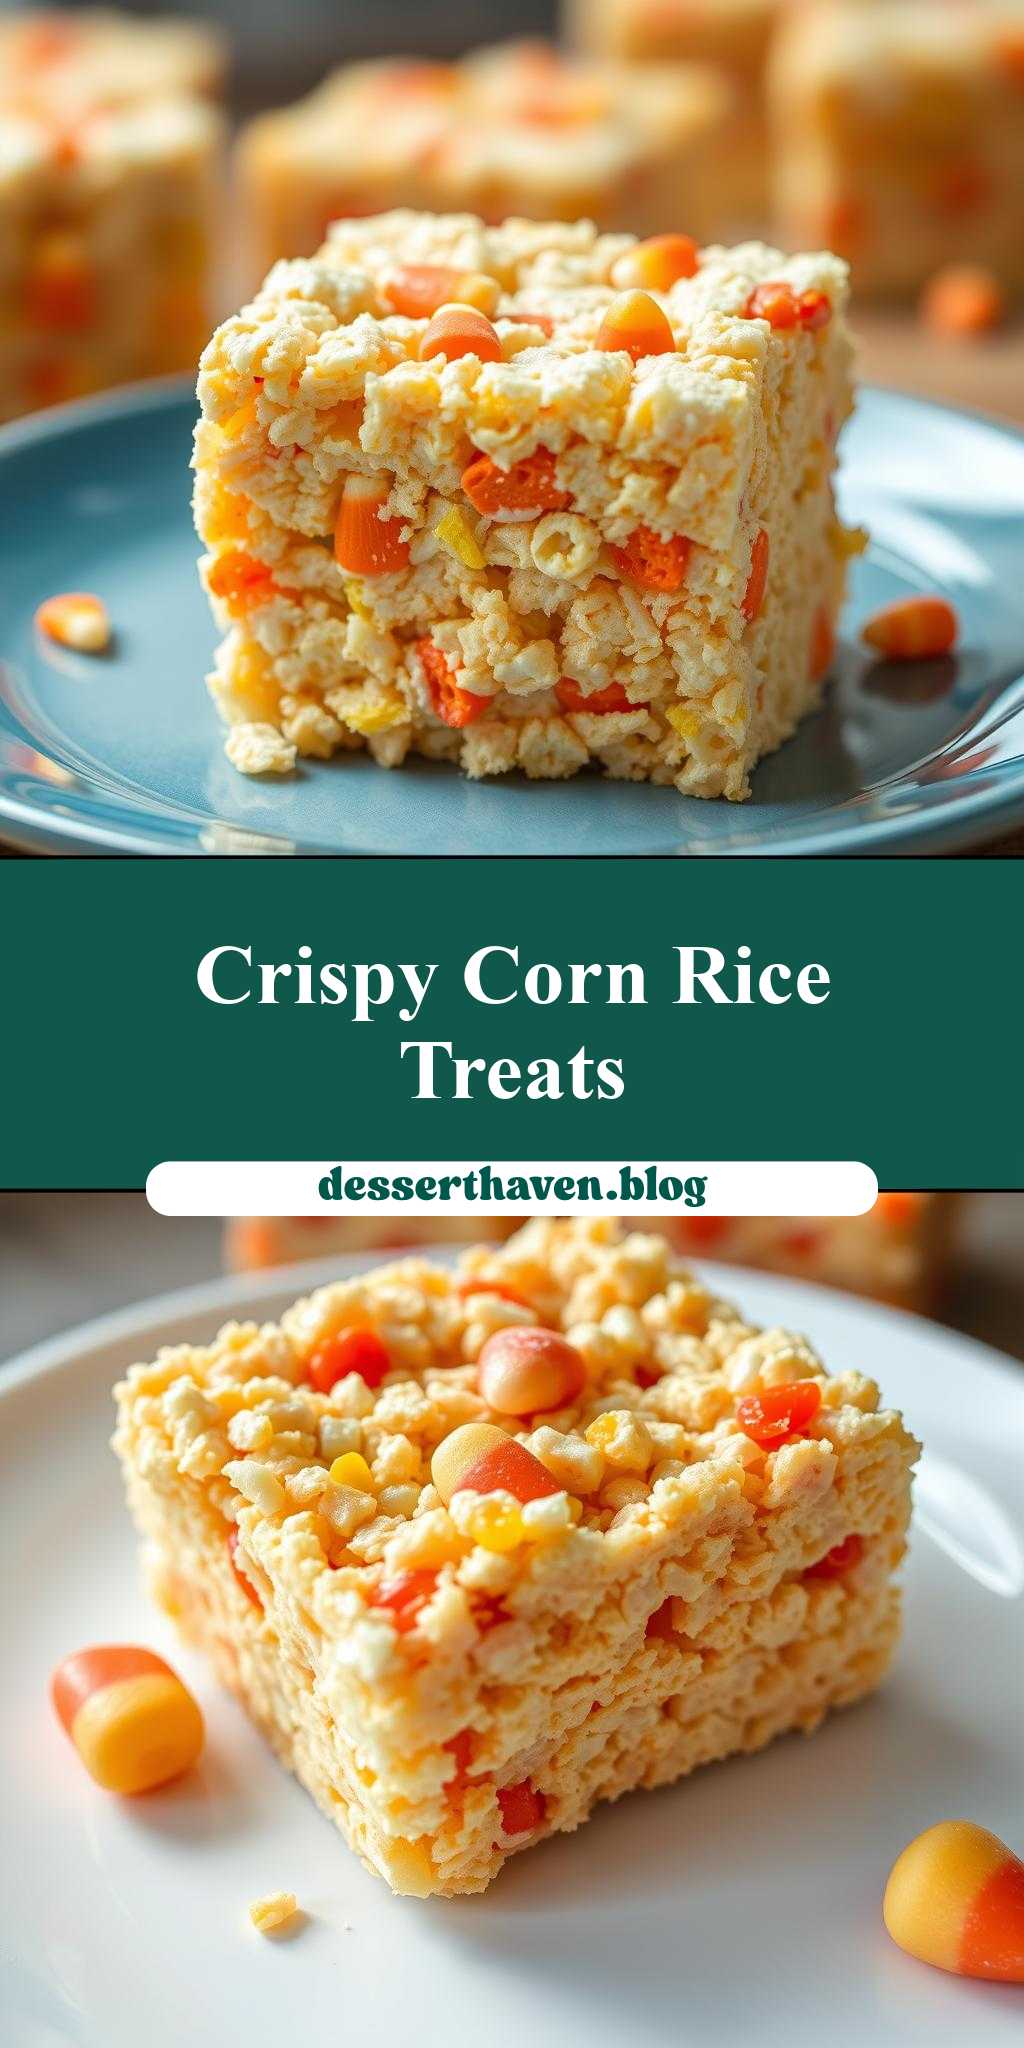
Get ready to indulge in the perfect blend of nostalgic fun and seasonal flair with our Candy Corn Rice Krispie Treats recipe. This delightful treat is not only easy to make, requiring just a few everyday ingredients, but it’s also a masterpiece of flavor and creativity. By combining the classic comfort of Rice Krispie treats with the vibrant, sugary charm of candy corn, we’ve crafted a dessert that’s sure to captivate both kids and adults alike. Whether you’re preparing for a Halloween party, a fall gathering, or just a fun family night, these treats are the perfect way to bring a smile to everyone’s face.
Why This Works
- Flavor balance and ingredient accessibility: The combination of marshmallows, butter, and candy corn creates a sweet and slightly salty flavor profile that’s hard to resist, and all the ingredients are easily found in most grocery stores.
- Ease of preparation: The process of making these treats is straightforward and quick, requiring minimal cooking and no advanced culinary skills.
- Impressive results with minimal effort: Despite the simplicity of the recipe, the end result is a visually appealing and delicious treat that looks like it took much more effort to prepare.
Key Ingredients
The main ingredients for our Candy Corn Rice Krispie Treats include Rice Krispies cereal, marshmallows, butter or margarine, candy corn, and a pinch of salt. For those looking for substitutions, you can use gluten-free cereal for a gluten-free version, and if you’re looking for a vegan alternative, you can replace the marshmallows with vegan marshmallow options and use a plant-based butter substitute. The candy corn is what gives these treats their distinctive seasonal flavor and color, but feel free to experiment with other mix-ins like chocolate chips or nuts for different flavor variations.
Instructions
- Step 1: Begin by preparing your workspace. Lay out a large piece of parchment paper or a silicone mat on your countertop. This will be where you shape your treats once they’re mixed. Next, measure out your ingredients: 2 cups of Rice Krispies cereal, 1 cup of marshmallows, 1/4 cup of melted butter or margarine, 1 cup of candy corn, and a pinch of salt.
- Step 2: In a large pot or saucepan, melt the butter or margarine over low heat. Add the marshmallows and stir until they are completely melted and the mixture is smooth. Remove the pot from the heat and stir in the salt.
- Step 3: Quickly add the Rice Krispies cereal to the marshmallow mixture and stir until the cereal is evenly coated. Then, stir in the candy corn. The heat from the marshmallow mixture will slightly melt the candy corn, creating a beautiful, swirly effect in your treats.
- Step 4: Pour the mixture onto the prepared parchment paper or silicone mat. Let it cool for a minute or two, until it’s just cool enough to handle. Then, use your hands or a spatula to shape the mixture into desired shapes. Traditional squares are easy and look great, but feel free to get creative with shapes, especially for Halloween or fall-themed parties.
Handy Tips
- To avoid sticky hands, lightly butter your hands or spatula before shaping the treats. This will prevent the marshmallow mixture from sticking to you.
- If you find that your treats are too sticky, you can refrigerate them for about 30 minutes to firm them up before serving.
- For an extra crunch, consider adding some chopped nuts or a sprinkle of sea salt on top of your treats before they cool.
Heat Control
When melting the marshmallows, it’s crucial to use low heat to prevent them from burning or browning too quickly. Stir constantly to ensure even melting. If you notice the mixture starting to brown, remove it from the heat immediately.
Crunch Factor
The crunch in these treats comes from the Rice Krispies cereal and the candy corn. To maintain the crunch, it’s best to serve the treats within a day or two of making them. If you store them for too long, they might become softer due to moisture absorption.
Pro Kitchen Tricks
- To make cleanup easier, use a silicone spatula for mixing and a parchment-lined surface for cooling and shaping the treats.
- Consider using a cookie cutter to create fun shapes from your treats. This works best if you press the mixture into a flat layer before it cools and hardens.
- For a golden touch, lightly spray the tops of the treats with edible gold dust after they’ve cooled. This adds a luxurious feel to your Candy Corn Rice Krispie Treats.
Storage Tips
- Store your treats in an airtight container at room temperature for up to 3 days. If you live in a humid climate, consider storing them in the refrigerator to keep them fresh for longer.
- These treats can be frozen for up to 2 months. Simply place them in a single layer in a freezer-safe bag or container and thaw at room temperature when you’re ready to serve.
- When storing, it’s a good idea to place a sheet of parchment paper between layers of treats to prevent them from sticking together.
Gift Packaging Ideas
These treats make wonderful gifts for friends, neighbors, or coworkers, especially during the fall season. Consider packaging them in cute paper bags, Mason jars, or plastic containers decorated with ribbons and fall-themed stickers. You can also wrap individual treats in plastic wrap or cellophane bags for a more personalized touch.
Flavor Variations
- Different spices: Add a pinch of cinnamon, nutmeg, or pumpkin spice to give your treats a warm, autumnal flavor.
- Creative toppings: Once your treats are cooled, you can decorate them with melted chocolate, sprinkles, or even more candy corn for added color and flavor.
- Ingredient swaps: Try using different types of cereal, like Froot Loops or Cinnamon Toast Crunch, for a unique twist on the classic recipe.
Troubleshooting
- Texture problems: If your treats turn out too hard, it might be because the marshmallow mixture was overcooked. If they’re too soft, they might have absorbed too much moisture. Try storing them in a drier environment or refrigerating them for a bit to firm up.
- Ingredient replacements: If you’re missing an ingredient, consider what you can substitute it with. For example, if you don’t have candy corn, you could use M&M’s or chopped peanut butter cups for a different flavor and look.
- Over/undercooking signs: Keep an eye on your marshmallow mixture as it cooks. If it starts to smell burnt or turns golden brown, it’s overcooked. If it’s still pale and gooey, it might need a bit more heat.
FAQs
- Can I freeze it? Yes, you can freeze your Candy Corn Rice Krispie Treats for up to 2 months. Simply thaw them at room temperature when you’re ready to serve.
- Is it gluten-free? If you use gluten-free Rice Krispies cereal, this recipe can be gluten-free. Always check the ingredient labels of your marshmallows and any mix-ins to ensure they are also gluten-free.
- Can I double the recipe? Yes, you can easily double or even triple this recipe if you’re making treats for a large group. Just be sure to use a large enough pot to handle the increased volume of the marshmallow mixture.
Conclusion
Making Candy Corn Rice Krispie Treats is a fun and easy project that’s perfect for any time of the year, but especially during the fall season. With their vibrant colors and delicious flavor, they’re sure to be a hit with both kids and adults. Don’t be afraid to experiment with different ingredients and decorations to make the recipe your own, and consider sharing your creations with friends and family as a fun and thoughtful gift. Happy baking, and enjoy the delightful world of Candy Corn Rice Krispie Treats!